

Bud Backer
-
Posts
5,163 -
Joined
-
Last visited
-
Days Won
53
Posts posted by Bud Backer
-
-
2 minutes ago, chuckdyke said:
I understood he wants to keep them separated
Ah, right, in that case the pause command is the right thing to do.
-
7 hours ago, chuckdyke said:
Not if you give them separate orders combined with a pause command.
That will work, but it’s even simpler than that. Just place both half squads in the same action square. Given time they will recombine.
-
Minute 31-30
AOA 2
Meanwhile on the other end of the Russian lines, things were a lot more quiet. I didn’t want to advance between the two treelines with unsupported armour, but my difficulty in spotting the Marder, or worse, several Marders, makes me want to ensure my tanks can support one another better. I displaced one tank left, and brought infantry close by in the woods to make sure I have more eyes on what’s going on ahead. The smoke from earlier HE fire from my tanks made vision poorer but would not last long, thankfully clearing by turn end.
RU154
Through the second treeline the Tankodesantniki spot a German HMG and HQ unit. My opponent is moving his men around in conflicting directions. I can’t make a pattern of it.
RU155
Among the houses at KT 1 I move 1st Platoon HQ and what remains of 1st Squad from 2nd Platoon to the last house in the row, where the Germans had an HMG I chased out with tank fire. Once I know this is clear, I won’t have to worry about shaped charge weapons to my flanks, just ahead.
RU156
With my flanks clear of nearby infantry threats, I feel comfortable giving 1st Platoon HQ T34/85 an armour arc order to wait for the Marders to make an appearance.
RU157
Overall, I feel pretty good about the situation. I’m picking off his men little by little, I have plentiful HE ammo in my tanks, and I’m no longer taking heavy infantry losses. I am concerned about what he may have hidden away but by now if he had a powerful reserve I think it would have made an appearance.
-
I feel really silly asking this but what are the [R1] etc marks for ?
-
8 minutes ago, Sgt.Squarehead said:
I had a good look through, it's a bit different to your normal style, but still a very enjoyable read.
")
Reckon I'd have gone the whole-hog (points permitting) and added ISU-152s rather than Stalins....."Hiding in that house is futile Fritz!"

Yes it is a different style. After seeing @c3k, @Bil Hardenberger, @BFCElvisdo AARS I was inspired to try to do one as well. The Comic format is one that has its own flavour, letting me ignore things that aren’t important to the narrative, but an AAR is supposed to encompass the whole picture, not selective parts.
The battle this AAR is covering is from a much earlier period on my CM experience. There are a great many things I’d have done differently but that is part of the point of this - to showcase my mistakes as well as good decisions, and to have constructive discussions around both.
-
1 hour ago, Sgt.Squarehead said:
All new to me.....Glad you resumed it, I really enjoy the way you present your AARs.
Hope your good lady is back to full health.
She is doing well, thank you very much.
If you’ve not followed this originally then it may prove confusing. Some exciting moments were early on. A quick summary of things is found in this post if you’re not keen on starting at the first post:
-
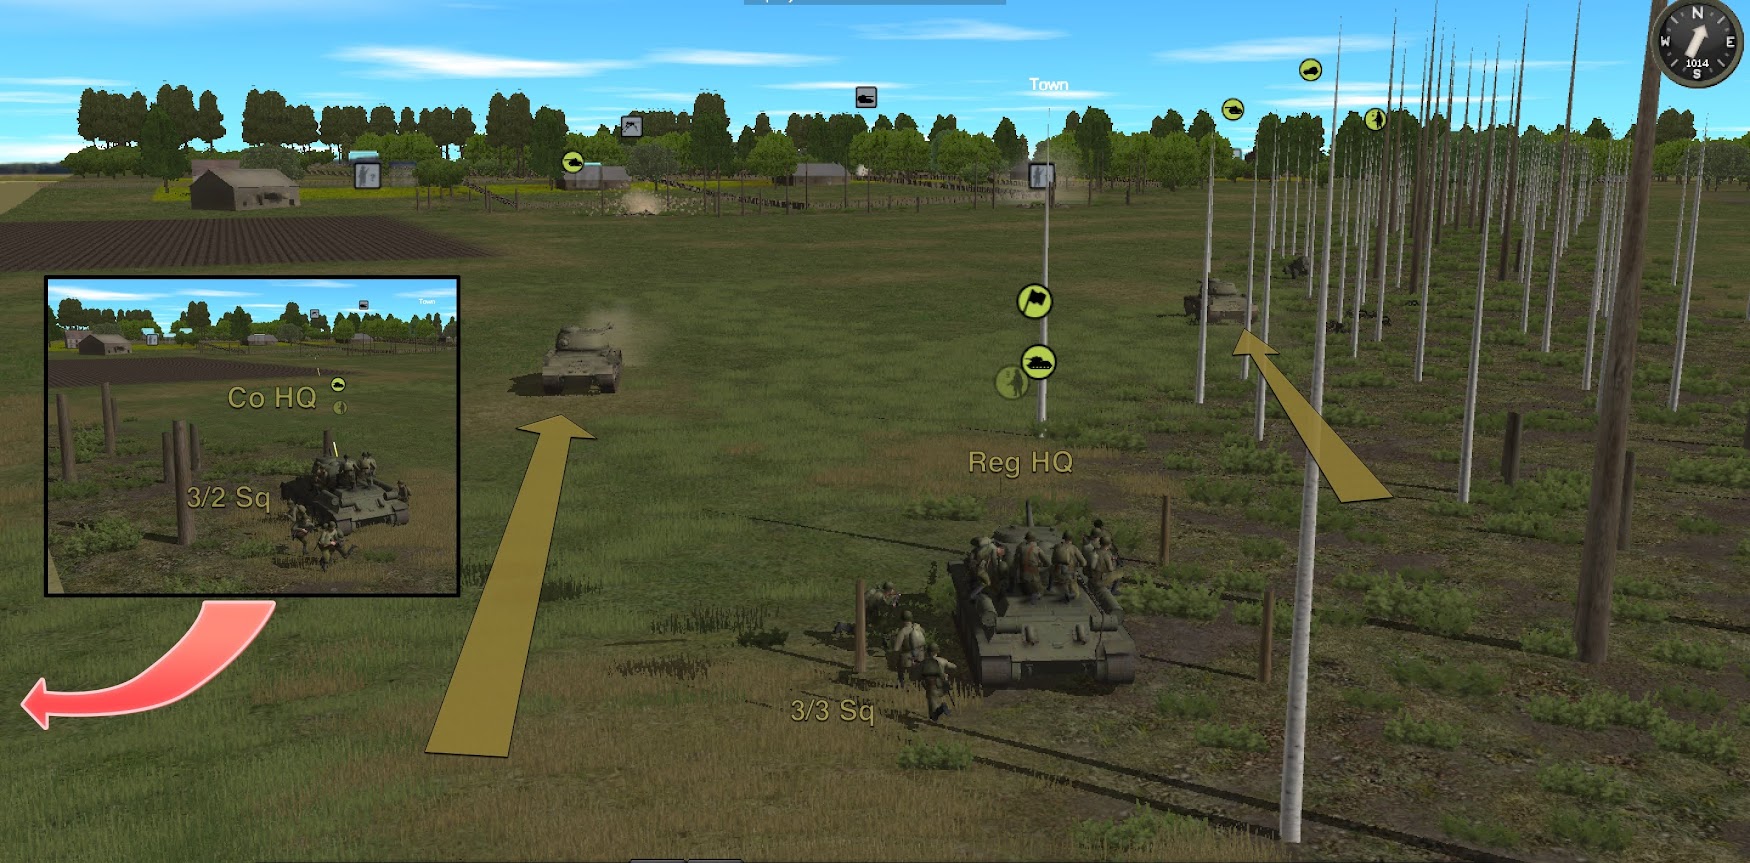
Minute 31-30
AOA 1
My tanks can offer a lot of HE support and suppression. I will pepper the buildings ahead with HE and charge! This time, the tank riders will be going in on the tanks but not under fire.
The JS-IIs advance and stop to provide support fire while the Company and Regiment HQ T34s both load up an infantry squad each. The inset shows the action at the map edge to the left.
RU148
As the men board the tanks, sporadic enemy rifle and HMG fire hits the front of the tanks. The Company HQ T34 fires at the spotted HMG. A Marder is also detected but none of the Russian tanks have LOS.
RU149
One JS-II advances, maneuvering to get LOS on the Marder. The German vehicle gets the first shot, which bounces off the thick armour.
RU150
The JS-II spots its attacker and returns fire but misses. Smoke and dust break then LOS for both from one another.
RU151
The spotted HMG and infantry contacts come under fire as well. The enemy is no longer putting out any fire at all at the advancing armour and infantry. One HMG unit takes heavy casualties and breaks.
RU152
The infantry in the house behind moves out behind it, not willing to take direct fire any longer.
RU153
There is no question I’m pushing him back and disrupting his defences. I have a big open field in front of me that I need to cross but once that’s done I’m actually in the town - the objective itself.
What’s going in at AoA2 is in the upcoming post.
-
Given the length of time I’ve not touched this it may seem absurd, but it’s been driving me crazy that this isn’t done. On top of that, my computer is dying and I’m not sure I can find installation files for this much older version of CMRT, which is required for compatibility with the turn files. So, I’m giving this AAR another go. I spent a full day working on the graphics for just one turn’s action. Trouble is, that was in a weekend and weeknights I have a lot less time. I hope the fits of starting and stopping every few days won’t kill the enjoyment for anyone trying to follow this.
-
I never carried it quite that extremely, but I have done multiple moves and pauses and fires at each waypoint. Works quite well but you do probably need a bit more time for weapons to be readied, aimed and fired.
-
-
-
-
-
-
On 11/8/2021 at 1:02 PM, MOS:96B2P said:
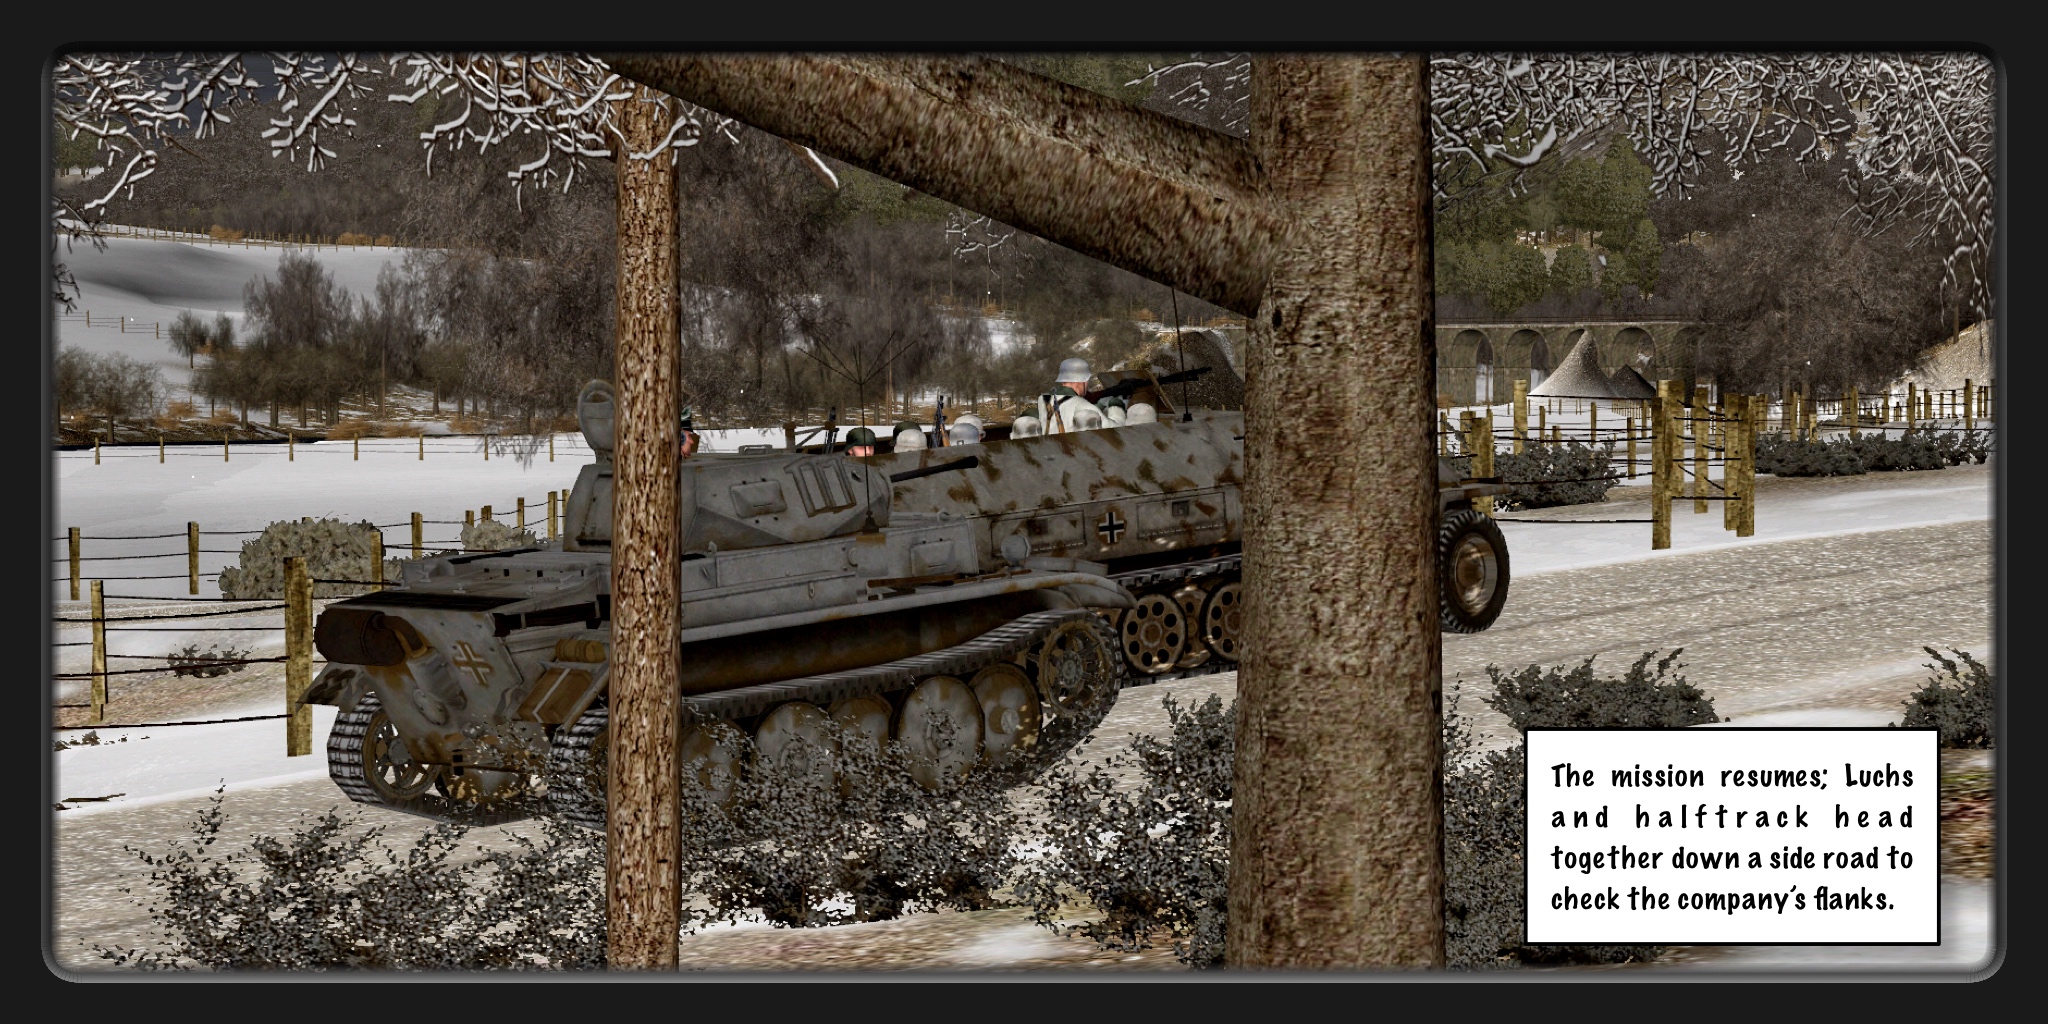
Below are some screenshots taken on a map made by @Glubokii Boy. The thread where you can download the map, read about the topic and see more screenshots is provided below.


These are brilliant!
-
-
-
-
37 minutes ago, MOS:96B2P said:
+1. Very cool. What size forces are involved?
Equal forces, 1818 points (I think "Small" battle size). This is a QB on the Stoumont master map.
-
November 1944…
-
I’ll let the images suggest a story rather than fill in the gaps…
-
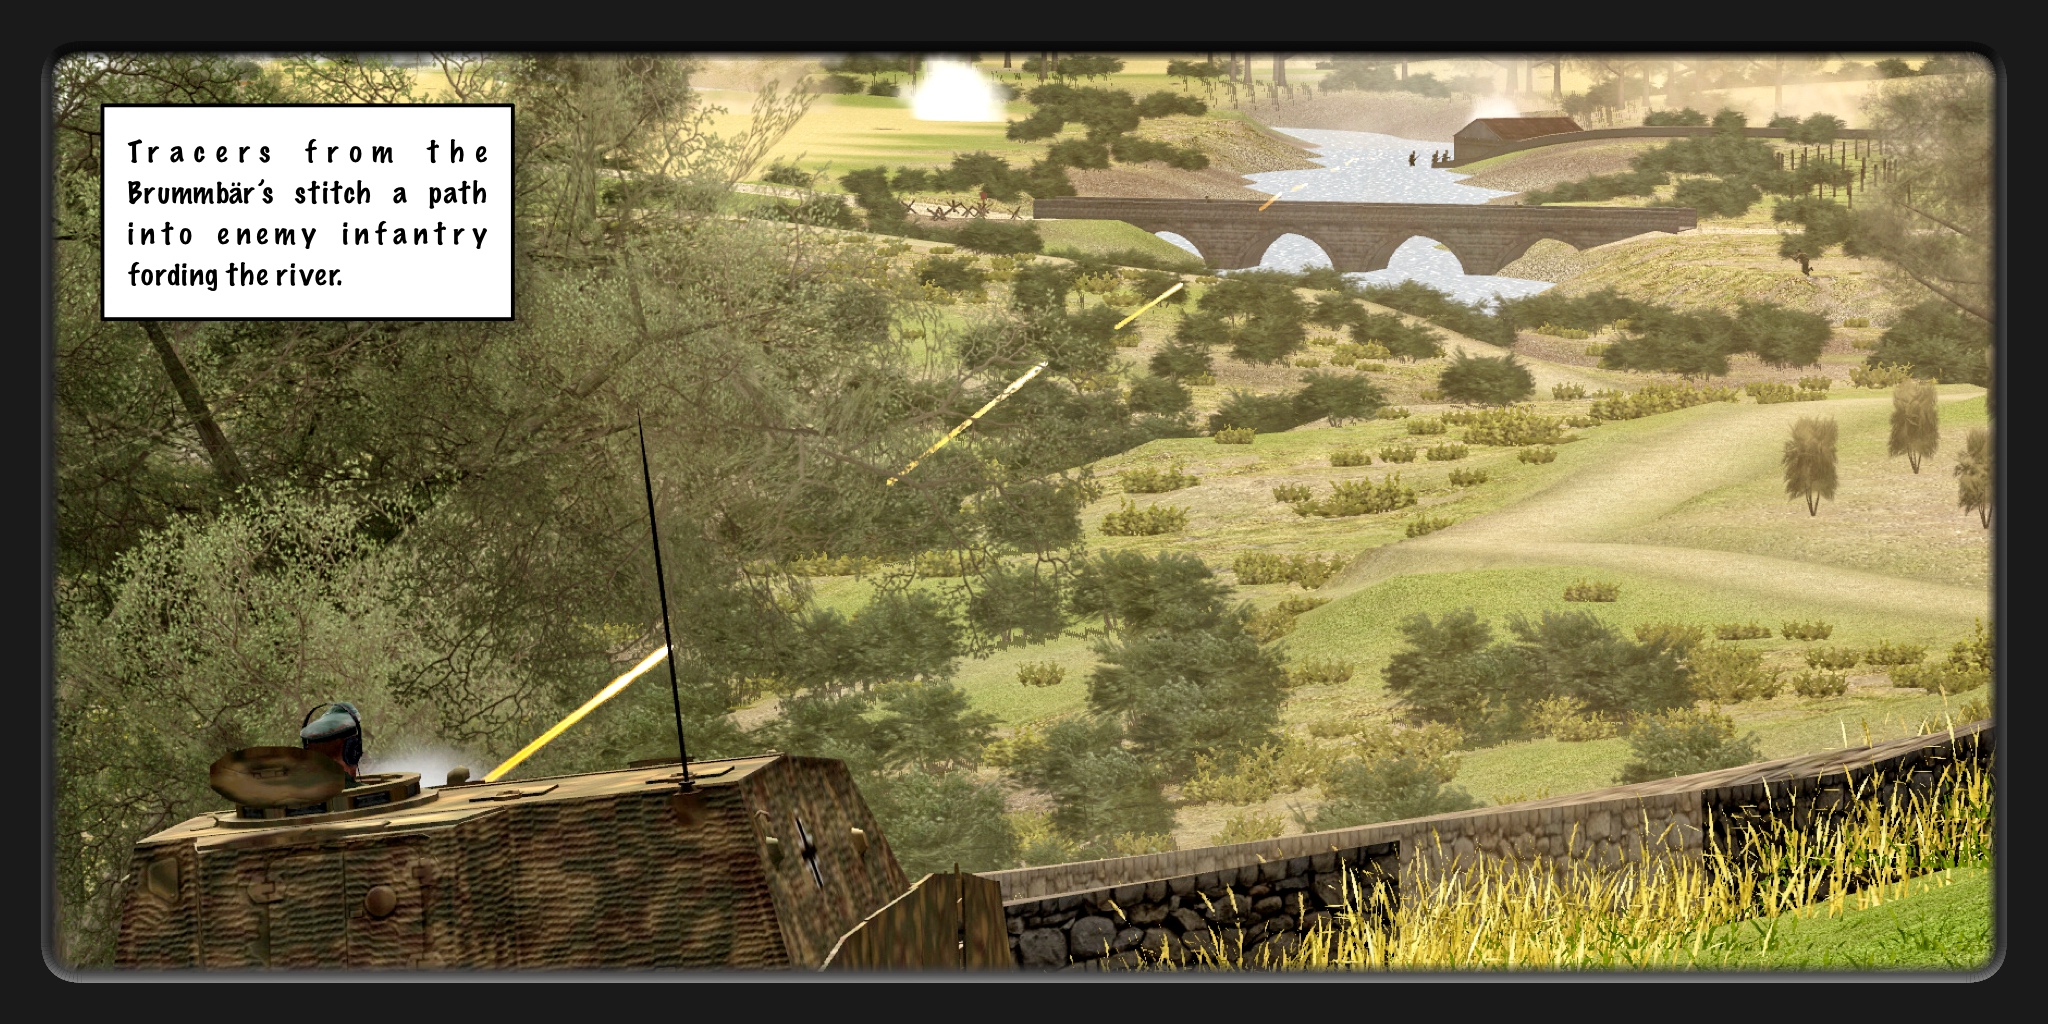
From a battle with a friend I’ve called Hide and Seek. No terrain objectives. It’s literally us trying to find, fix and destroy each other on 15 square kilometres of map…
-
6 hours ago, G. Smiley said:
I updated today and CM (including CM Helper) is working fine.
This is Monterey, but not M1 chip, right?
-
1 hour ago, G. Smiley said:
I will, but delivery is not expected until end of Nov...

Mine is later than that LOL


")


Agenda / Handguns.
in Combat Mission - General Discussion
Posted · Edited by Bud Backer
As with many hyperbolic discussions, this one appears rooted in something real, but the signal to noise ratio clouds the message.
One has to refer to this thread, more specifically the comprehensive testing done by @Drifter Man to see where this is coming from.
On page 23 of the PDF he posted, one can see that at 40m the M1911 pistol is showing a higher kills/min rate than 2 of the rifles: the Lee Enfield MkIV, and the Kar98k. At 80m they are roughly on par, as seen on page 24. (I’m discounting the rifles firing rifle grenades as the RoF would be low and their purpose is not the same as rifles firing bullets).
However, context is king. This is not a first shot kill probability chart. Comparing someone firing a pistol at a target as quickly as possible and easily reloading is not the same as a bolt action rifle. Give each man one bullet and one would see a different result.
I’d be inclined to say this is a poor understanding of the test and the results, but given the bombastic posting style it’s hard to take as much more than trolling. I find this unfortunate as an open and honest discussion of these results would lead to greater understanding of how things work and why they work a particular way (and perhaps an object lesson in statistical analysis).