Bud Backer
-
Posts
5,172 -
Joined
-
Last visited
-
Days Won
53
Everything posted by Bud Backer
-

Bud's Russian Attack AAR: Красная молния
Bud Backer replied to Bud Backer's topic in Combat Mission Red Thunder
I agree completely. I'm also expecting something on the woods to both map edges to try and hit me as I reach either Key Terrain. -
Bud's Russian Attack AAR: Красная молния
Bud Backer replied to Bud Backer's topic in Combat Mission Red Thunder
I admit that pushing up a narrow front has some risks, you're absolutely right. Here is how I think I can mitigate them: I am choosing the AOA. He can guess which I might take but must account for the possibility of either. He must split his forces to cover both, and therefore, I will outnumber him whichever side I go on. The middle lets him concentrate fire from all his forces. By using the cover, I diminish the advantages of his powerful guns. By the time he can shoot me I'm so close I can almost smell the schnapps he had at breakfast. If my artillery barrage works as I hope, my already numerical advantage will be enhanced as his units in my AOA will be damaged or destroyed That's the theory anyway! -
Bud's Russian Attack AAR: Красная молния
Bud Backer replied to Bud Backer's topic in Combat Mission Red Thunder
This is one of the things I really like about posting an AAR - the ideas and suggestions that people - like you and Bulletpoint - offer. Each one of us has very different ideas on what would be the best approach, but I'm also getting the impression that none of the ideas is a bad one. I'll bet that if each of us did the same game, and took our respective approaches, they would work for every one of us. -
Bud's Russian Attack AAR: Красная молния
Bud Backer replied to Bud Backer's topic in Combat Mission Red Thunder
I'm going to be attacking across a narrow front - using woods as cover. The attack will take place using Avenue of Approach 2 as shown below: RU008 Based on that choice, I need a force that is flexible, heavy firepower, highly mobile, and able to handle both infantry and enemy armour. I don't expect my opponent to have a lot of tanks, but lately he's been in love with Panthers and I want to have the capacity to handle them. I want to have artillery, mostly for smashing a large section of enemy defences rather than pin-point response. Russian artillery is very slow, with long delays and so I want to plan a barrage from the deploy phase, and hope I can use it again mid-game. The map is not huge, so long range firepower is not that important. So I'm thinking SMG infantry. The Tankodesantnikii Company seems a good choice. If I can get enough tanks to mount it all that would be perfect. T34/85s are good tanks. Not as good as Panthers or Tigers but quite capable and with the ranges that are likely on this map, should be able to hurt the big cats quite well. -
Bud's Russian Attack AAR: Красная молния
Bud Backer replied to Bud Backer's topic in Combat Mission Red Thunder
I don't mind at all! Quite the contrary, I encourage it. You (and anyone else who participates) give me ideas, feedback and advice that even if I don't use right away or in this battle is something that I will think about and prepare for in another. So by all means, bring it on! Don't stop making suggestions. Let me show you why I'm really concerned that I would not be able to pull off what you proposed. It doesn't mean your suggestion is bad, it means I need to learn how to effectively manage an attack you suggest. This image below is what I visualize when I consider your suggestion: RU010 It seems to me my units crossing the field would be subject to a withering crossfire. Almost every point in the field is covered from both the woods and the houses which are perpendicular to each other. My approaches - in my view - limit my exposure to what actually can see me and at least to some extent I can manage that carefully. The big disadvantage to what I intend is that it is very obvious to my opponent, and his defences will be geared toward that. To do what you suggest I would first have to try it out, rehearse it if you will, and work the bugs out of it because I'd get the timing wrong or my positioning and end up taking heavy losses. -
Bud's Russian Attack AAR: Красная молния
Bud Backer replied to Bud Backer's topic in Combat Mission Red Thunder
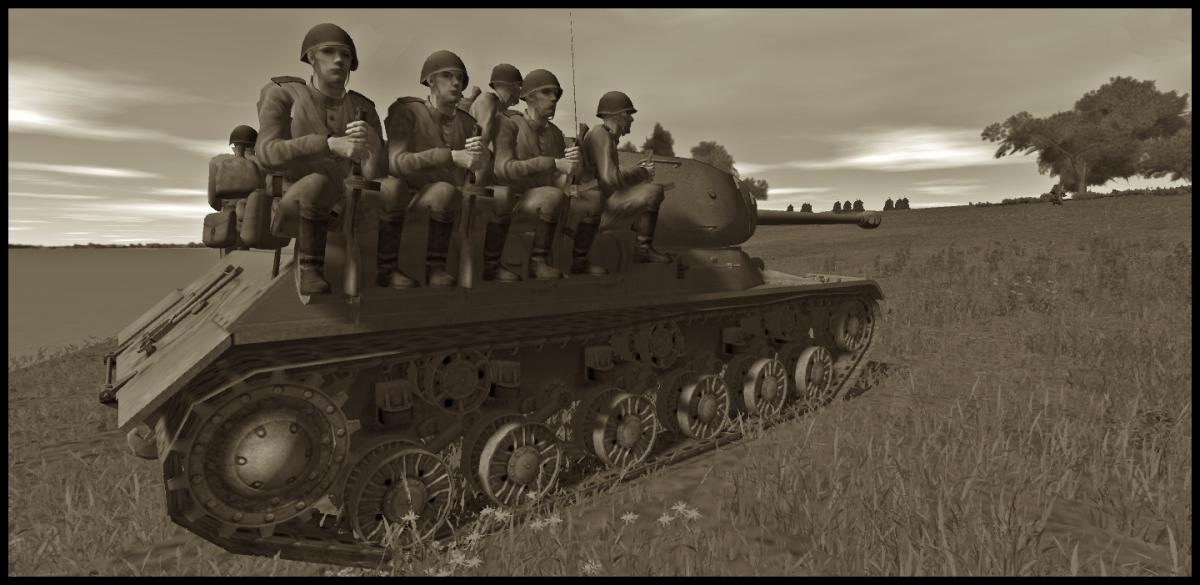
And in preparation for tomorrow's continuation...a spot of IS-2 porn... in commissar-approved non-colour.
-
Bud's Russian Attack AAR: Красная молния
Bud Backer replied to Bud Backer's topic in Combat Mission Red Thunder
Interesting ideas, Bulletpoint. I guess I'd have to see what you describe in action to be a bit more sanguine about the idea of moving troops across an open field to try to expose the enemy. It seems a scary idea to me! The few times I tried to advance tanks to a ridge to obtain hull down positions it was a dismal failure, with the enemy ATGs or tanks getting the first shot as they're just sitting and observing. Except on one occasion where I had a massive smoke screen to mask the move. I'm concerned that I will have no fire support for my troops, and if I bring fire support, the tanks will be exposed the very ATGs I'm trying to detect. I need more experience to pull this off. Your barrage suggestion matches with one of my own, though as you will see what I plan on doing isn't exactly what you propose. -
Bud's Russian Attack AAR: Красная молния
Bud Backer replied to Bud Backer's topic in Combat Mission Red Thunder
All right, so I wasn't totally wrong with the speed and immobilization concept. Though some of your testing results are a bit troubling, but let's ignore that! Yes, facts that don't fit our preconceived ideas can be ignored. -
Bud's Russian Attack AAR: Красная молния
Bud Backer replied to Bud Backer's topic in Combat Mission Red Thunder
I think Ken is jealous that I mentioned Bil and not him He's going to suggest really unorthodox tactics like "attacking" 'n stuff. I think he wants all the glory! -
I have the same problem myself as a defender. I'm reluctant to fire and thereby reveal my units, yet if I don't use them, then I lose them over time. I wait for a point I feel I have an advantage, and that moment doesn't happen. I'm curious what suggestions you will receive.
-
Bud's Russian Attack AAR: Красная молния
Bud Backer replied to Bud Backer's topic in Combat Mission Red Thunder
Hey MOS! I considered trying to get units that have smoke but that means waiting a turn or two to let it develop into a screen, hoping that it is dense enough to cover my units as they advance, and given that the initial ground I must cross (Field of Death) can be fired on from both the farmhouses and Western Woods, it would mean a lot of points on smoke. Wind conditions are mild, no wind. See and I thought that speed crossing bad terrain did have an impact. In CMFI vs Kohlenklau a few months ago I had to cross several vehicles across plowed fields and the ones that moved slowly got through, the only immobilizations were the ones moving Fast. But that's a small sample size. The ground is dry in this battle. -
Bud's Russian Attack AAR: Красная молния
Bud Backer replied to Bud Backer's topic in Combat Mission Red Thunder
So the last thing we need to look at is Avenues of Approach (AOA). Both my own and my opponent's. Thus far everything has been largely factual, determined by map topography and terrain features. AOA however must take into account topography and terrain features, as well as time limits (45min), objectives, forces available to each side, and that ineffable quality that each player will bring to the table. The analysis of Key Terrain, Cover & Concealment, Observation & Fields of Fire, and Obstacles points to several issues: -I cannot advance across the open field to my front -the Germans will likely occupy the farm houses as a first line of defence, as well as the Western Woods -the farmhouses are bordered by woods, and those woods are quite close to the actual map objective -only the map edges East and West offer me some form of cover and concealment. My only plausible options are to advance on the East or West map edges, or both simultaneously. RU008 AOA 2 seems the safest bet. It gives me a covered approach to the farmhouses, Key Terrain 1, that must be neutralized before I proceed into the town. AOA 1 seems intriguing as it would bypass the farmhouses, but it is fronted with a treeline, Key Terrain 2, that likely will have ambushes, and beyond that treeline there is no cover to approach the town objective. I will be taking AOA 2, as it seems the safest course to follow. It will be a slog, but I should have sufficient firepower to overwhelm any defence in the farmhouses. My enemy knows this. So what would I expect him to do? Set ambushes in KT 1 and 2 and the surrounding woods, have tanks in the woods at the town sniping at my tanks using covered arcs and from surprise, and have a reserve that may attempt to surprise or flank either of my AOAs, labelled EAOA 1 and 2. RU009 I know my opponent for many many years. We've played countless different tactical and strategic games on the computer as well as board games. I know he loves to use many units broken down as far as possible to the single man or team. He is cagey, defensive, and has more patience than I do. So I expect him to have AT teams waiting to ambush me from trees and houses, and sections of infantry scattered to avoid concentration as they would be vulnerable to my artillery. I do not expect him to have any artillery. It's too slow to react to a short ranged armoured attack. If he does have some, it will be used early while I am bogged in the woods outside the farmhouses. -
Bud's Russian Attack AAR: Красная молния
Bud Backer replied to Bud Backer's topic in Combat Mission Red Thunder
So, yesterday I covered Key Terrain. Let's look at Cover & Concealment, Observation & Fields of Fire, as well as Obstacles. Cover and concealment in this map is not due to elevation features but buildings and woods, which are evident and therefore not marked for OCOKA purposes. Naturally, I will be using them as best as I can, as will my opponent. One exception is the ridge line that is just ahead of deployment zone. In terms of Observation, my deploy area is the only place where my enemy cannot see anything I do. RU006 This ridge provides full cover from the German lines and gives me protected lines of communication between West and East halves of the map. As you will soon see, it will prove invaluable. After some bogging incidents crossing fields in other battles I'm leery of going at full speed in vehicles over plowed fields, and can't afford to take a slow crossing, which makes them Obstacles to my advance. The field also provides an excellent field of fire for the Germans to stop any advance. I named it Field of Death, because to me it's pretty evident that crossing it is suicidal. This of course limited my options in terms of Avenues of Approach. RU007 -
Bud's Russian Attack AAR: Красная молния
Bud Backer replied to Bud Backer's topic in Combat Mission Red Thunder
One of the things that has repeatedly been stressed by Lt.C. Spaulding from Armchair General's CM videos, Bil Hardenberger and other military professionals, has been an acronym I'm still learning to use fully in Combat mission. OCOKA Observation & Fields of Fire Cover & Concealment Obstacles Key Terrain Avenues of Approach I'm still struggling to really examine each of these elements properly. I forget to do it, and it's annoying because it should be obvious to look for each of these things when planning a battle, and should not require an acronym as a mnemonic. I get excited in the impending battle and lose my focus. I didn't do it fully in this battle either, I realized, but let's cover what we can here. I realize that I do this stuff to some extent without conscious thought but not enough. The Russian deploy zone is not one that is fronted with good cover. In fact most of the area that I might pass through is on a gentle forward slope that takes me right into concealed German positions. RU003 Looking toward my lines from the German positions shows that any advance in the open areas is suicidal without adequate countermeasures. I don't have confidence any countermeasures I employ would be sufficient. RU004 A look at the original map shows two areas that I would call Key Terrain, as a result. German units at those positions are highly likely, even if my enemy assumes some form of artillery barrage on them, he would be able to move units forward into them before I am able to cross the open field. They are key because whoever controls them controls access to the victory objective. Both the Western Woods and the Farmhouses offer good concealment, and some cover. And both are able to see to the end of the map, except for part of my deploy zone, with few exceptions. The extreme West and East edges of the map have woods that offer me some cover as I advance. RU005 -
Bud's Russian Attack AAR: Красная молния
Bud Backer replied to Bud Backer's topic in Combat Mission Red Thunder
The battle is on this map: RU001 This map is not completely flat, but the elevation variations are very gradual and even and therefore not a significant source of cover, hull down positions, and reverse slopes. When I came to purchase and deployment I made some assumptions about the German deployment areas that would affect what I bought and where I put it. You can see this below: RU002 The blue section is what the German player actually has for a deployment area. I didn't look at this in the editor until much much later when it became irrelevant, so I made decisions based on incorrect information. The green area is what I also assumed to be a valid German deployment area, but in fact it was not. Bear this assumption in mind as we go forward, because it plays a role in the early game and limitations I imposed in myself as a result. -
I've done two Comic AARs, and always dreaded the idea of work involved in doing a classic one. Until I discovered just how much work the CAARs were. Combined with all the AARs I've read here already trying to improve my tactical knowledge and skills, made me really want to give this standard format AAR a try. The battle is a 45 minute duration attack by me on a German opponent in PBEM. My partner doesn't participate in the BF forums so this AAR will not be mirrored from the German perspective. I am a graphics dilettante compared to Bil Hardenberger. I recommend you read his AARs, and visit his blog. His AARs were to me highly educational as well as inspirational. The concepts of planning, reconnaissance, and how to present it to readers in graphic format are all things I've learned from reading them. By no means can I approach his tactical or graphical skill but I hope you will still find this enjoyable to read and contribute to the thread.
-
Shall try to start an unofficial screenshots thread?
Bud Backer replied to MikeyD's topic in Combat Mission Fortress Italy
Heinrich, I really like the colours you use in your graphics. Very vivid and distinctively yours. Well done! -
Thanks for that description, JasonC. Really interesting and entertaining read.
-
RT Unofficial Screenshot Thread
Bud Backer replied to mjkerner's topic in Combat Mission Red Thunder
Nice capture, Rinaldi. -
BATTLE DRILL - A CM Tactics Blog
Bud Backer replied to Bil Hardenberger's topic in Combat Mission Battle for Normandy
Funny, as I just read the AAR that post is based on. Great tactical info, Bil, thanks for continuing to update your site, this stuff is amazing. I've pointed friends to it who are learning CM as it's the best place to learn how to use real tactics and to use them in the game. -
I think each square is an action square, 8x8m The "2" is actually "Crop type #2" simply a way of identifying what is the terrain feature in that square. I think if you simply want a map edge to serve as a deploy area, a depth of 4-5 squares is what I think I've seen for most meeting engagement maps. I'm sure one of the expert map makers will speak up if I've misremembered. I've played a ME on Kieme's map, with him as my opponent. His map is truly fabulous.
-
Anytime, Doug.
-
And if you want to mark all forums everywhere on the site, go to the main page http://community.battlefront.com and at the bottom you'll see Mark Community Read
-
I believe that versions have to be matched. You can play against someone who doesn't have the Gustav Line module, with some care, but I don't believe one player can be on 3.0 and the other on 2.x. However, give the cost of the 3.0 upgrade being quite low, I think most people you're going to encounter will have upgraded to 3.0. The community is quite active for PBEM. There is a subforum here for those looking for play-partners. A few Good Men is another site largely devoted to CM games. http://www.thefewgoodmen.com/thefgmforum/ As is We Band of Brothers. If you're active on the forums here (and many people are so they can get help when new to CM) you'll quickly run into folks that seems like good opponents. Edit: forgot your first question - multiplayer is for most of us exchanging files via Dropbox. It's easy, convenient and since you take your turn and then the other person takes theirs, you don't have to worry too much about being online together at the same time. Real time is an option but I've never done it.
-
Welcome to the forum. CMFI is a great choice to get into the CM series. Campaigns usually have an overview before you get to the first battle. So once you read that overview, you'd be taken to the first scenario, which would have its own overview but for that battle only. Hope that helps!