

A Canadian Cat
-
Posts
16,517 -
Joined
-
Last visited
-
Days Won
55
Posts posted by A Canadian Cat
-
-
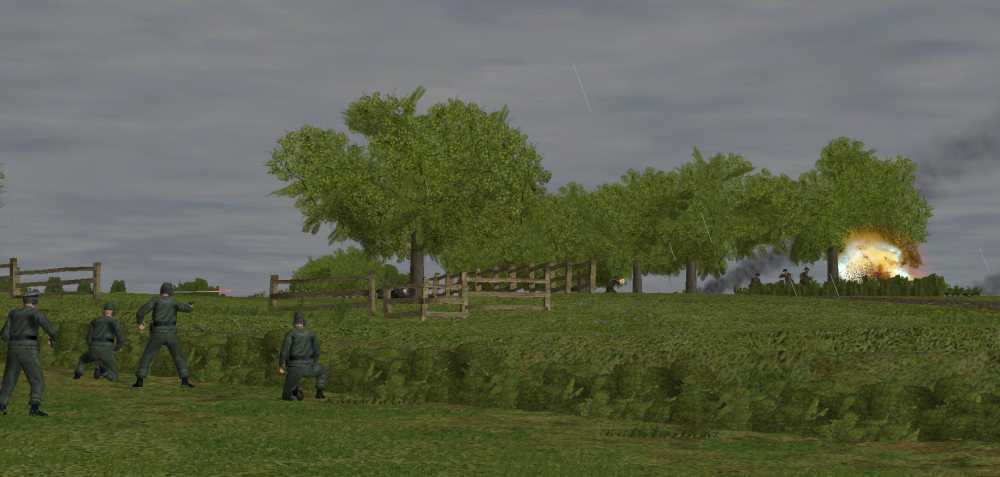
The spotted scouts on the far right flank come under fire from to directions. They route and run.
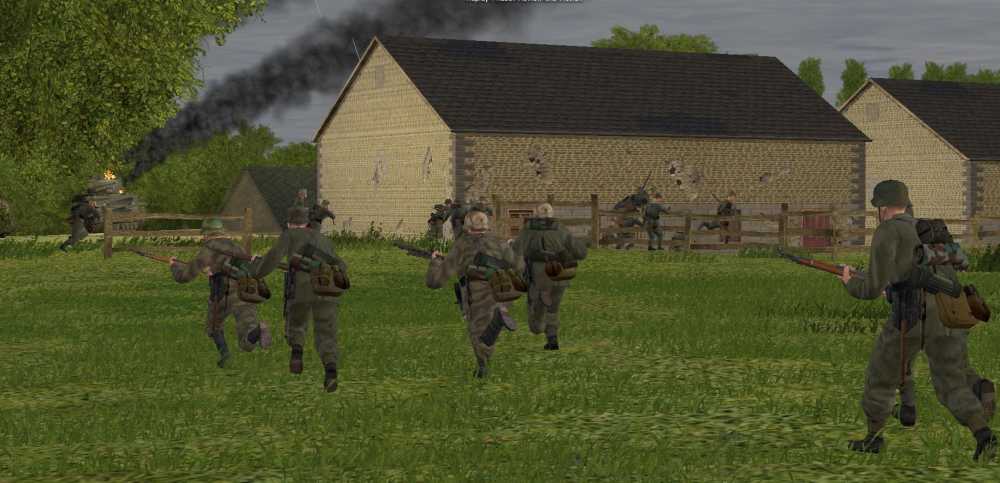
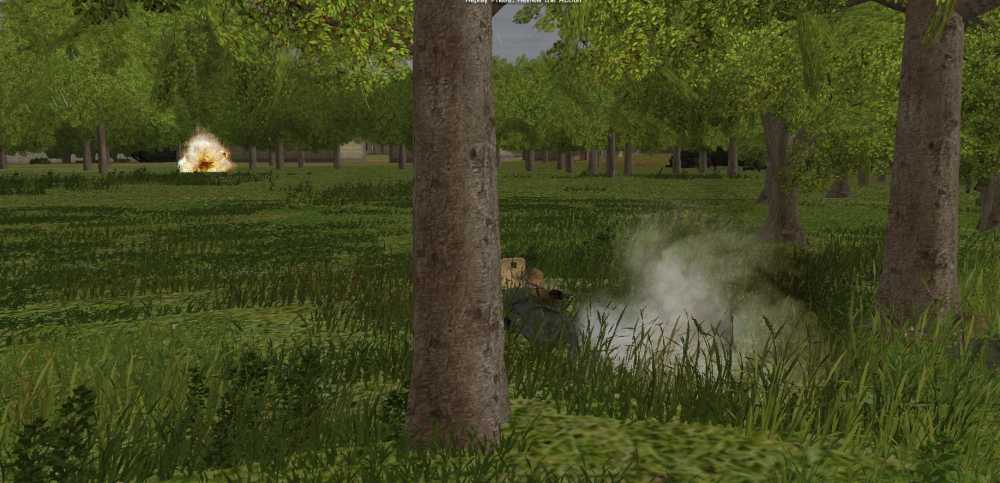
Near the river the lead troops enter the farm and find a tank crew.
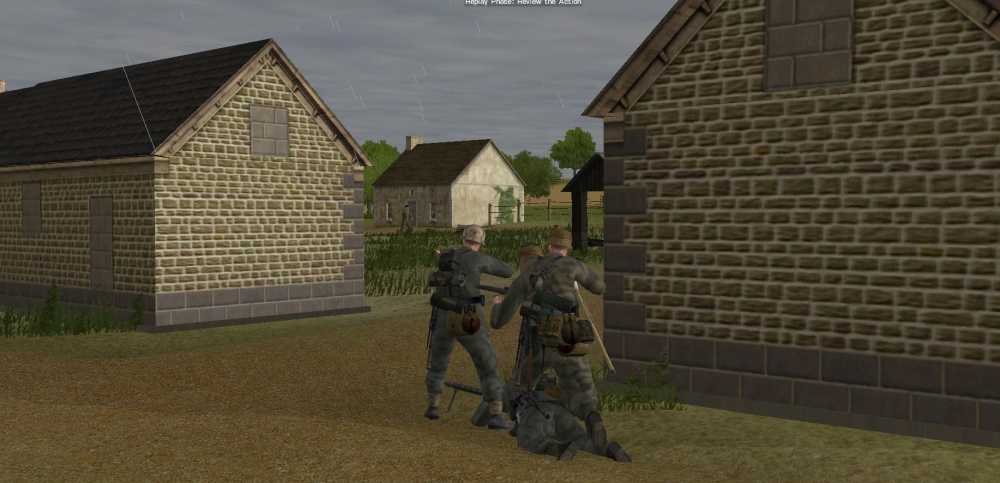
And take the down.
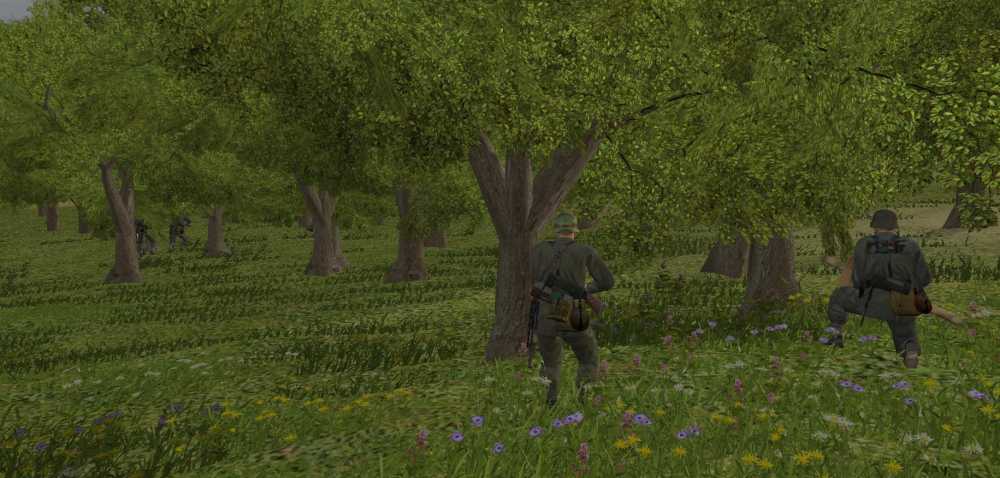
Over by the orchard the intruding scout team runs in the face of the incoming fire.
-
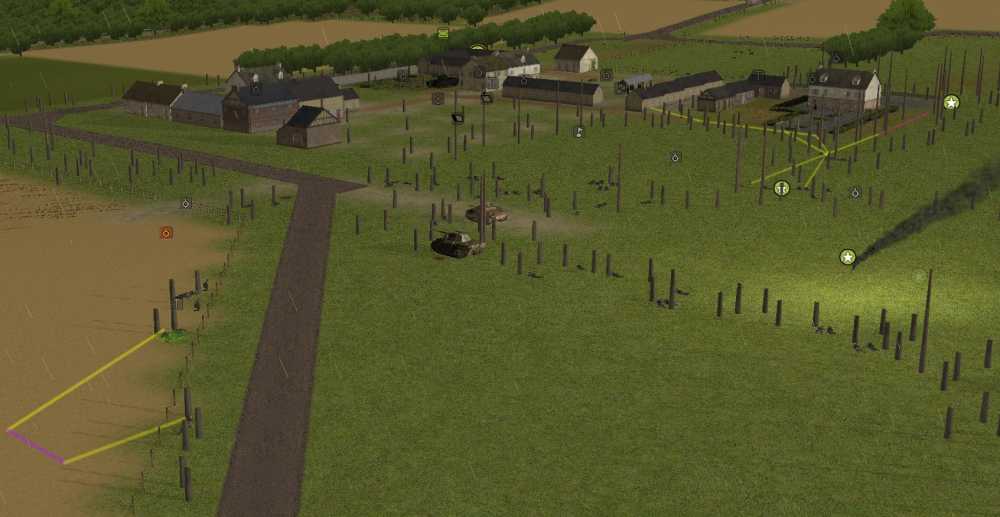
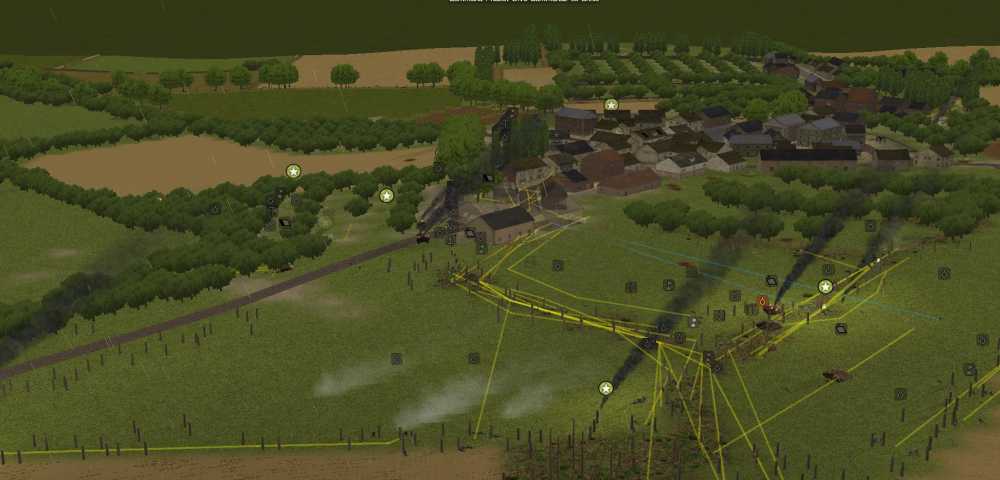
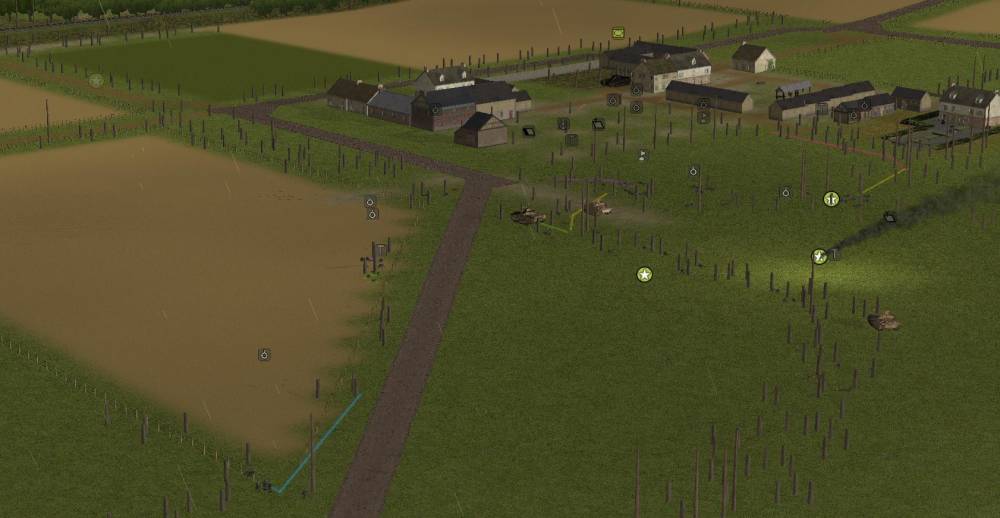
Assaulting the town continues again at a good pace. Outside the entrance a platoon of infantry supported by a Panther hunt for the Churchill tanks.
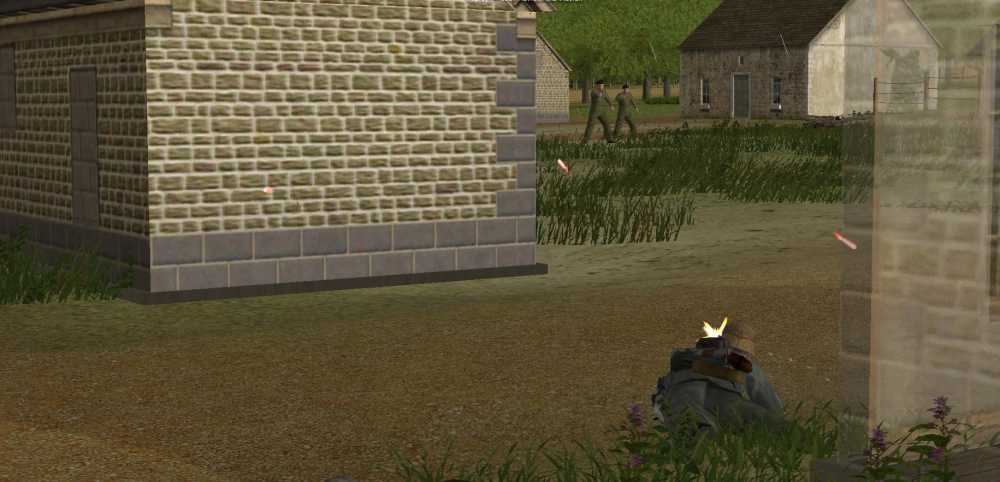
Meanwhile more of 1 Company enter the town. They encounter their first resistance, a scout team in the building at the bend in the street. The lead squad dispatches them easily.
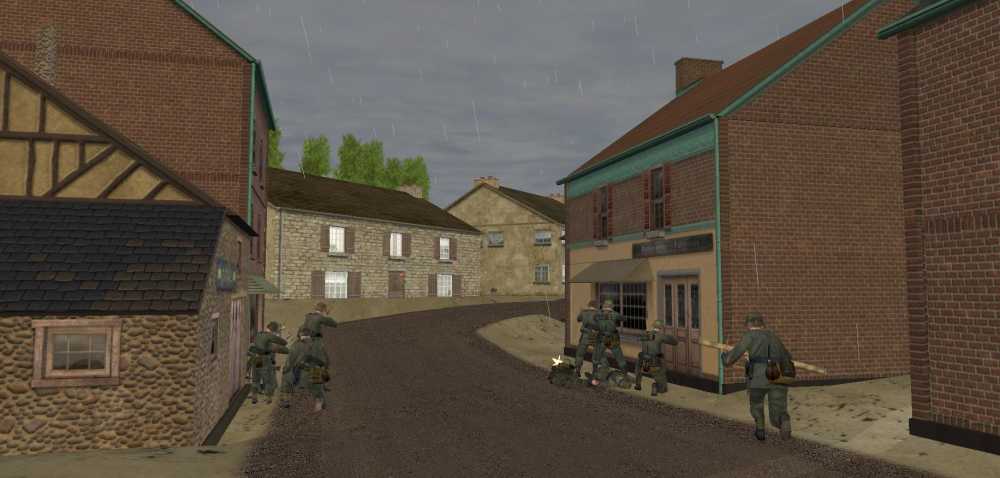
The next platoon enters the town.
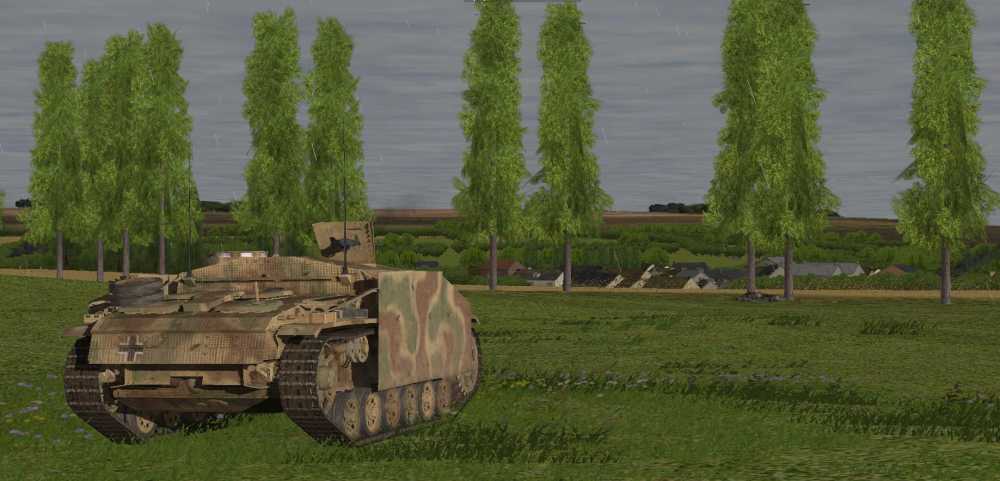
Trailing members of 2 Company and their supporting Stug keep watch on the flank.
On the hill at the other entrance to the town one of the Stugs moves up to keep the Churchill tanks from leaving the artillery kill zone.
-
A lot of more of the same orders: Starting with that pesky scout team near the orchard.
I also reposition another Stug to deal with that armoured car. I need to protect the mortar team.
Move more infantry to flank the Churchill and try to get a Shrek team to have a clear LOF to it as well.
Now that the Stuart has been dealt with I get 1 Company to reorganize and resume its advance into town.
Another scout team has popped up near the other entrance to town. This time I have a Stug crew that has been hiding out in the woods. They have spotted the enemy scouts and are going to attack them from behind. At the same time the Stug will send some supporting HE their way.
-
Not a bad minute – my men finally dealt with that Stuart that slipped behind them. And it was not the infantry that saved them. It was a Stug. It came out of the trees right in front of the Stuart and wasted no time in dispatching it.
Closer to the entrance to town the Churchill tank could not get a show on the Panther but took out its frustrations on some of my infantry.
Near the river the Shrek team tried again to hit the enemy Churchill and again failed this time falling short.
In the orchard the approaching scout team is now facing a squad and a half track.
The approaching armoured car hits the Stug that is hunting it first. The crew panics and bails out even though the Stug is not seriously damaged.
-
At the other entrance to town, now that the armoured car has been dispatched the Stug will move positions to prevent the Churchill tanks from escaping from the town. I am hoping that the threat from my town assault will make them want to turn and engage the attackers but if the decide not to then I want my forces over here to threaten the flank of the Churchill tanks. I do not think I have enough resources over here to repel and attack by them but I hope I can make it look like a bad option.
Chaos still reins due to that Stuart. More soldiers try to get at it from behind and my Stug is getting closer.
Near the river my forces manoeuver to flank that Churchill tank.
In the orchard I bring up a halftrack to help deal with that annoying scout team
And reposition a Stug to get an angle on that armoured car while at the same time trying avoid the guns of the Churchill tanks.
-
I assume you are talking about a bazooka or Shrek team here. Start by splitting the AT team off from the squad so you have just the two man team. The rest of the squad can distract the tank and improve the odds of your AT team stating alive to complete this process.
I would recommend a quick or fast move to a way point that will allow the team to see the target vehicle, possibly add a face command to that way point. Do not add a pause here - you do not want these guys hanging around in the open. Then another fast move to safety. @Erwin posted this as a viable tactic in the past. I have used it since. Here is how it works. The team heads out to the way point that will allow them to spot the target. They briefly regroup. In that time the gunner will spot and acquire the target and take the shot. Then both guys start running for safety.
The thing is there are so many out comes that range form dead target and live, safe AT team all the way to very alert and in good order target and a dead AT team plus.
To improve you AT team's odds (both of success and to live) start by making sure that the tank is buttoned. Attempt this technique where you have a side or rear shot on the tank. If that is not possible at least distract the tank from the side before your guys head out into harms way. For example other infantry in the area can, from the flank, shoot at the tank. This will ensure the tank is buttoned and encourage it to face the shooters. To make this work give your AT team a pause before they start their initial move so that the tank has time to focus on the other infantry teams. As you can imagine this is *very* dangerous for those other teams so devise an escape plan for them.
-
Sounds very interesting. Can you comment on how you intend it to by played? By that I mean is it suitable for head to head play? Or should it only be played against the AI as one particular side?
-
I have a new version of the helmets for 2.o with normal maps. They are much more "3D" now. I'll try to finish them up soon.
I'm a bit busy, but I'll do some work on a few of the uniforms. As has been said before, they are very nice as is. Variety is always a good thing, though.
Oh that would be awesome. I am missing your helmets in my CM games right now.
-
now to see if he can get out!

Let us know what happens for you but I have had no luck getting them out when this has happened. Back in 1.0 I had a Sherman do this - I gave a variety of orders to the tank but he never moved again. I have a stuck PzIV in Fortress Italy and so far also stuck and cannot get him out. I even had a pioneer squad blast the front wall of the building - did not help.
-
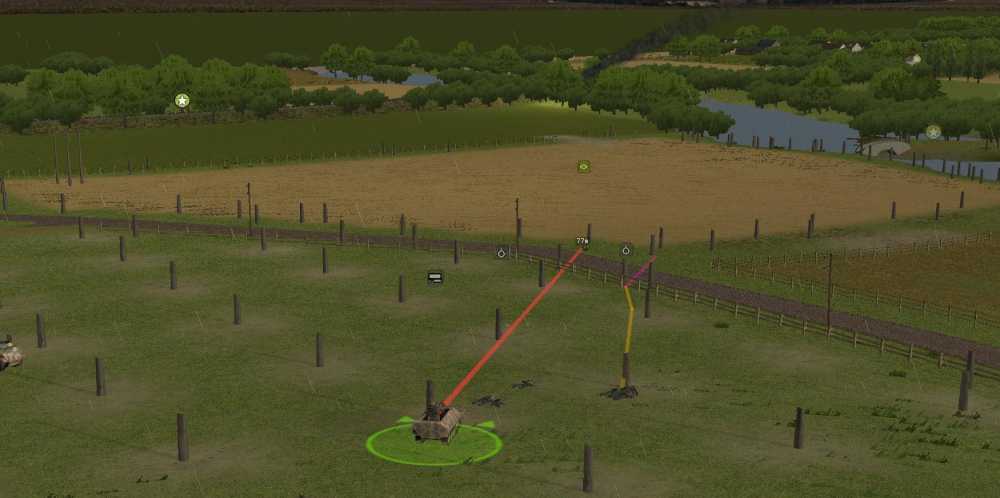
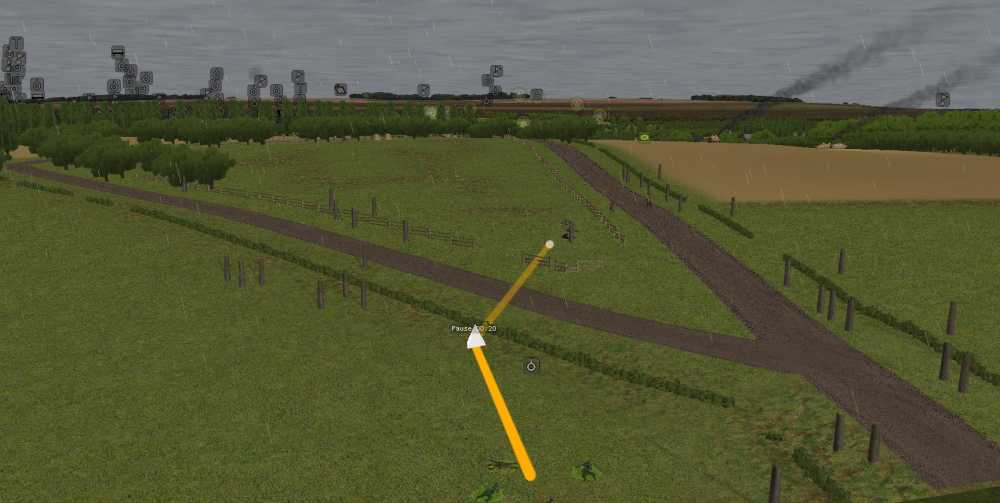
I haven't moved the HQ squad nor did it suffer any casualties. And since I was able to plot the line I assumed they will be able to see the spotting rounds. Is the mission DUD?
But *can* the spotter see where the rounds fell? To make corrections they need to see where the spotting rounds fall. Get down to eye level with the spotter, with the tress on, and see if you can see the spotting rounds. Then test with the targeting tool to see if they can see the place the spotting rounds fell.
-
Actually I keep D company and delete up from there. Or 3 Platoon and delete 1 and 2. In fact I have been known to add two infantry battalions and then delete the first one. Just so I can have H Company.
I just wanted to clarify a mistake that I have been making. I play on Warrior level and sometimes Iron (I have one opponent who makes me:-) but I am sure this applies to Elite as well. The enemy only sees the lowest level name of a unit "1 Squad", "1 Squad / A Team" or "2nd Medium Tank". Even the HQ units only show their own level "1 Company HQ" or "1 Platoon HQ".
So all my machinations to show off H company or 4 platoon don't really work unless your HQ units are spotted. For some reason I had it in my head that the whole unit chain was shown - my bad.
-
Yikes, I had never stopped and thought about there being a limit to how far you can extend a map in a particular direction. What's the limit?
The centre of the 320m x320m map you start with is the centre of the maximum 4000m x4000m map you can make. So if you want room for expansion make sure you plan accordingly. I suspect that you will not always want to expand equally in all directions.
Here is an experiment:
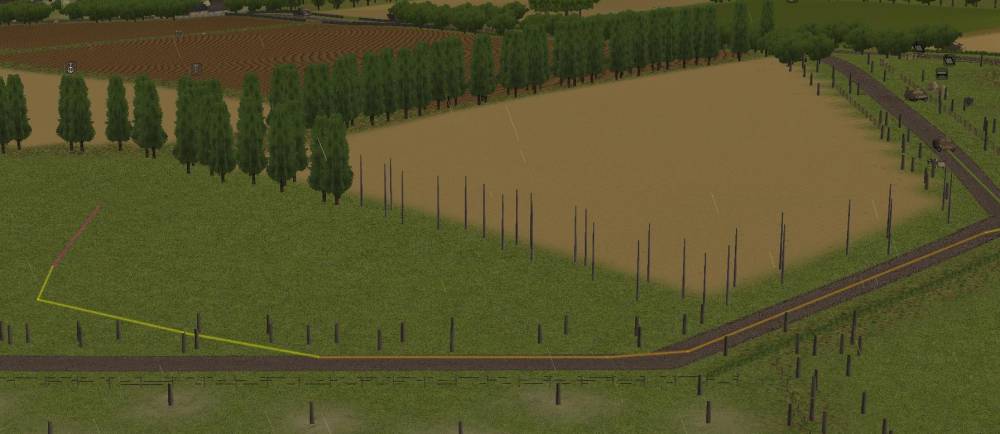
I started with a new map and made it all sand. Then I expanded it North and East as far as it would go (that gave me a 2160m x 2160m map):
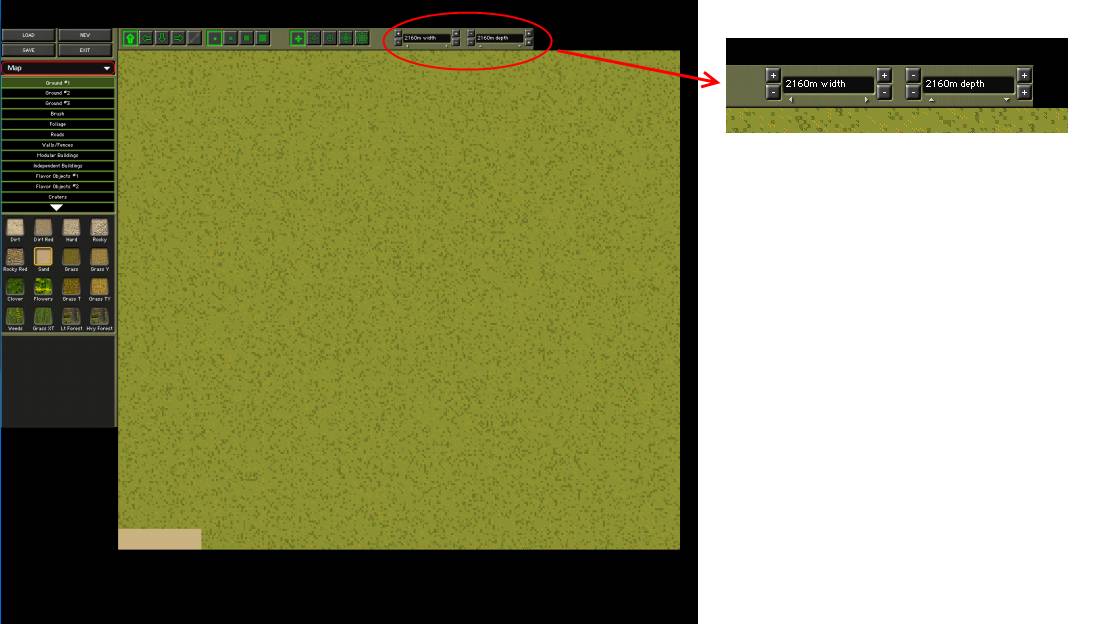
I also verified that saving the map and reloading it does not allow you to expand and further in the north and east direction. So this arrangement is not just a "while you are editing limit" but a limitation on the way the map itself is structured.
Then I expanded fully in the other directions to get a 4km x 4km map. You cannot see the cursor in this screen shot but I have it positioned in the centre of the sand to show that the centre of the original 320m x 320m map is still the centre of the 4km x 4km map:
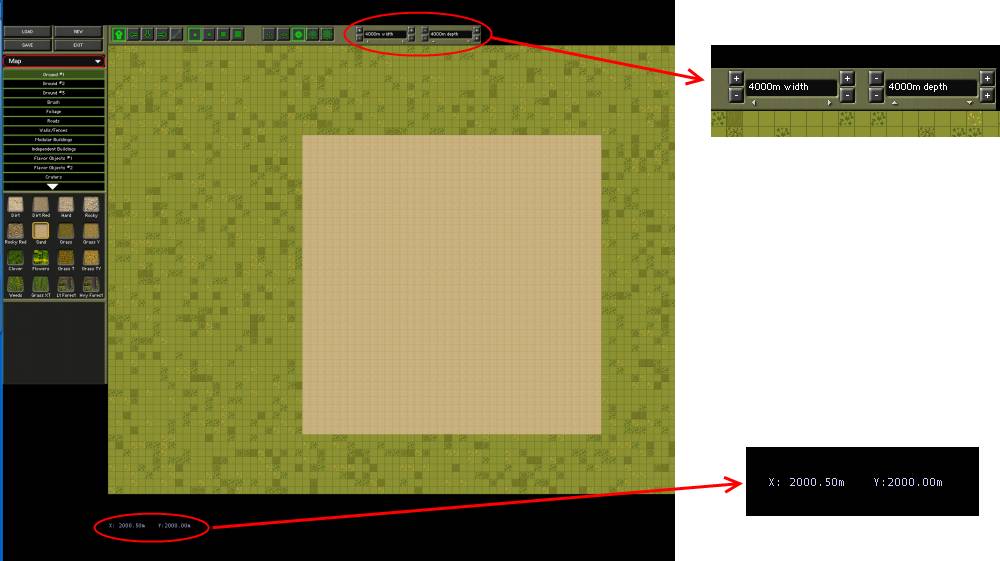 I thought you'd be able to extend indefinitely on just one edge long as the total distance on that axis remained 4,000m or less.
This is what I would have expected to - surprise. Without cut copy an paste it is difficult to compensate for this after the fact. So, all map makers should plan accordingly.
-
They just get put in the main forum. It is pretty quite though. A few months ago there were three or four going on at one time. Now there is just (shameless plug - it is a game I am playing):
Axis Side - 20 000 point Quick Battle DAR
Allies Side - 20 000 point Quick Battle DAR
There are others that are completed too.
-
Whereas I (who've also played countless hours of no-FoW tabletop miniature and counter games) take the view that FoW is a precious gift from BFC and should not be squandered or lightly set aside

As you say, dif'r'nt strokes...
+1 to that. I love the FoW effects and really enjoy playing scenarios "double blind" as I like to day. Playing them again is cool too but the first time is special.
-
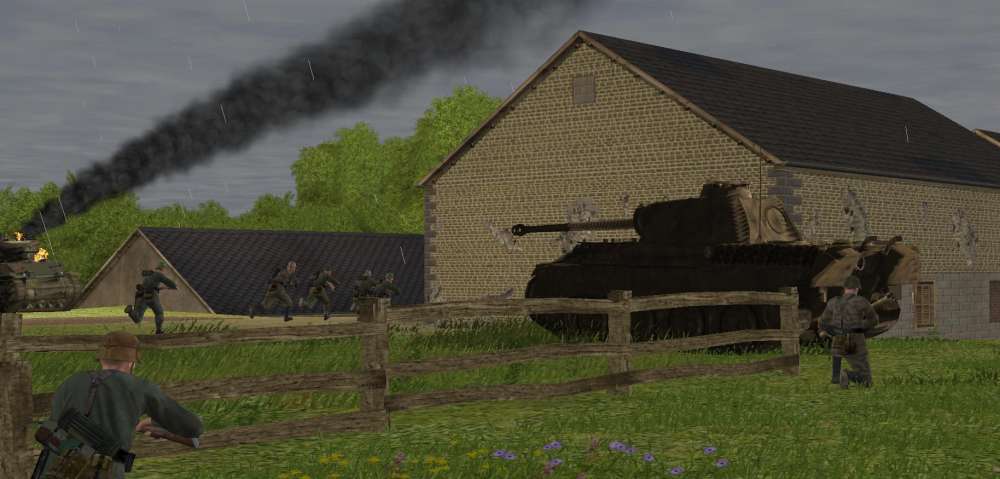
For smoke I highly recommend Aris's smoke mod. It is one of his best. Check it out.
Totally agree - the screen shot I posted is using Aris's smoke mod.
-
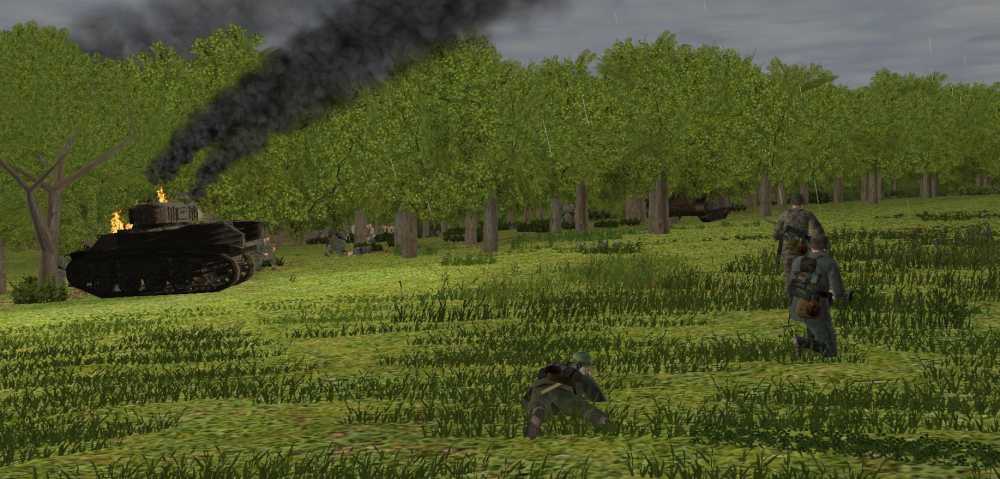
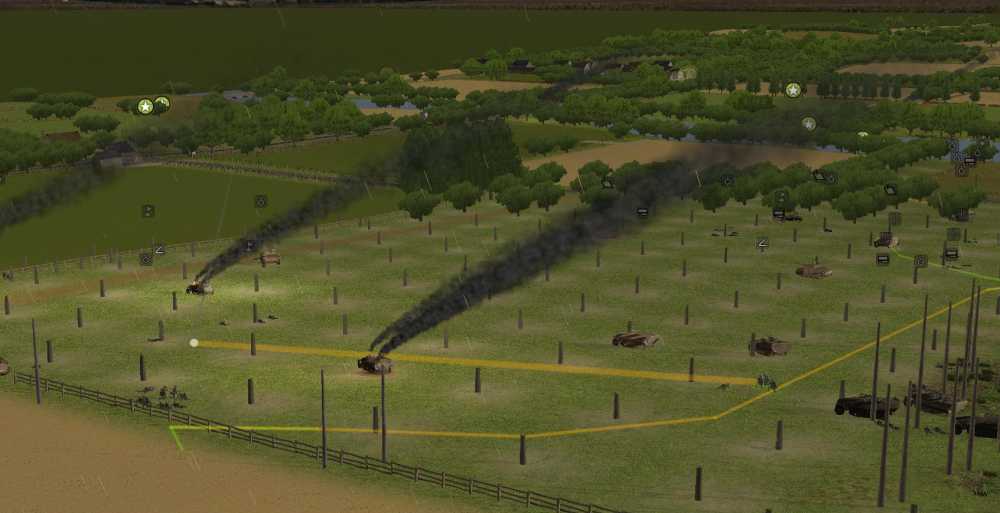
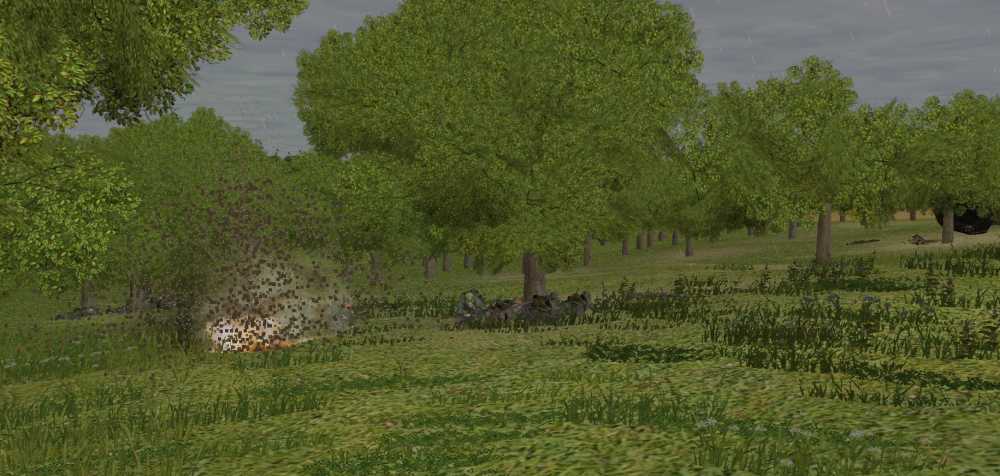
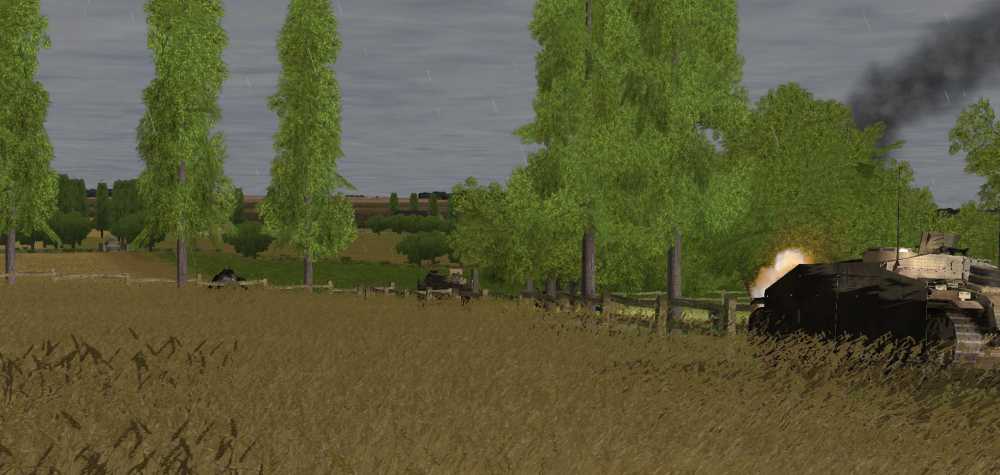
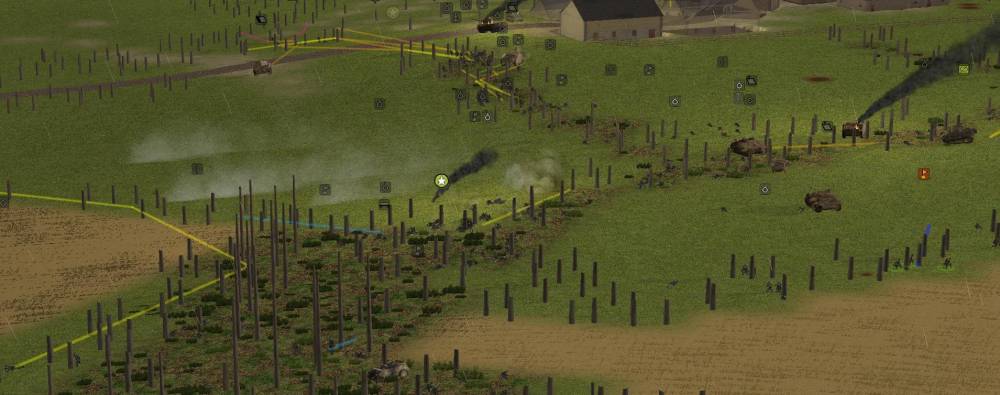
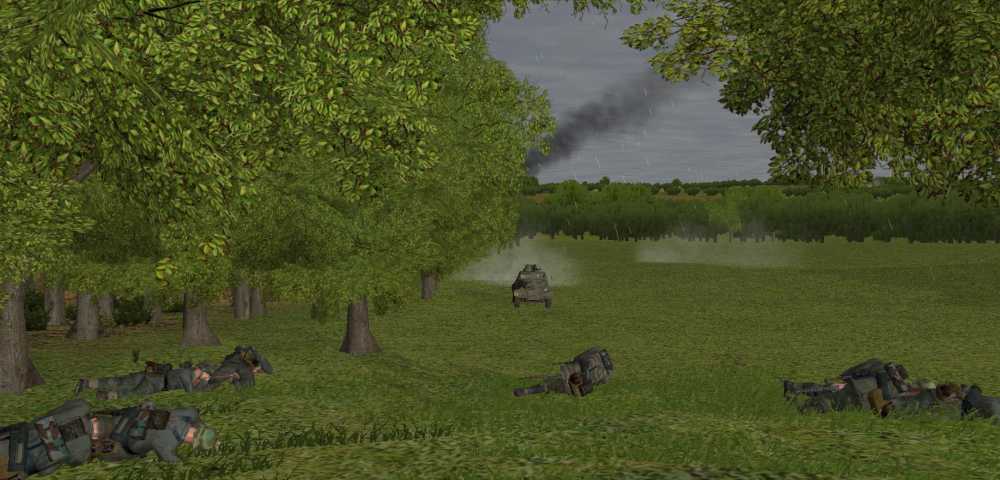
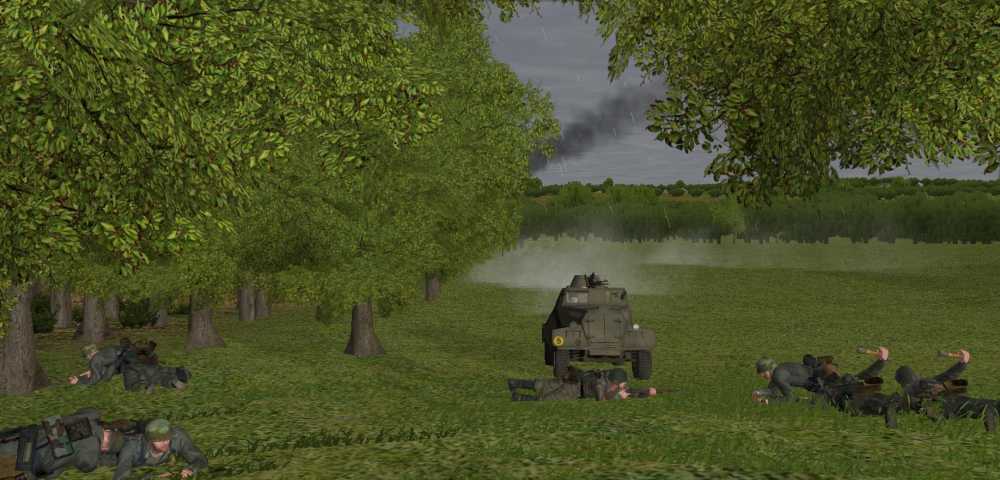
Not sure what you mean exactly. Check this out:
The smoke from that burning Stuart is sure blow'n in the wind.
-
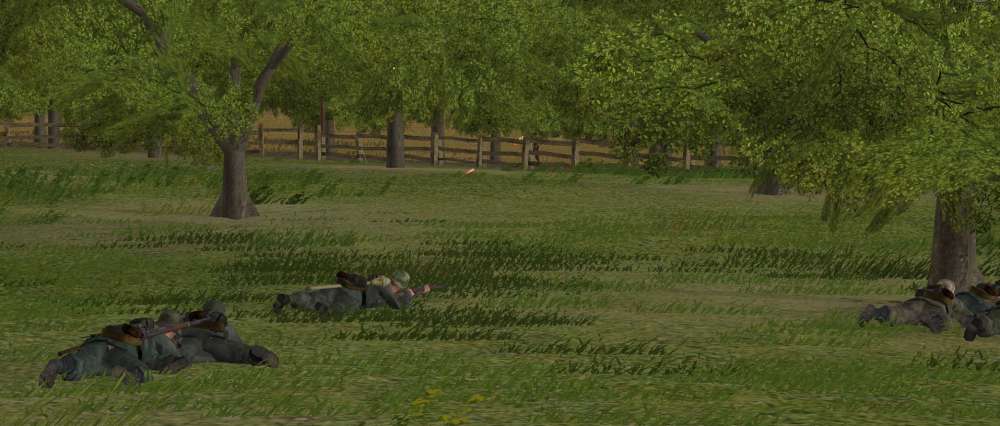
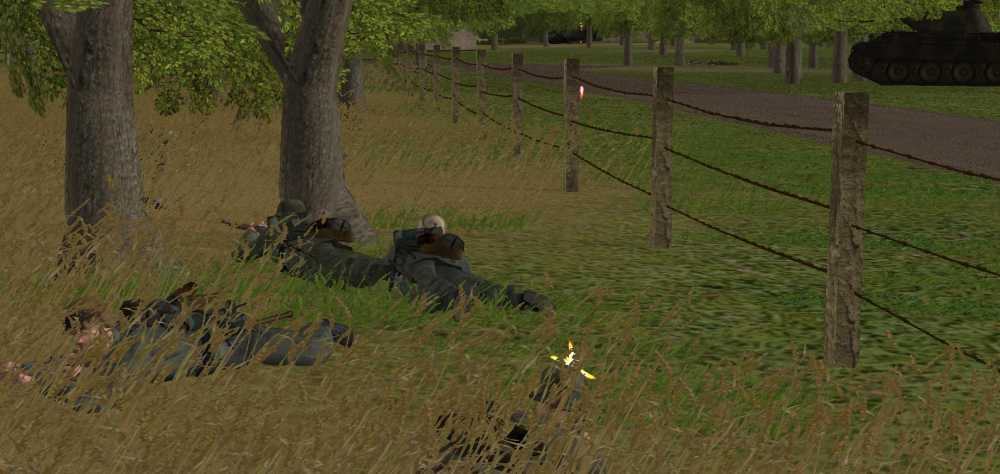
Which makes it easier for their platoon mate to get a nice shot from the grass.
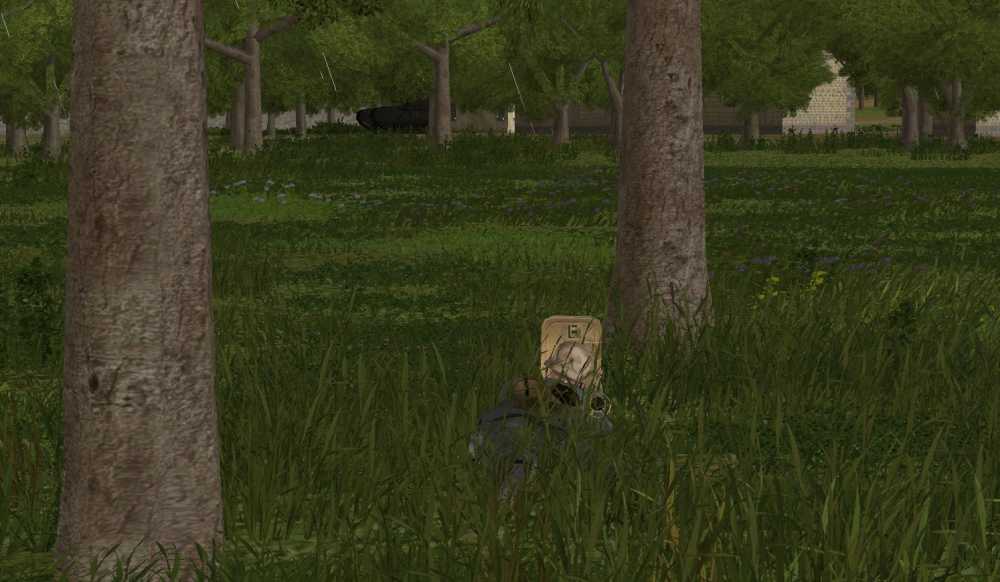
But those damn trees foil his plans.
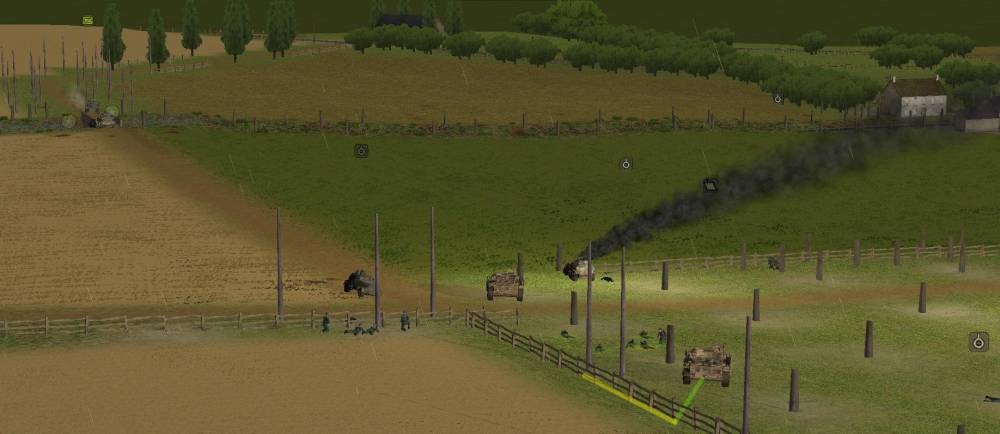
Over on the right flank the armoured car that was subject to grenades last turn is finished off including crew.
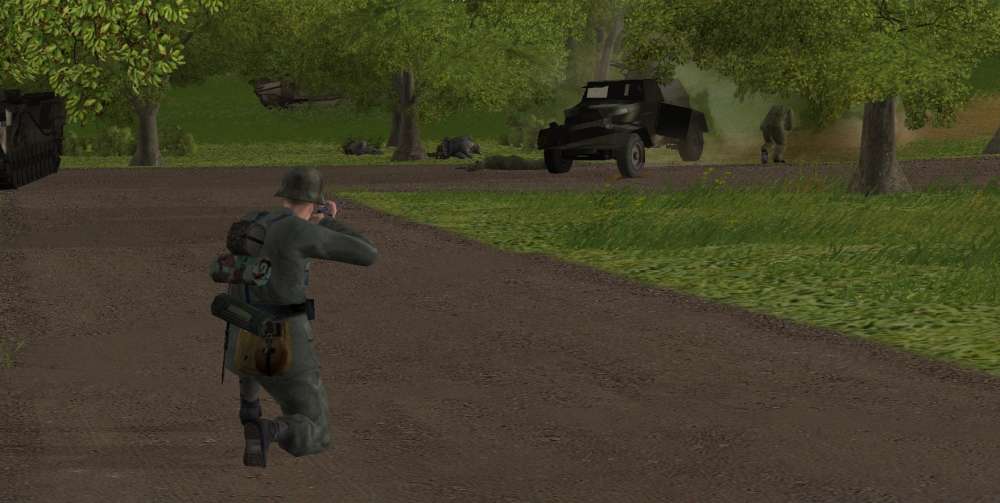
In the orchard another armoured car creeps up the road (the armoured car in the foreground is already dead and so is the Stuart tank on the bridge).
At the same time a scout team tries to sneak up on the orchard too.
-
And is met with a hail of grenades…
And dies just as it gets of a burst from its MG and hits one of my men.
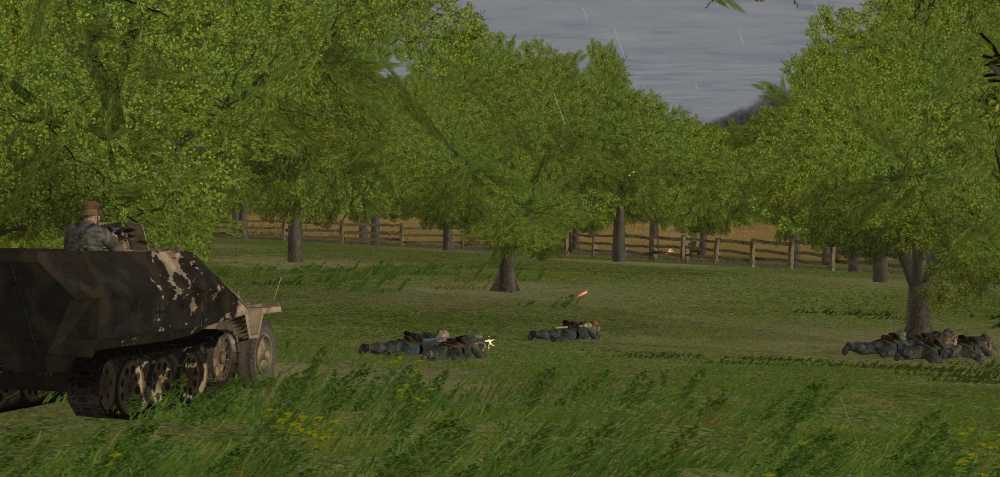
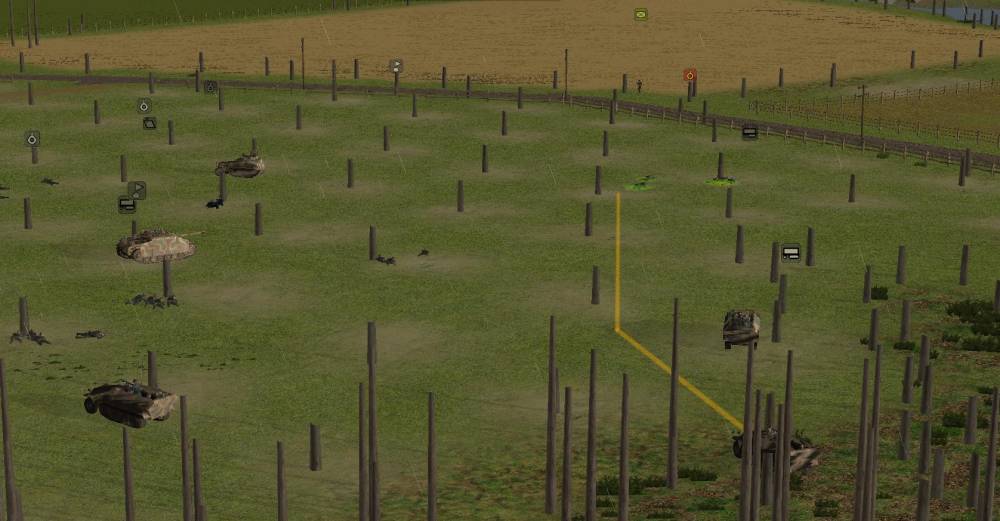
Close to the river things are much better. A Panther spots a Stuart trying to flank my position.
And takes care of it in one shot.
Close to the Panther its infantry support spot a Churchill tank and open up on the tank commander who ducks out of the way.
-
This is another mad minute.
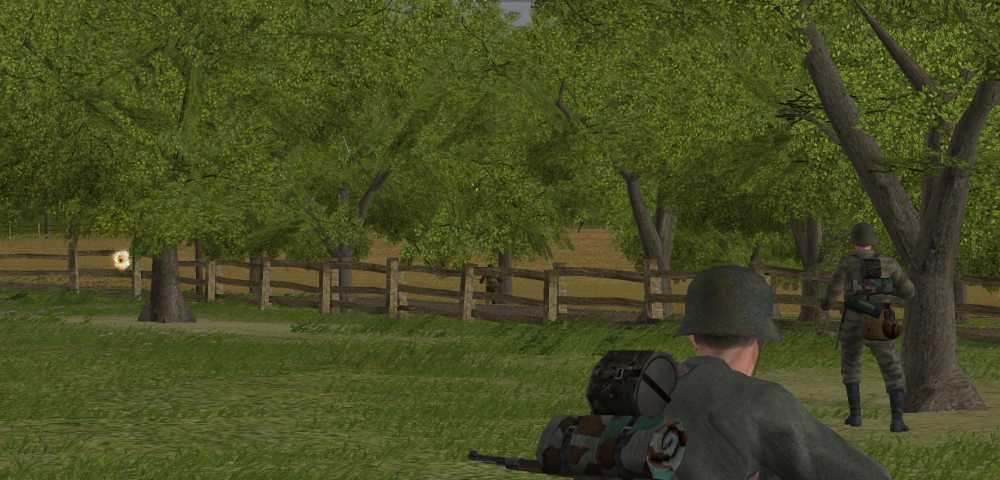
My infantry put up quite a fight against that Stuart and I am sure they will take it out soon but luck is not with them this turn. Here is one squad firing a shrek and a faust round nearly simultaneously. The Stuart is in the trees, you can just see the muzzle flash from its MG.
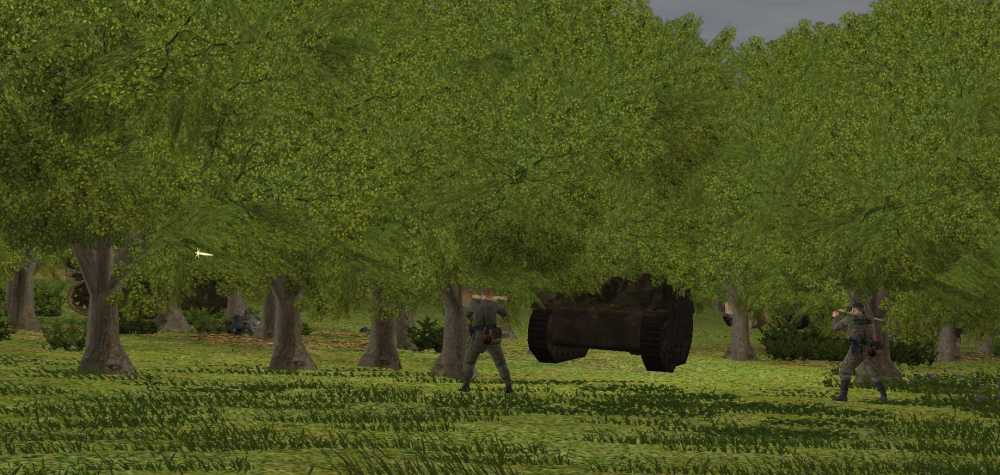
Both rounds hit trees and failed to dispatch the Stuart. Other troops are closing in on the rear of the Stuart but do not get close enough yet. The Stuart makes a mess. It machine guns down a bunch of my men.
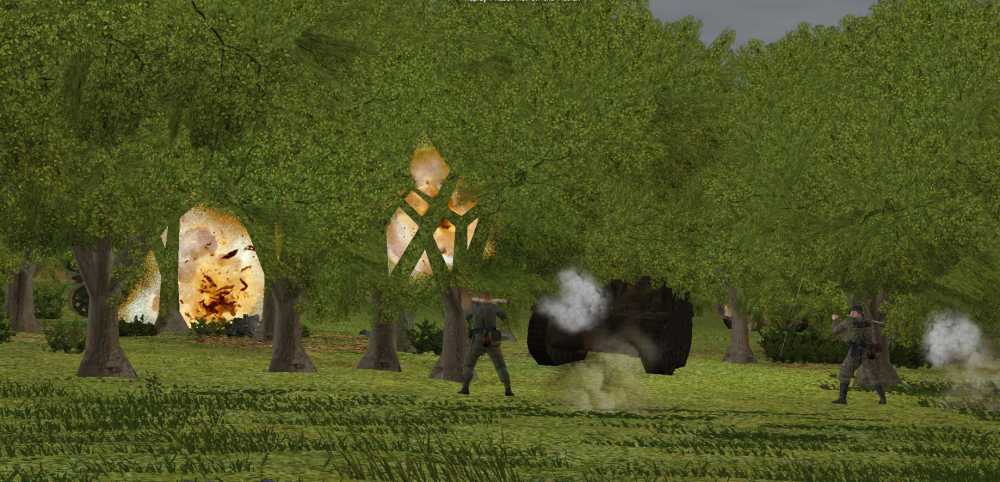
At the same time one of the scared off Churchill tanks scores a hit on a Panther. Only minor damage was done thankfully.

Nearby, my infantry have another problem. This time an armoured car appears from an unexpected direction. This looks scary…
But luckily for my men it gets way to close…
-
If Im not misstaken, mods slow down loading times as they often are bigger than the stock files.
Mods do not make a significantly load time difference at all. On my machine it added 4 - 5 seconds on a nearly 2 min load.
Check out this thread. Several of us bench marked load times with and without mods:
http://www.battlefront.com/community/showthread.php?t=103468
The biggest difference for load times was our machine specifications.
-
There is a workaround: http://www.battlefront.com/community/showthread.php?t=107970. He means change the scenario name in the scenario editor not the file name on disk - I made that mistake.
-
Now I'm curious because terrain FOW would be quite high on my list. Why do you think so?
No reason - just lots of cool features they can work on. I would love to see terrain FOW but nothing really bugs me about it now and I don't find trenches and foxholes to be bad.
-
That looks like lots of fun - looking forward to it.
<snip>Something Nice
<snip>
Oh that will generate some wild speculation.
-
IIRC foxholes are what they are now because there is no FOW for terrain yet.
Yes, and while I think it would be great to have things like broken fences and walls and breached bocage get FOW (i.e. remain hidden until your forces see the hedge row) I don't expect that to be very high on the priority list of features and frankly I think that is fine. But I can dream :-) and who knows perhaps some day it will be easier to do or they will run out of other things to do


Axis Side - 20 000 point Quick Battle DAR
in Combat Mission Battle for Normandy
Posted
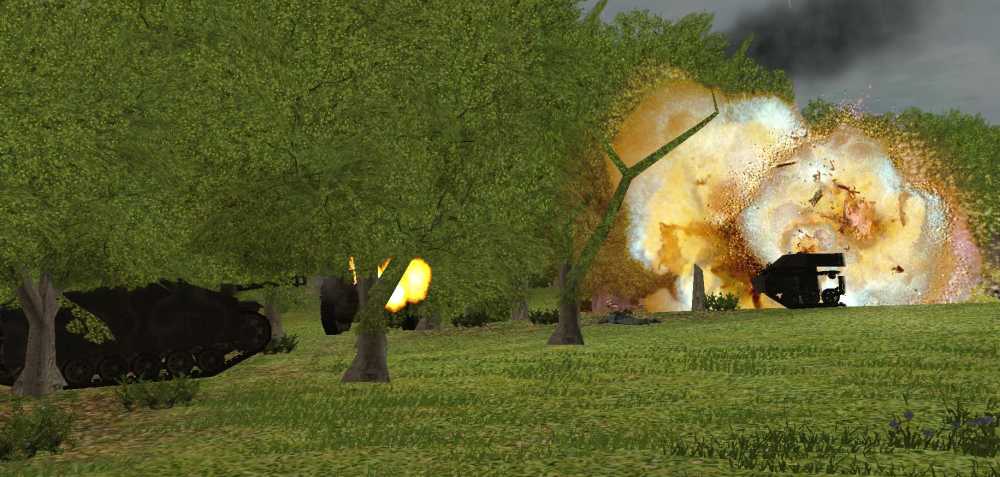
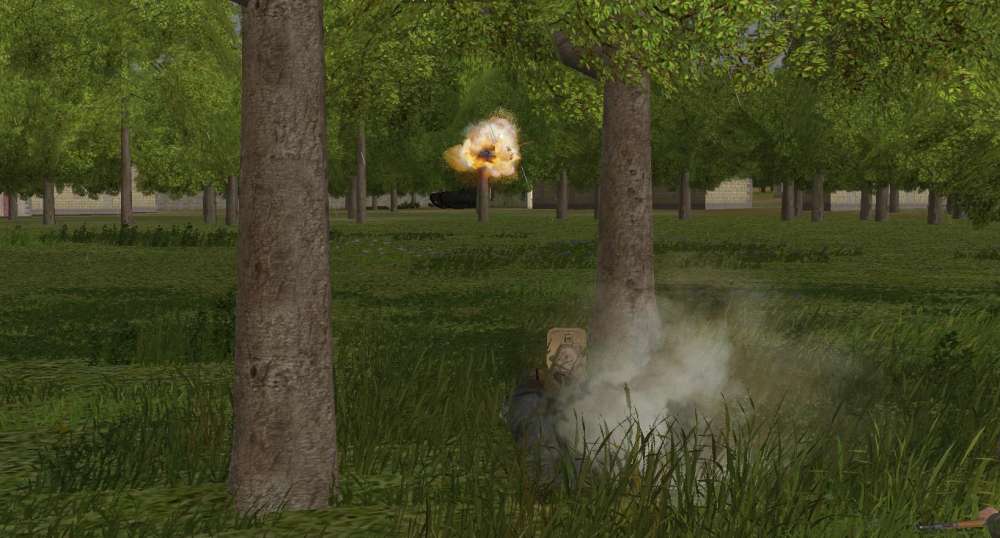
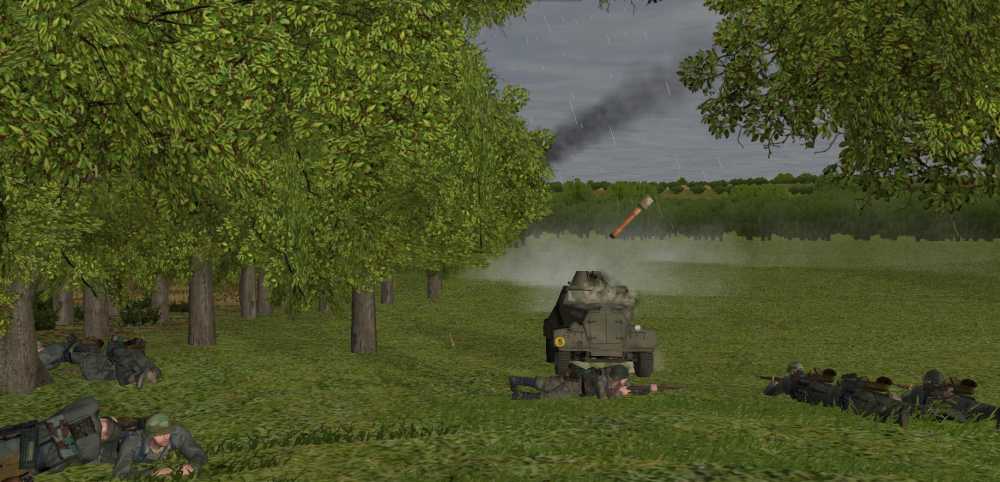
The Stug tracking the approaching Churchill gets a key hole shot.
And hits.
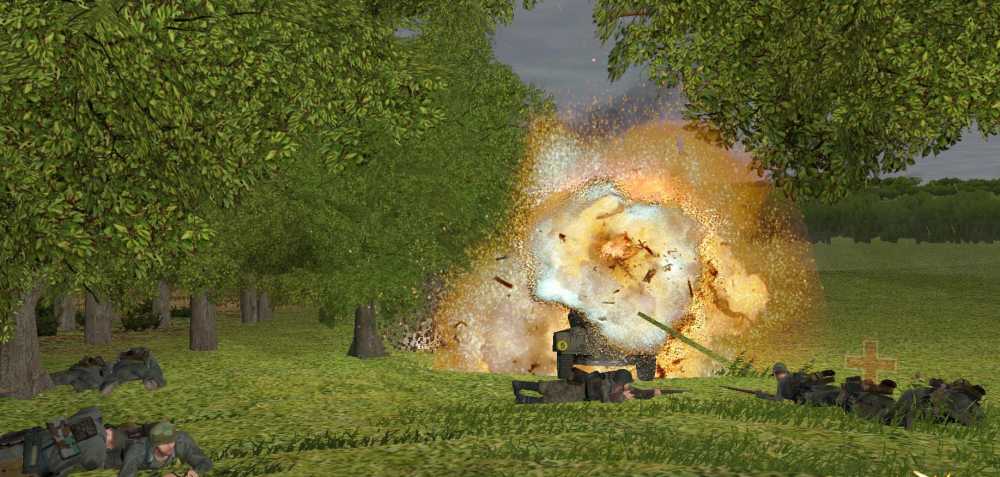
But the Churchill does what they have been doing all throughout this game – shrugs it off and returns fire.
The tree saved the Stug but I do not think I can stop the enemy from the orchard.
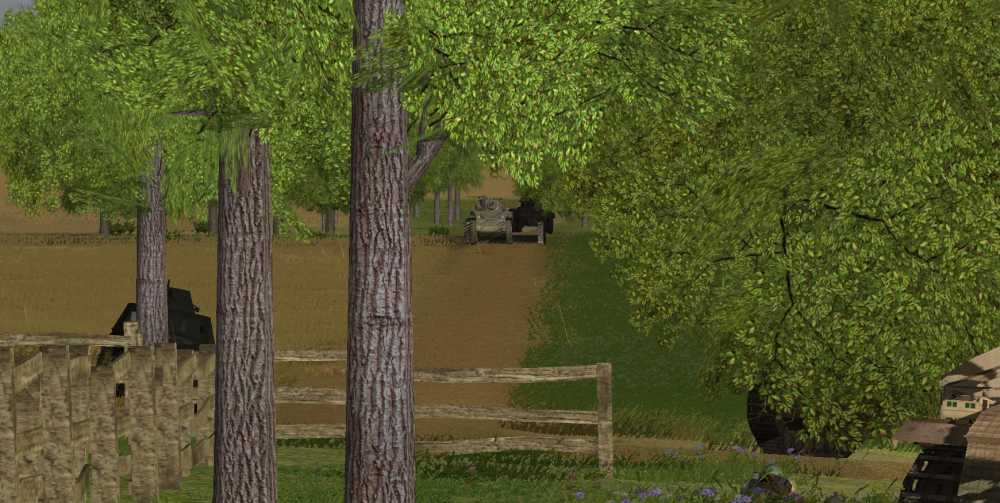
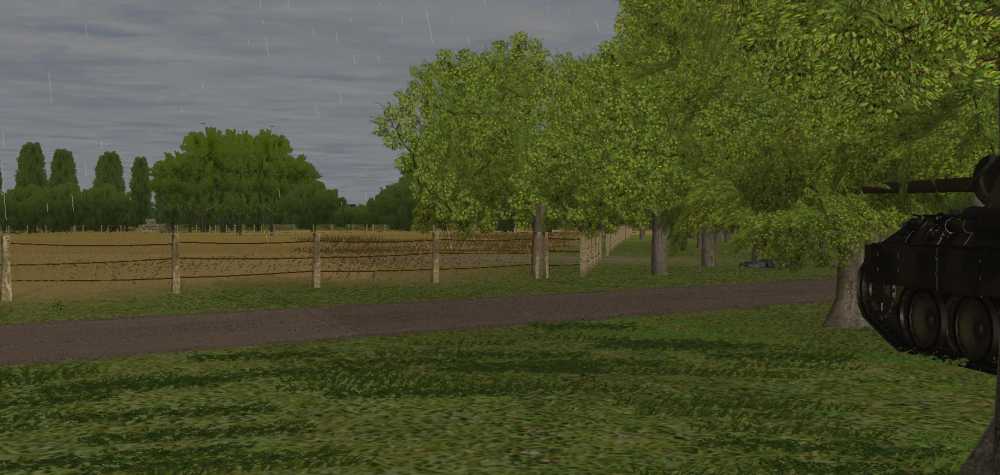
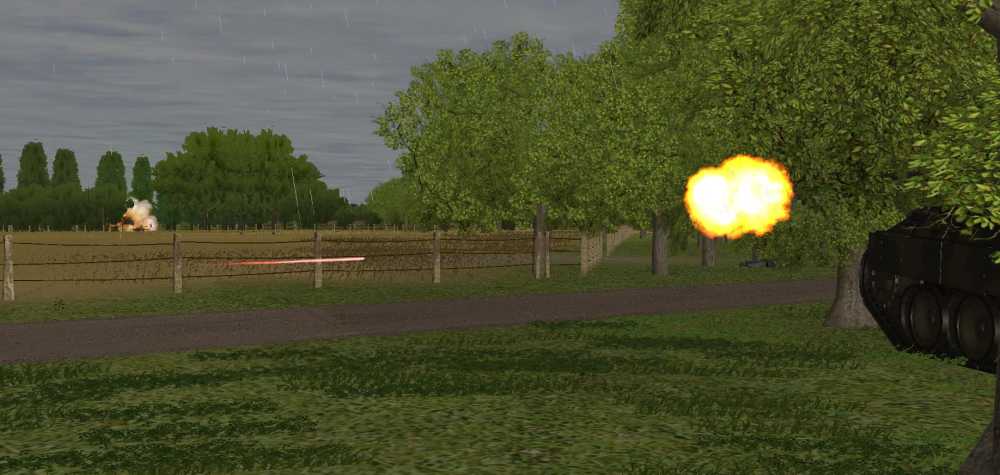
At the other side of the orchard the armoured car is still a threat.