

A Canadian Cat
-
Posts
16,525 -
Joined
-
Last visited
-
Days Won
55
Posts posted by A Canadian Cat
-
-
Until finally six hits from the Panther’s main gun the tank finally dies.

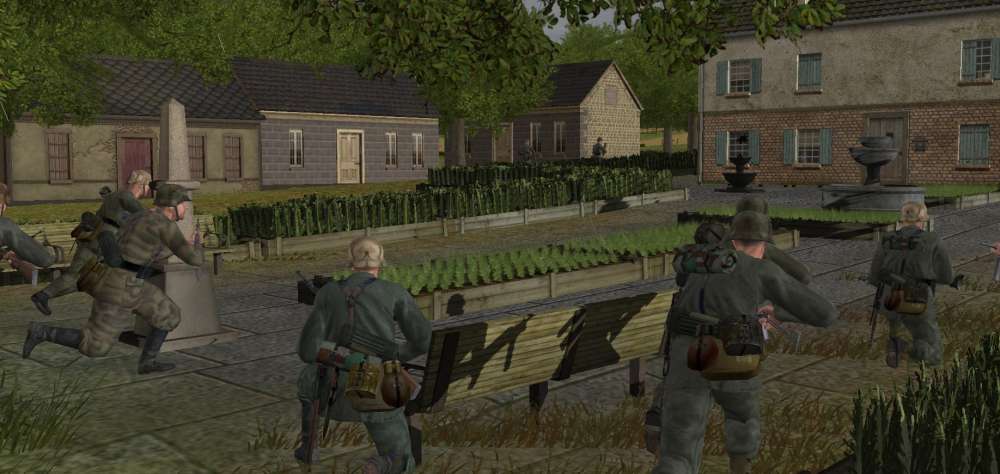
My Shrek team in the town never get a good LOF on the Churchill tank but make it to cover.
That tank however proves to be a real problem. It has a great keyhole line of sight between buildings and really hurts one platoon that was moving into the town from the woods.
It also sees the side of the Stug that KO’ed a Churchill from behind last turn. After a couple of shots to clear the trees and two more hits the Stug is destroyed. They never figure out where the shots are coming from.
Other infantry continue to enter the town. I now have an entire Company in the buildings at one end of town.
-
At the main entrance to town my Panther and the Churchill tank duel it out. The Churchill scores some hits but the all bounce off. The Panther on the other hand does some damage.
This turns into a blast fest. The Churchill does not return fire after the first two exchanges but it also does not die right away.
Hit after hit…

-
Hope you remmebered to give them a facing order towards the tank if there is a waypoint there.
I have had success several times (accidentally discovered) by simply having a team FAST move from building A to B (no intermediate waypoints), during which they happened to see a tank, stopped their sprint, aimed, fired and killed the tank, and then continued to B.
Probably doesn't happen all the time. But, the tactic seems to work at least part or most of the time.
I this case the movement order is already facing the right direction because it is not a direct move across but move forward into the open and then back to cover.
-
Ian, you might be interested to hear that that railway bridge was the start of this map, and the first terrain element to go down.
<snip>
In your battle however I did expect the keyhole to work in reverse, but maybe DT wasn't paying enough attention!
Cool back story to the map.
Yes, in this case the Stug had been there for several minute - covering that approach. The TD was the one moving.
-
the board software has limits to how many I can include in my sig.
LOL - thank goodness for that

Who wants to start a petition to ask Moon to lower that limit some more.?

-
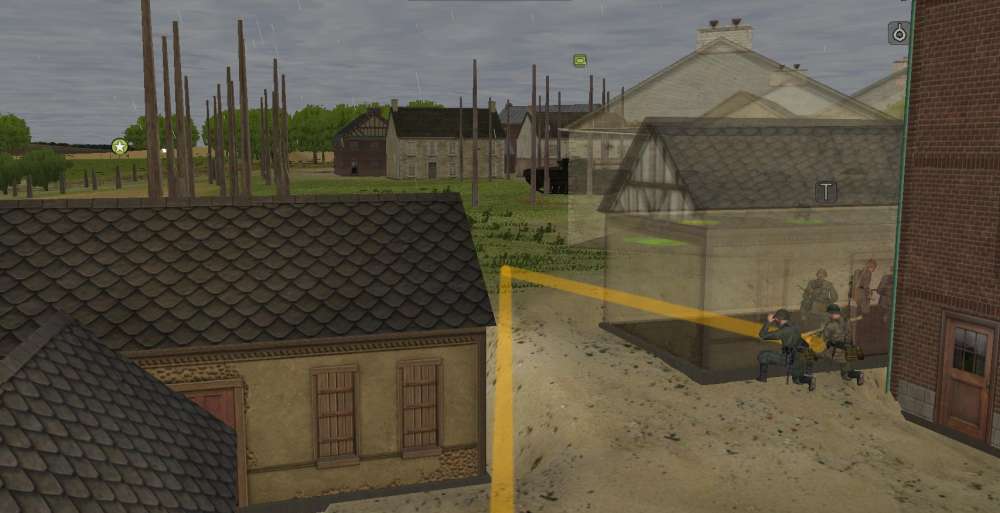
Nope it did not. I have to write up the turn but basically they did not see the tank. Things are pretty tight between those buildings and the LOS is not clean. So the orders I gave did not let them see the tank. I am trying the move again going the other way but with the team coming more out of cover this time.
-
The infantry at the farm continue to take up defensive positions and push to occupy the entire farm.
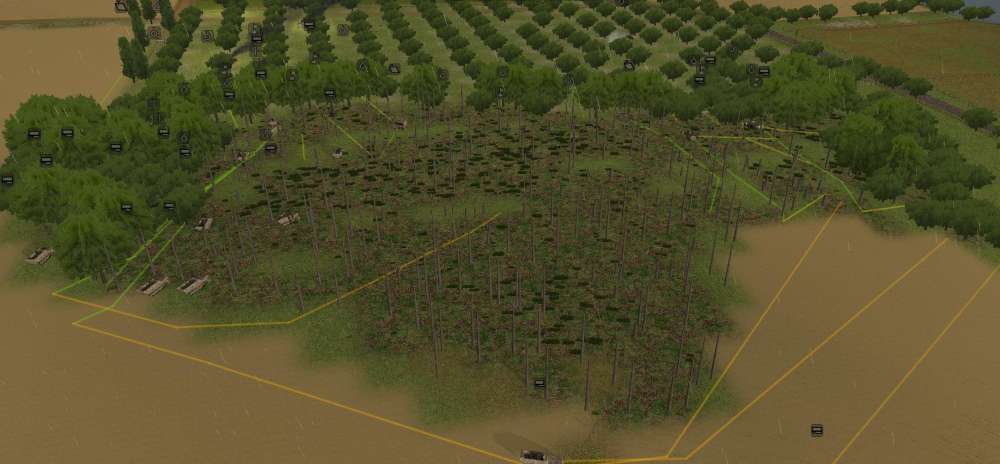
The withdrawal at the orchard is progressing well.
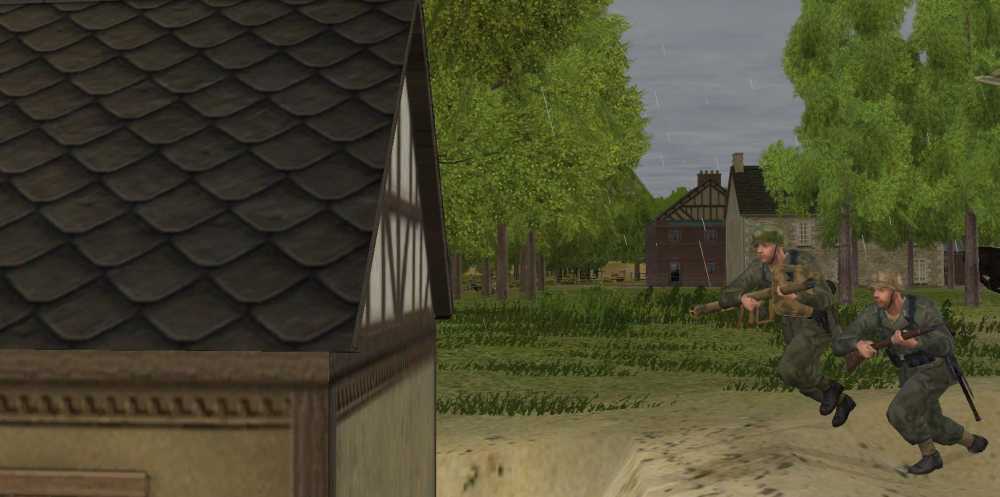
One Churchill tank has wondered pretty close to town. There was a recent thread about having a Shrek team run between two points of cover and take a shot as they moved. I am going to try this out in a real game here.
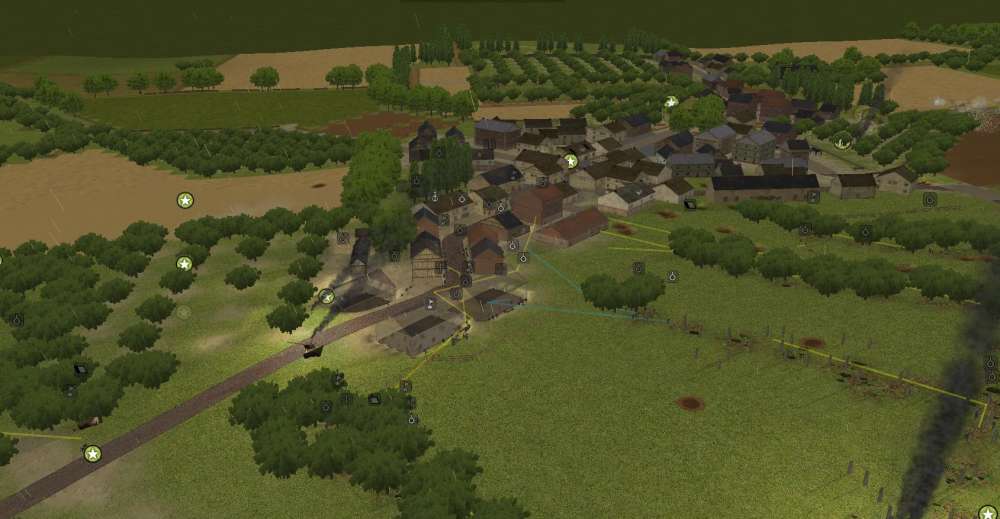
Meanwhile infantry continue to head into town.
-
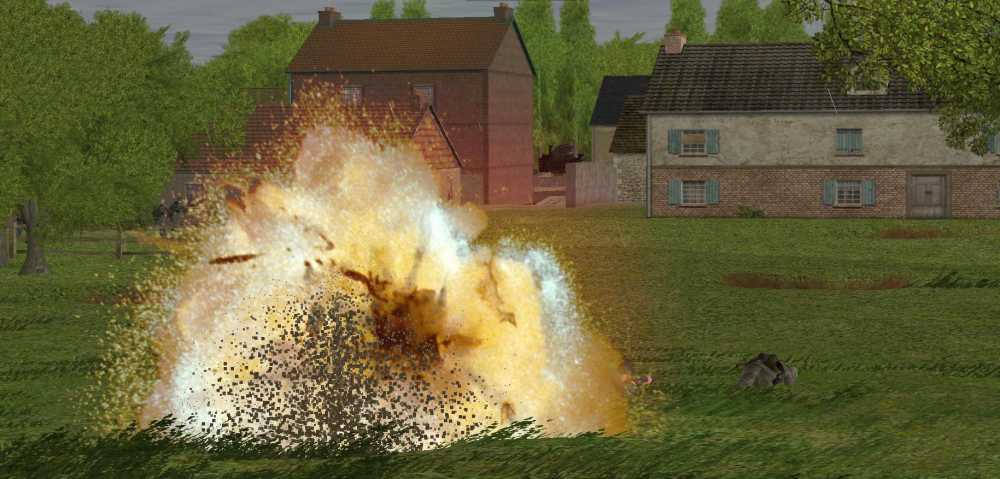
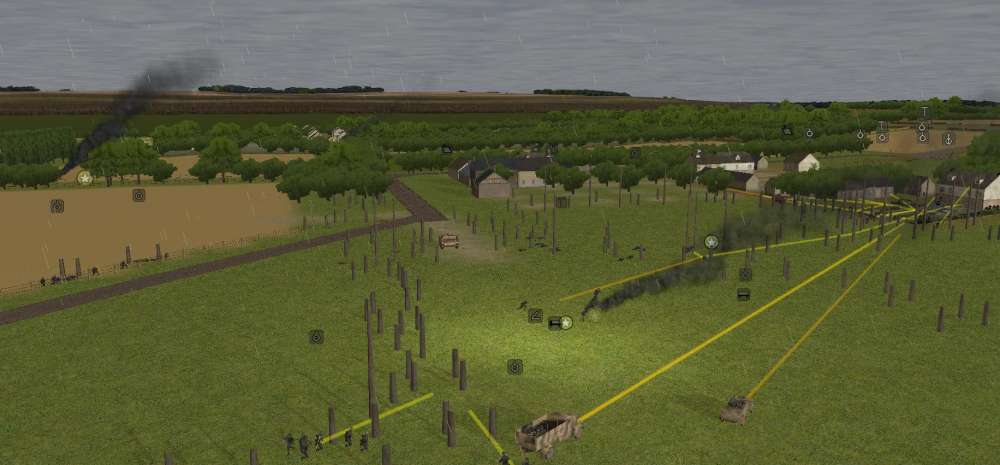
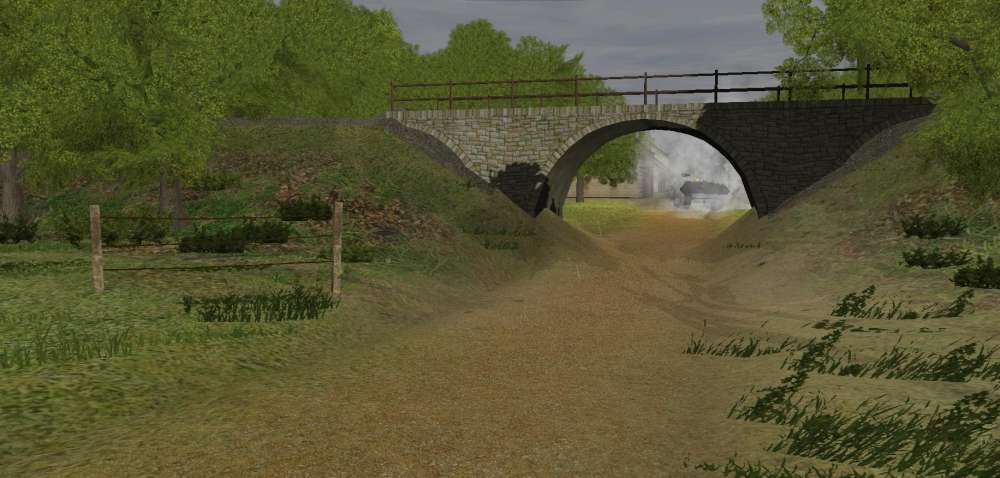
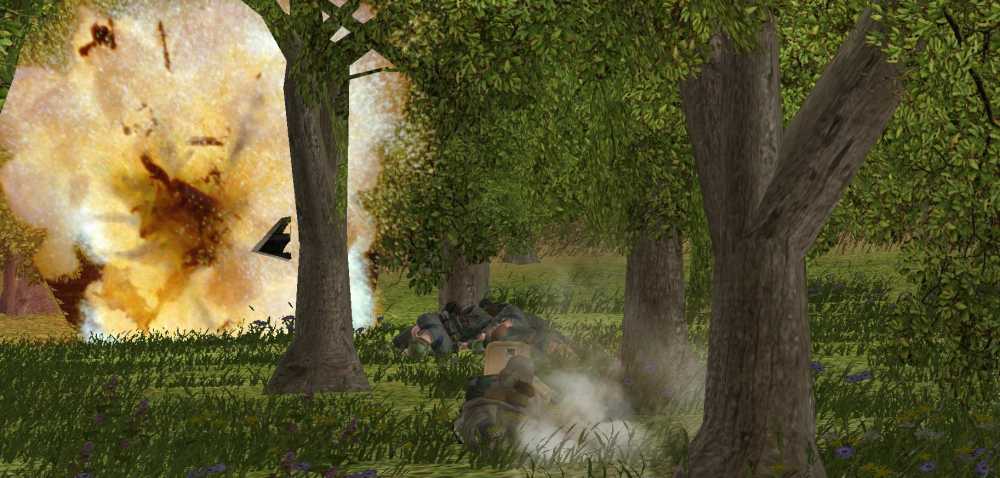
The Stug in support at the farm gets a really lucky shot. Through the trees and under a bridge.
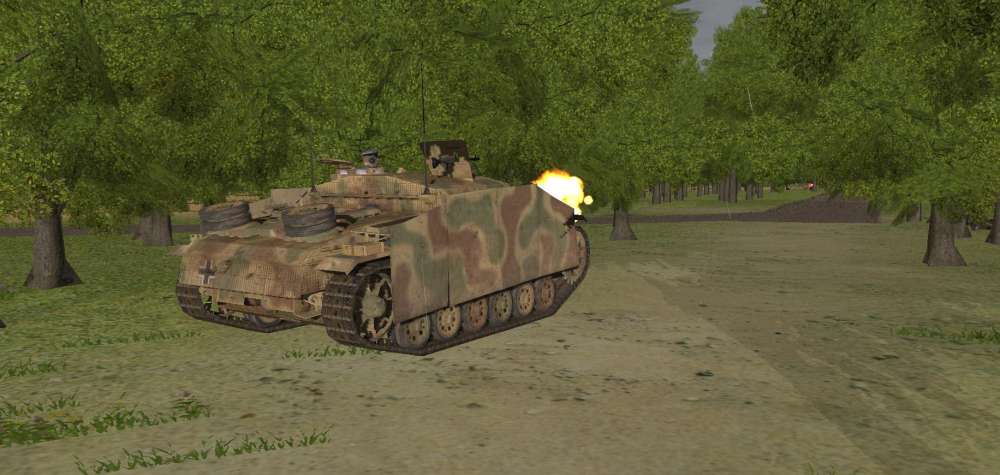
He manages to thread the needle…
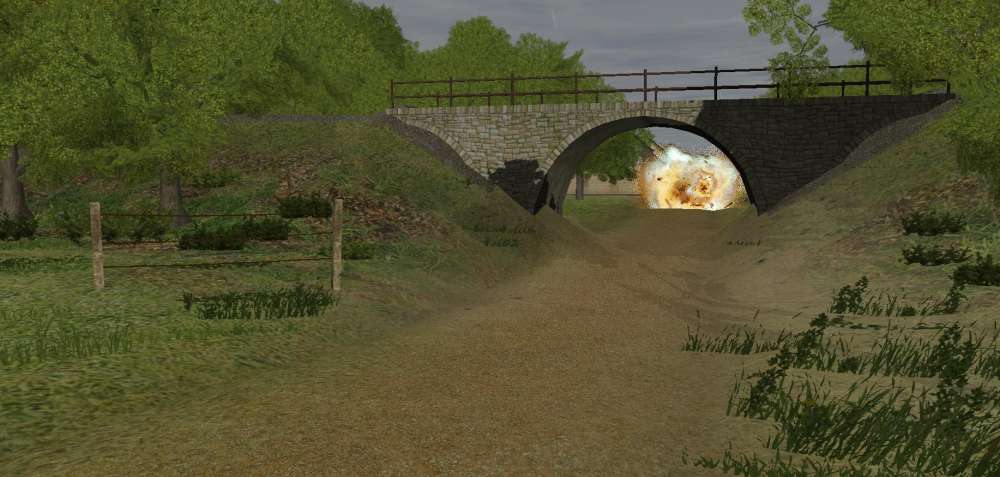
…and destroy and Achilles.
Over in the orchard most of 5 company have withdrawn but this squad could not get away fast enough.

-
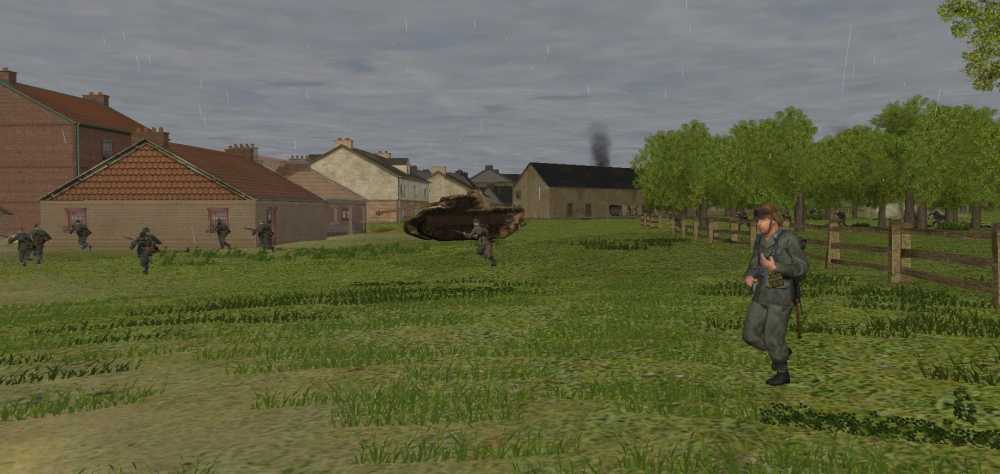
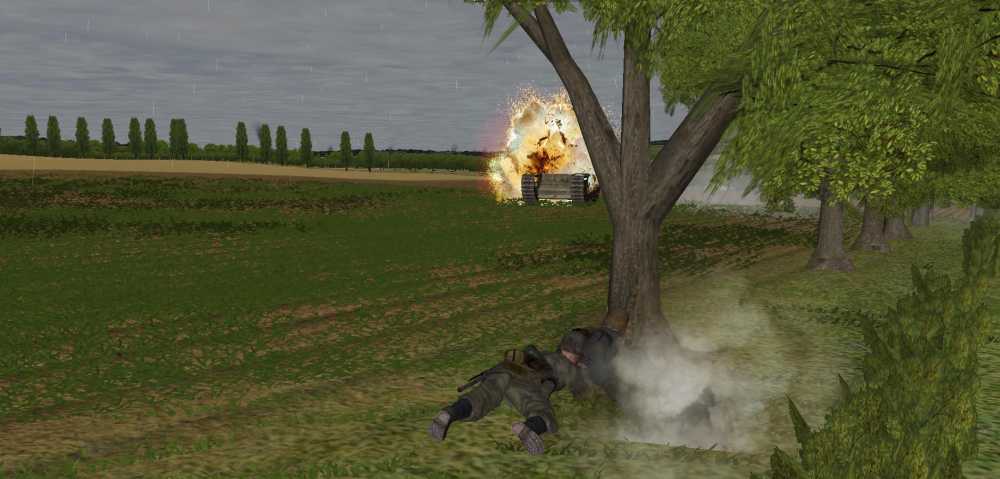
The infantry guarding the entrance to the town find one of the Churchill tanks that had pulled back.
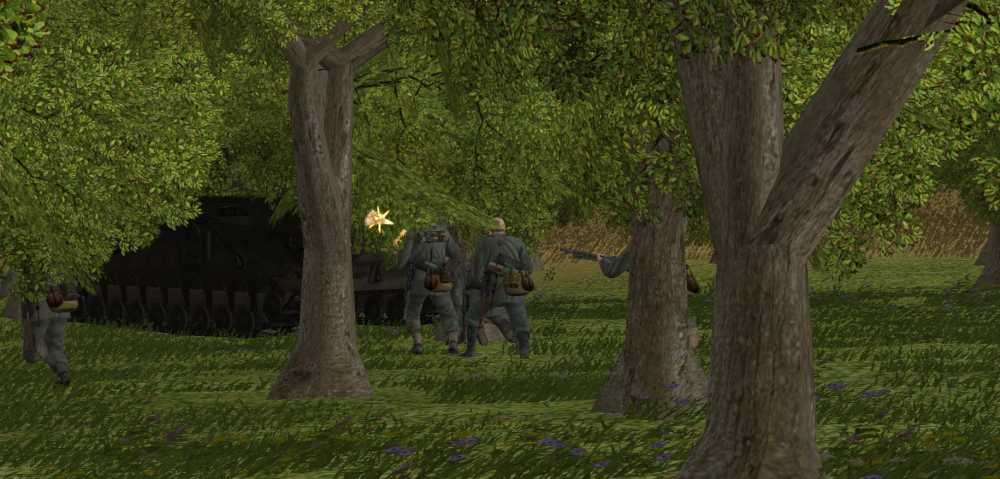
And the manage to get a solid hit from their Shrek team.
But alas they do not kill the tank. Instead it kills them.
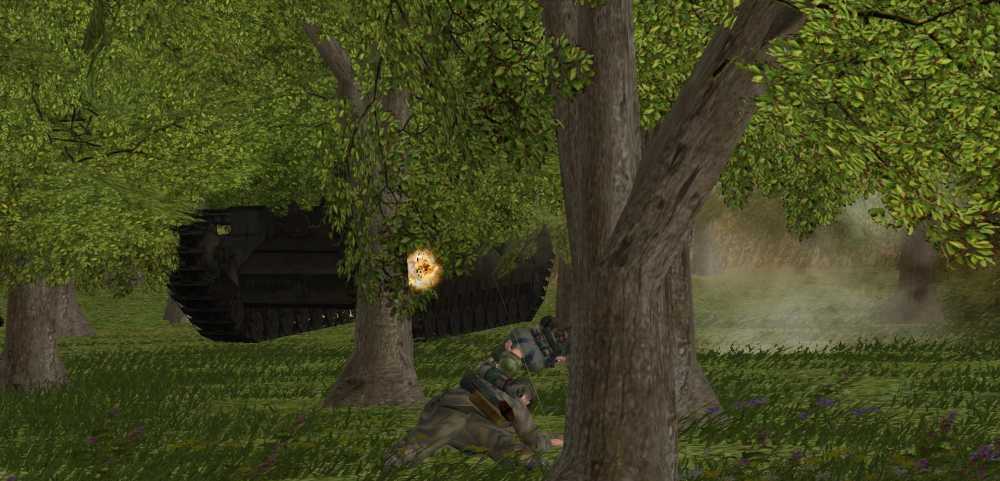
Just about all of them.
Meanwhile back on the farm the platoon enters the garden.
-
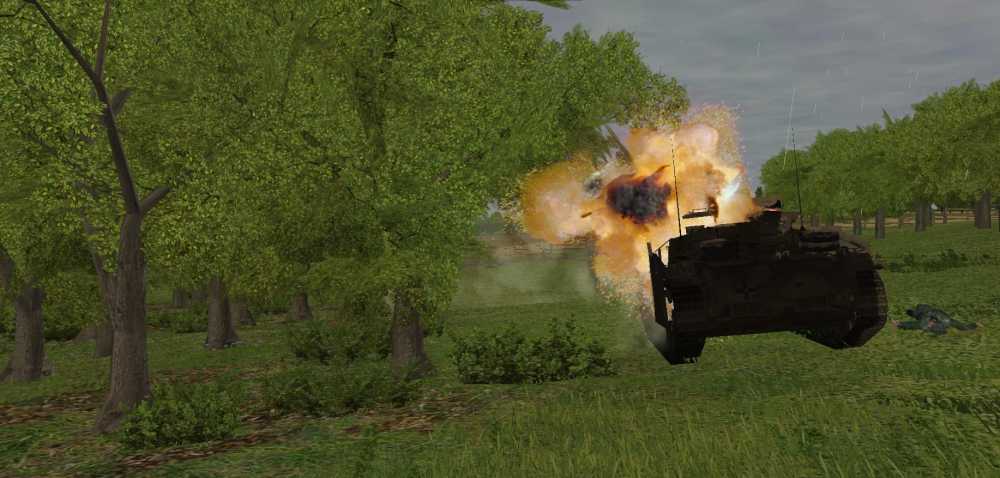
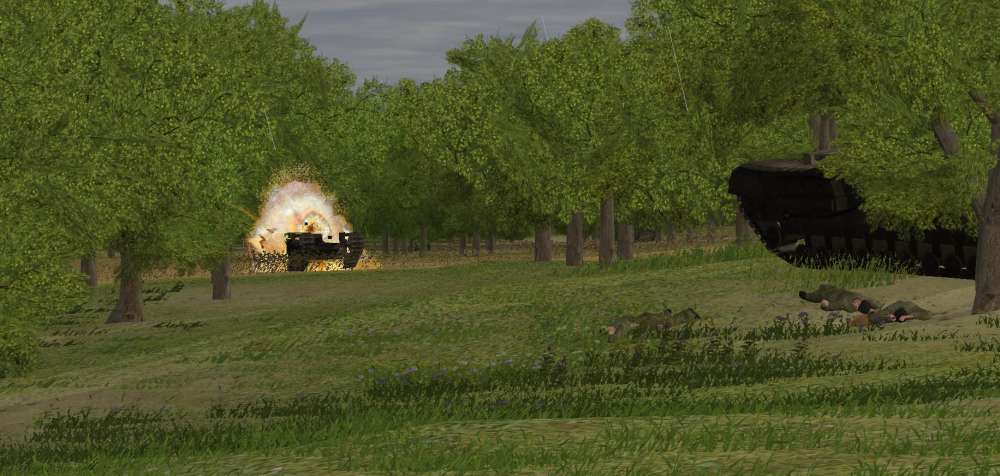
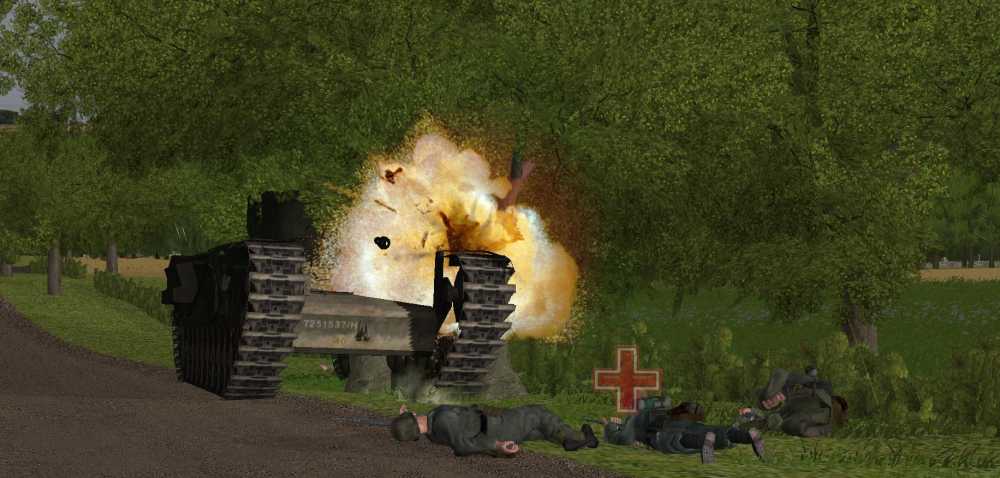
This was another mad minute turn. There was lots of activity starting with some truly amazing news. The Stug that I sent to get a rear shot on those Churchill gets into position and before he is spotted he fires.
…and hits destroying the enemy tank.

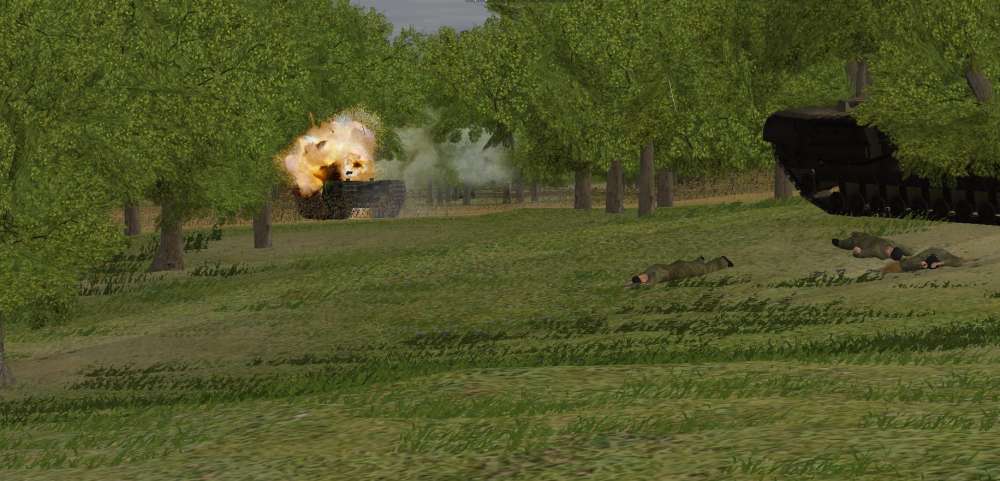
Just moments later the infantry nearby score a direct hit too.
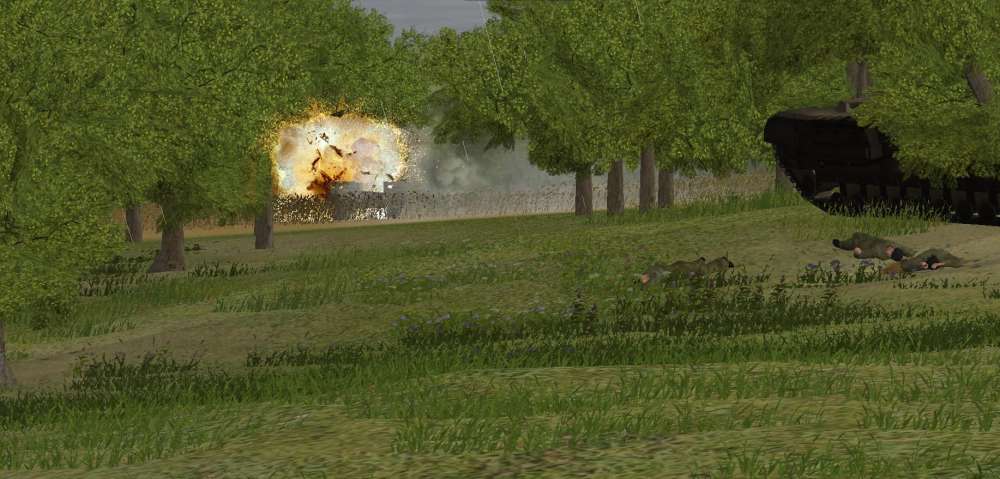
And the other Shrek team hit their target too. But this tank is not destroyed and it guns down my Shrek team before they can reload.
-
Yes, you can. It is a joy to create maps using the underlay. Check out my first experience here:
http://www.battlefront.com/community/showthread.php?p=1391571&posted=1#post1391571
The thread has links to other threads for how to create the contour lines.
I am still working on the AI - different challenge.
-
This just happened. Two Panthers were trailing some mech infantry. The lead pioneers had reached the wall and were preparing to breach. One of the infantry spotted a nice juicy truck on the other side of the wall (enemy truck is 300m or more behind the wall, my HT is 300m away from the wall). Next turn command phase I tweak the Panther's paths so they follow the HT that spotted the truck and add a slow and a pause for the lead Panther (second panther is away behind so I just get him to stop behind the hill).
When the turn comes back the lead Panther spots an enemy Panther (we are playing red on red) where the truck was expected to be. The gunner takes aim - looks like I am going to get the drop on him because he is still turning his turret. Just as the gunner pulls the trigger the driver hits the breaks. Tank nose dips, round hits the ground most of the way to the wall. Down goes one of the pioneers.
My guys frantically try to reload. But it is too late one shot hit one shot kill.
But it gets worse.
During the command phase I decide not to risk my other Panther and back him down the hill to reroute him into cover. I am done taking risks against this opponent. He is good and lucky - nasty combination

The next turn comes back and I discover that not only is my second Panther not really hidden behind the hill but the enemy Panther already has a bead on him. Two Panthers down in 70s.
This is not starting out well at all.
-
But perhaps the more specifically "business critical" side of things like vehicles blocking single lane bridges.Yep, that's what I would shoot for (which *would* lead to discussion about development priorities, but at least it's a possibility).
Oh, yes please. Blocking bridges roads and gaps in obstacles would just awesome. I am sure it would lead to plenty of frustrations - but the right kind of frustrations. The kind that results from your opponents doing bad things to you.
-
It's like trying to point the finger at the problems in the financial industry and deal with it in one go. The fact that it is horribly broken and not getting better is painfully obvious, but what to do is not
What!?!?!? I know exactly hot fix it. Oh wait you mean some kind of agreement on what to do. So far I do not think I have spoken to anyone who likes the same ideas.
(I think public executions of certain responsible parties would help... but I am in the minority on that).LOL - tempting indeed but way to medieval
Two things you guys can count on... the first is that there will always be things that you want changed/fixed. Second is that we always do our best to act on that feedback with each release we give you. It's what always keeps things interesting, as well as improving.Which is great - thanks.
-
Screw worrying about your competency, find someone who just wants to have fun. If they are better than you then they can help you accelerate your learning experience.
+1 to that. I learned more getting my ass handed to me in a couple of games against a guy I still play with regularly (but now I win some of the time) than I did playing against the AI. Try http://www.theblitz.org/ladders/Combat-Mission-x2/action=ladder&lid=16&active=0&played=5&order=d&order_by=elo&all=1 You can sort the ladder by ELO (which is a performance based ranking - http://en.wikipedia.org/wiki/Elo_rating_system). Once you have played a few games you can start to see who is a good match to you. I personally try to play higher ranked players for a challenge as often as I can.
-
This is getting to be like having four beautiful wives and not being able to make up your mind which one you are going to sleep with tonight.
One? One? If you are fantasizing about having four beautiful wives you do not have to limit yourself to sleeping with one. Just sayin'
-
And if we included the Free French, but not the Poles or Canadians, don't you think someone would make a post similar to yours?
You betcha
-
My problem is the delay. A short delay of say 4-5 minutes I can just about manage, but often it's more than that, significantly more. Add the time of getting an observer in position, and it can be upwards of twenty minutes before rounds fall on target.
20 minutes - yikes what are you calling? OK some of the big stuff has a long delay (I have one game going where my 150mm German guns take 15min to call in). But I try to have my FOs less than 2min away from the front guys (use jeeps to increase their mobility - just don't get those jeeps into LOF of the enemy). The other thing I do is have a variety of artillery. Obviously this does not always work depending on the size of your force but for a big battle have a battery of 150, a battery of 105, a couple of 81mm mortars and a few on map mortars. That way if you know you can keep the enemy in one place you can bring down the 150 if not you can get some 81 on target much quicker. Heck call them both: the 81 might be enough to slow the enemy down long enough for the 150 to cause some real pain.
One useful thing to note about FOs (or any other HQ calling in the artillery) they do not have to stay in LOS for the whole time. My guys are living much longer now that I bring them up - make the call and then back off. Each turn watch the artillery board and wait until you see the spotting message show up and then move the caller back to LOS. Clearly you do not want to move them far but back from the bocage, behind the building or over the crest of the hill can make the difference between safe and artillery falling to dead and artillery in limbo.
Another suggestion to the OP is to slow down the pace of your battles. After all, 10 minutes to your pTruppen is really only enough time to sit down, catch their breath and have a smoke, maybe two. 10 turns is an eternity to us players, but in real life any officer who refuses to wait 10 minutes for the artillery to dial in before attacking a known enemy position would be considered wildly reckless and would likely have never reached a command position in the first place.+1 for waiting.
As the attacker my mantra is wait for it. Use your troops to find the enemy and when you do find an enemy force you cannot handle wait for the arty easily. Bring up whom ever you need to call it. If you keep them close by but safe. Mine are typically able to get in place in about a minute.
Combine TRPs with minefields alongside something like a pair of machineguns laned on the flanks. Use responsive mortars to provide suppression once the MGs are silenced. If you still have time, consider next time buying a vet FO to slash the response.+1 Here too. As the defender you want to delay your attacker with suppression fire and have TRPs ready to go so the fire comes down faster. Even without TRPs suppression to pin the attacker helps a lot. All you need to do is slow them down enough to get the arty to start.
As the defender my mantra is call it before you think you will need it and cancel it or adjust after. If your picket teams start seeing contacts call the arty - on top of your own guys. Wait a bit and either get confirmed contacts withdraw your guys and let the pain rain or cancel it if the thread is no biggie (note: it usually is a real threat).
-
(as an aside, that table isn't especially well labelled. For instance, BdB has a '% win' of 0-0-100 ... I assume the middle number is draws, but which side is which for Axis and Allies?)
Interesting I never noticed the confusion but you are right. The number differs from scenario to scenario. If you click on the details a popup will tell you which side is first and which side is second. That tells you which win % is which. The centre number is draws.
I never noticed because the way I use the table is to look for a scenario with a fair number of games played and something close to balanced (20 35 45 is close enough for me). I don't need to play a game that is perfectly balanced but I want a shot at winning.
I am one of those losses for BdB but it was an enjoyable loss.
-
One thing that you might be running into is that it takes practice to differentiate between low bocage (which is impassible) and a hedge (which is passable). Wire is *not* passable for infantry. This is why your guys went the long way. Hedges in the game are really really small and look pretty well trimmed. Low bocage does not look like it should stop infantry but it does.
Dealing with:
Bocage - You need to look for gaps. Infantry can get through even the small man sized holes. To do this get down to camera level 1 and move the camera along the bocage line looking for gaps. Usually you can see where the berm dips down to ground level. You can make your own gaps with Rino equipped tanks or by blasting with engineers or breach teams.
Wire - Your infantry will not be able to go through it - they will go around it. So you need to use armour to drive over it - then your infantry can cross. Engineers or breach teams can blast it wholes in wire. An artillery barrage can also sometimes create gaps in the wire.
Ford - Before you try to cross a river you need to find the fords. Once you know where a ford is place your movement way point on the shore at the location of the ford and then another way point on the opposite shore so the line between them is over the ford. To find fords you can look at the terrain along the river. Most authors put a bit of mud or dirt at the ends of a ford. Alternatively, and to verify that there is really a ford at the location you think, drop the camera down to level 1 and put it in the middle of the river. You should sink a bit below the surface. Now move the camera along the river following its direction changes so that you always stay a bit below the surface. When you find a ford you will see the round rise up from the bottom and when the camera is in the ford you will no longer be a bit below the surface.
-
I found that (and the armchair general tutorial somhow implied that) systematically reviewing a turn greatly improves situational awareness. When i watch the movie, i try to answear the following questions:
1) Did i take any casualties? If yes, how did that happen? What effect does the enemy fire have on my troops?
2) What effect does my fire have on the enemy?
3) Concluding from the above two: am i winning all current firefights? How can i improve the situation and if i cant, is breaking contact and retreating a better option?
4) Are spotting rounds landing anywhere near my position?
5) Whats my troops ammo/manpower status?
6) Is everything going according to the 'big plan'?
How do you review a turn?
That is a pretty good list. I often screw up number 5. I cannot count the number of times I have missed that my troops pressing forward are out of amo for a couple of turns. Very embarrassing.
-
The important points are that the target line from a way point really is calculated from the way point even though the line drawn comes from the units current position. Personally I would like to see this adjusted in the future but for now we have to just trust it. And that the target line is checking LOF to the ground at the location. This is important to remember because you will get burned by tanks and other AFVs that are higher and can see you when you thought that you cannot see that location.
So, my questions for the more experienced wargamer are:1. Which views do you use the most?
For checking LOS level 1 for soldiers and level 2 one wheel rotation down for most tanks or two for those that are low such as a Stug.
2. What is the best way to determine LOS or field of view of a particular position?Using the target tool as a starting point but once I think I have a good place I move the camera to that location and go to camera view as described above. Then I look around and use the magnification tool to get an idea of what the unit will be able to see.
3. When placed near a useful terrain feature like a ridgeline, will tanks and infantry automatically use that feature for cover/hull-down?Sort of. Infantry will find locations of cover inside their action square. Tanks go where you tell them. If you want them hull down then you need to place the way point where you like. See my comments about camera position and using the camera magnification to see what they see.
I have to add that I am intrigued by @womble's technique. This sounds like a have to try it idea. Thanks
-
What @JonS said is just the experience I had with the 2.01 patch. Stripping off the added directory name worked for me as well. I do not recall having to do that with previous installs.
-
Bull****.
Finish your turns, Cease Fire, or Surrender.
When you start playing a PBEM with an opponent, you enter into a contract to bring the game to some sort of conclusion.
Easy Doug
There is a simple solution - don't play that person again! That should keep your blood pressure in check. So far I have had the miss fortune of running into five people who either failed to finish or slowed down to the point of I had to remind them to play the last few turns by poking them by email. One rage quit after I KO'ed his tiger (heee heee) and one had computer trouble and one just gave up at the first sign things were not going his way. Those five people I played only once each and I will never play them again. I have five or six really good regular opponents that I play regularly with. When I play a new person for the first time I try to keep my expectations low otherwise I my blood pressure would go through the roof.
Those regular opponents and I have chalked up countless enjoyable games. It totally dwarfs the annoyance that came from those few.
I do agree with Doug that if you start a PBEM you should finish it - it is the honourable thing to do.


Axis Side - 20 000 point Quick Battle DAR
in Combat Mission Battle for Normandy
Posted
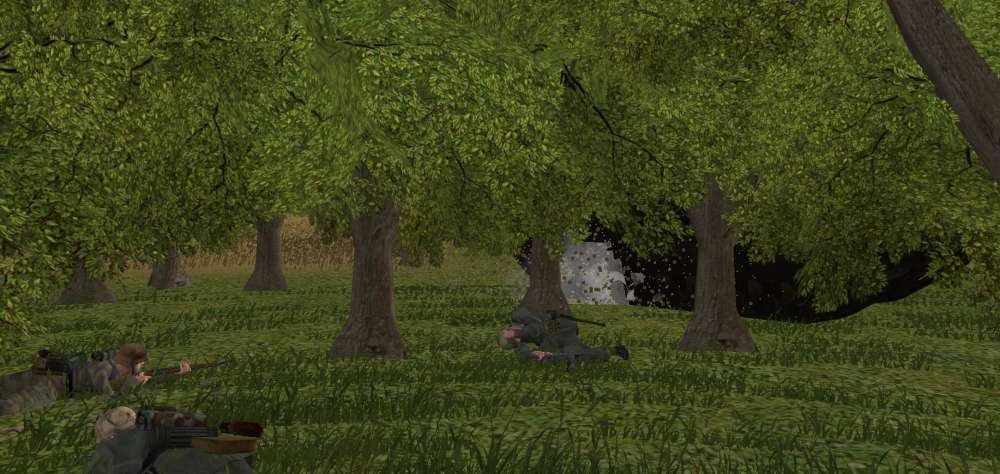
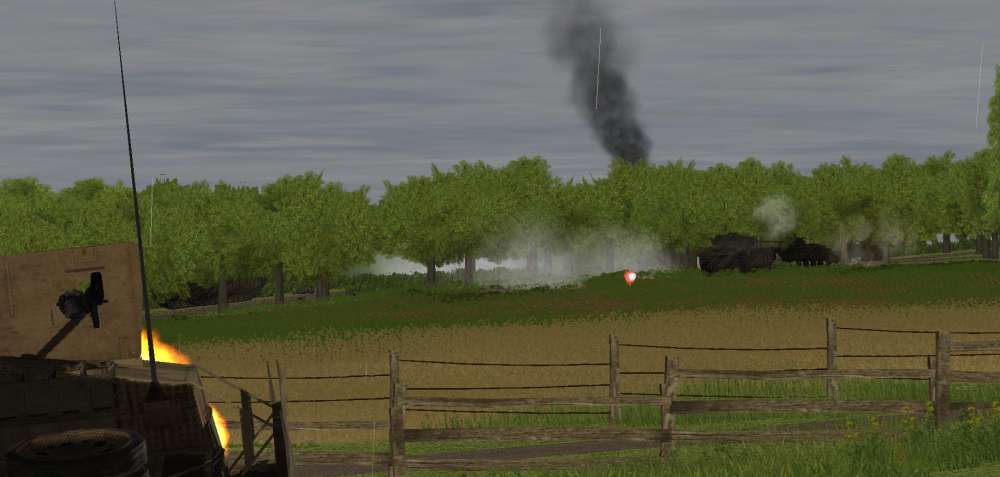
The 81mm mortars rain down near the other entrance to town. Which is good because the only remaining Shrek team is out of amo up there on the ridge.
The Churchill tank in the orchard has inflicted its damage – that squad that was caught there has been eliminated.
At the farm some of my men are surprised by something. They have no idea what or where the shot even came from.