

kensal
-
Posts
411 -
Joined
-
Last visited
Posts posted by kensal
-
-
Turn 4 completed:
More A Coy scouts moving towards the central north-south road into Buron. Not a particularly pleasant entrance route for them, very open and they have already spotted enemy movement ahead. The question is whether to risk pushing them much further ahead on this axis - they could easily get caught without cover and killed if they do go much further.
-
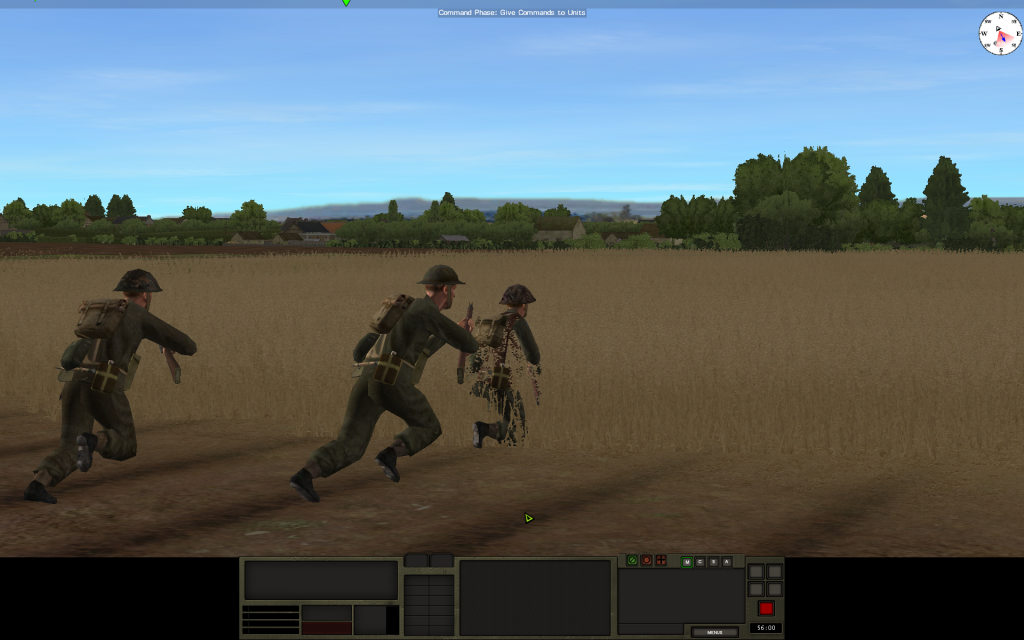
Turn 4 completed:
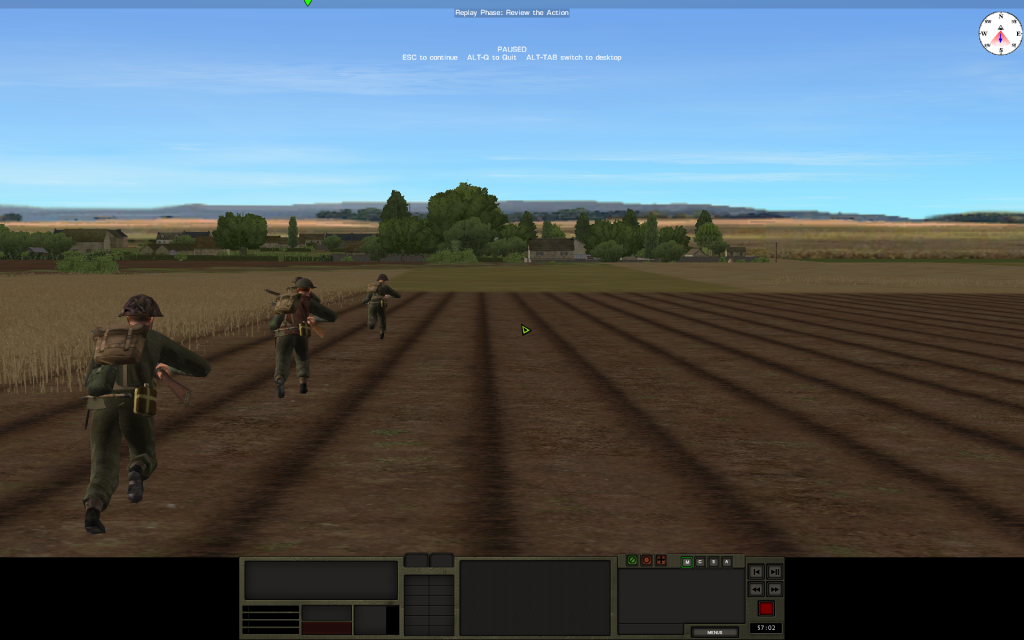
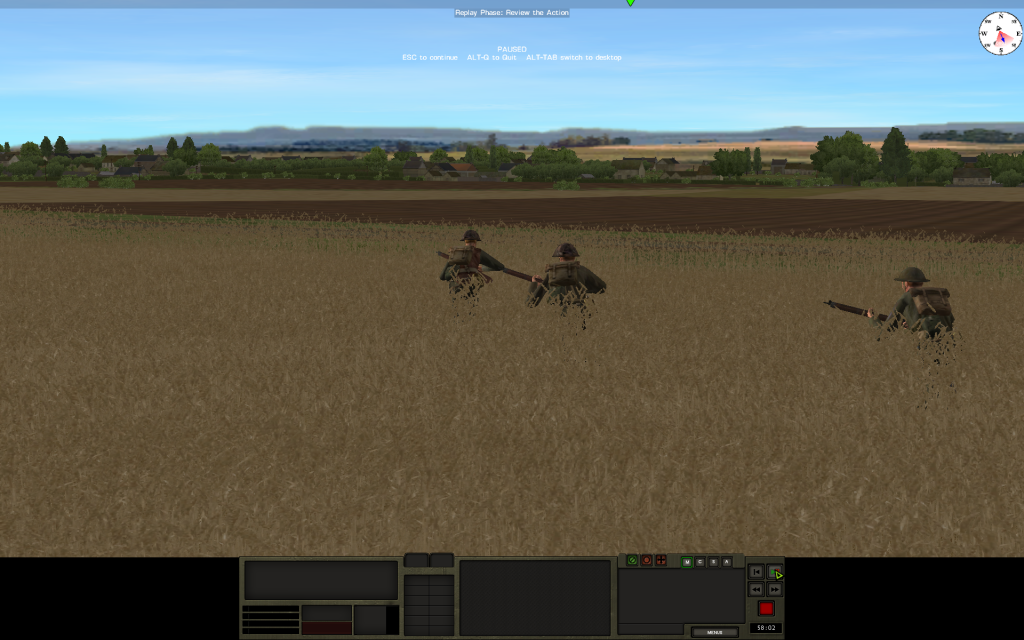
A Coy scouts moving into the relative safety of a cornfield, West Buron ahead of them. These guys are now tiring and may need to hold up for a while. D Coy interestingly have not registered any tiring units despite moving forward relatively quickly. Good fitness there!
-
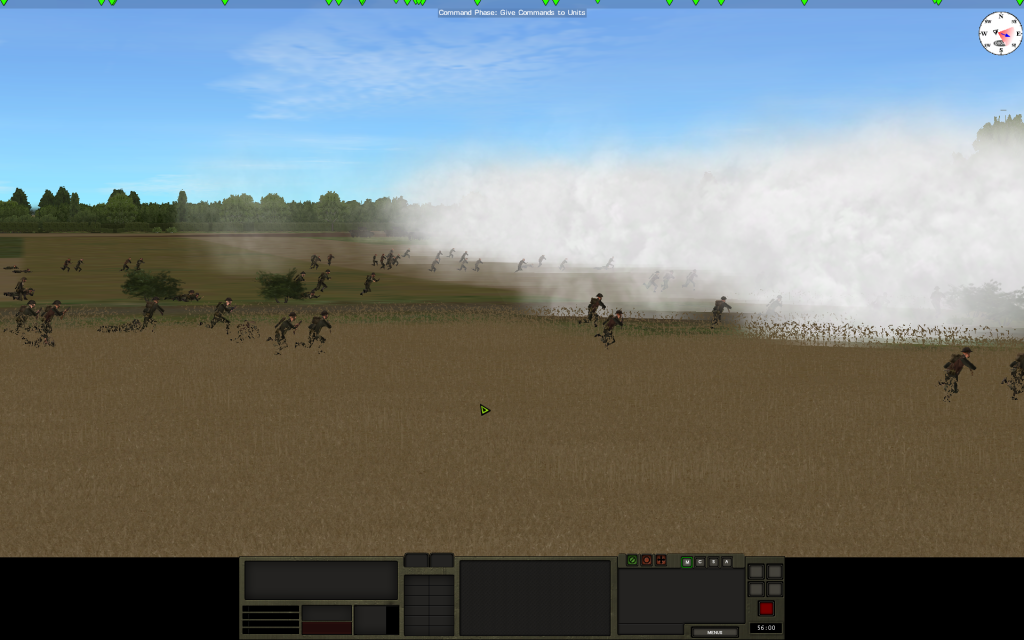
Turn 4 completed:
D Coy advances into the smoke. They are shortly due to go through the other side.
-
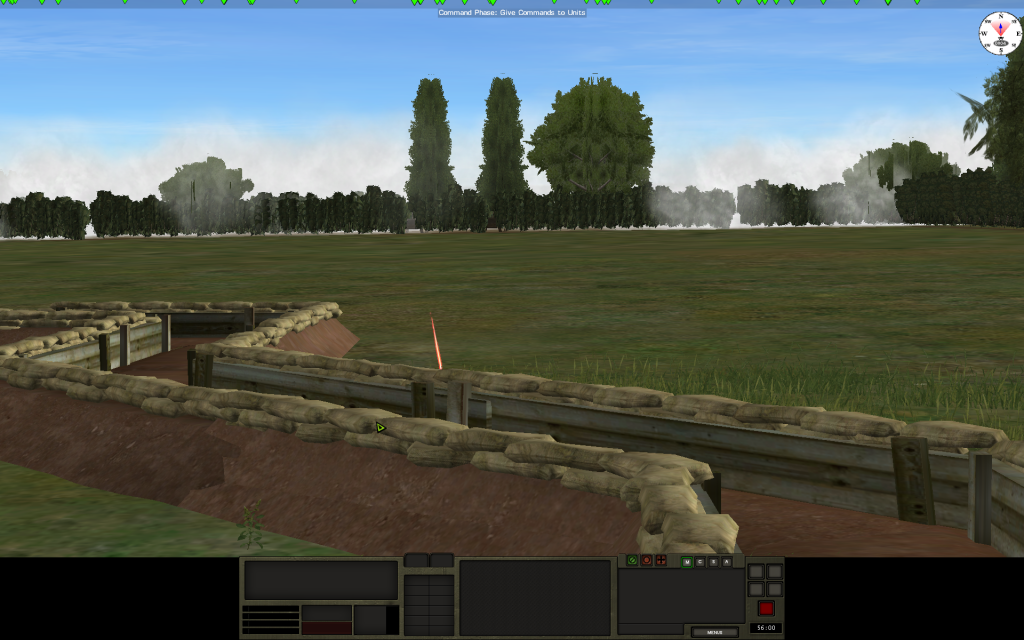
Turn 4 completed: Stuarts hose down the trench system beyond the hedge line in preparation for D Coy's advance. They know its empty but D Coy doesn't and they are grateful for the softening up exercise
-
I understand the reasoning for not reinforcing a defender from the PzC perspective as it does not fit with the turns on PzC.
However it does demonstrate a degree of disconnect between the two games if, for example, in real life you can have a tripwire defence within a forward area, with a mobile counterattack reserve located 1 or 2 km back and not be able to use that reserve to reinforce the forward area once it is attacked. Being able to reinforce after say 1 hour would neatly represent a defender's ability to call up and mobilise a mobile reserve into the battle area.
Having said that, I don't know how you can represent that within the constraints of the PzC system without fudging it.
I suppose the only way you could represent it is by limiting the CM battles to 1 hour, say, and if one side or other are still battling it out, then you go through the next PzC turn to generate another CM battle, in which the original forces are still engaged but additional units can be brought in.
Anyway my next turn is posted and I will be filing some further action shots to show how the Glens are getting on
-
Ok thanks for clarifying that.
-
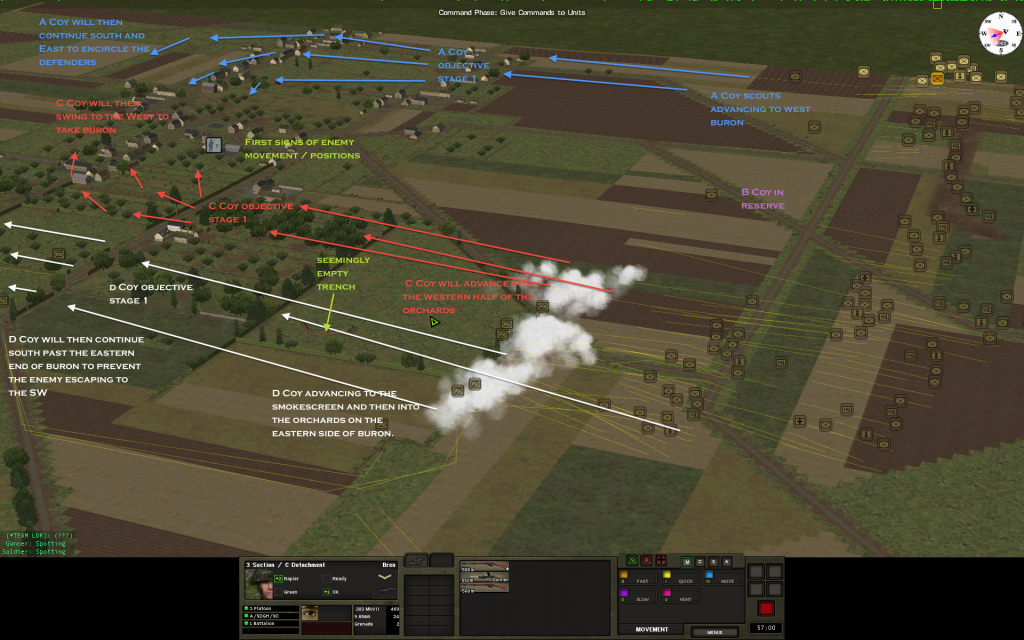
Turn 3 completed, Turn 4 orders, situation map.
The smokescreen has done its job well enough. There doesn't seem to be an enemy on the other side of the hedge line but a couple of mgs could have caused D Coy casualties without the smokescreen. D Coy will continue south, avoiding the temptation of swinging into Buron. D Coy's job is to swing west after bypassing Buron, to scout out the area beyond, where enemy panzers are moving north, and to cut off Buron's garrison's line of retreat.
C Coy will protect D Coy's flank and swing west into Buron.
B Coy will stay in reserve.
A Coy are will send scouts into West Buron and then when the moment is right, push south and try to encircle the garrison.
That's the plan anyway.
Note that A Coy has spotted enemy movement right in the centre of Buron. If they try to defend that they will be encircled and destroyed.
The question is, will the enemy forces to the south of Buron be able to enter this battle at turn 30? I feel that I need to guard against that possibility.
-
Turn 3 completed cont....
A Coy scouts continue towards West Buron:
-
D Coy is now coming up the hedge line covered by the smokescreen and will be moving past that into the orchard beyond. There is another trench system (which you will see from a situation map coming up) beyond the hedge line but it seems unoccupied.

-
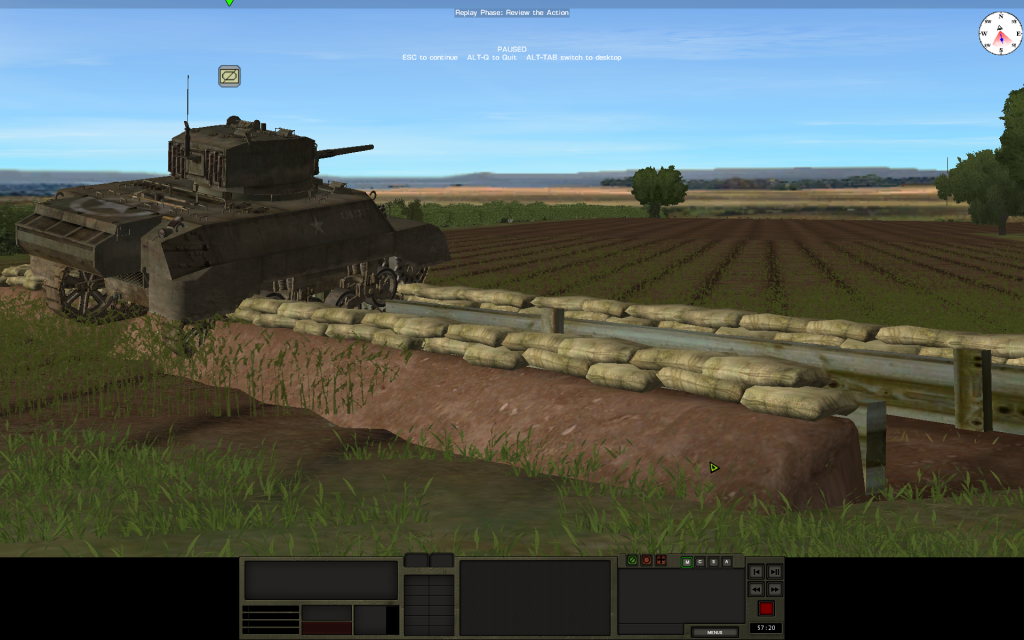
The southern most Stuart troop is now moving due south, skirting Buron. The lead Stuart encounters a trench system and there is a heart in mouth moment until it is clear that it is unoccupied. The Stuart bowls over the trench and moves on
-
Turn 3 completed:
Here is a view from the hedge line facing D Coy: it seems unoccupied however.

-
A Coy scouts on the western flank of the line head through the corn to Buron's western end. They have a long way to go. No sign of any opposition.
-

The southernmost Stuart troop head towards the eastern end of Buron, without encountering any opposition. They won't be entering the town but instead will head southwest in order to prevent any enemy from escaping from Buron.
They can also check to see whether any elements of the enemy armour spotted to the south of Buron are approaching.
They need to operate carefully in case the enemy has sited AT guns facing south from Buron. May not be likely but could be possible.
-
Leading elements of D Coy cross the diagonal road en route to the eastern flank orchards, towards the smokescreen. Still no sign of any defenders at the moment. Stuart tanks from 27 Canadian Armoured Brigade can be seen at the hedge line.
-

D Coy gets under way. No sign of any opposition so the order has been given to quicken the stride
-
Finally, the eastern-most Stuart troop is sending one vehicle to check out the eastern flank of Buron. We believe there are some Pak assets in Buron but hopefully facing north rather than east. If that is wrong we may found out sooner rather than later

-
This is D Coy's view into Buron looking south-west. Lots of flat open ground, so the guys have drawing straws to see who goes first....

-
Here is a shot of the orders showing the location of our smoke. Note that we have six tubes in 3 sections, so each section can only provide a 40m linear screen under the CMPzC rules (I think!). We only have 24 smoke rounds anyway but it should help D Coy get towards the orchards. We are only moving forward slowly initially - A and B Coys are only sending forward a few scouts

-
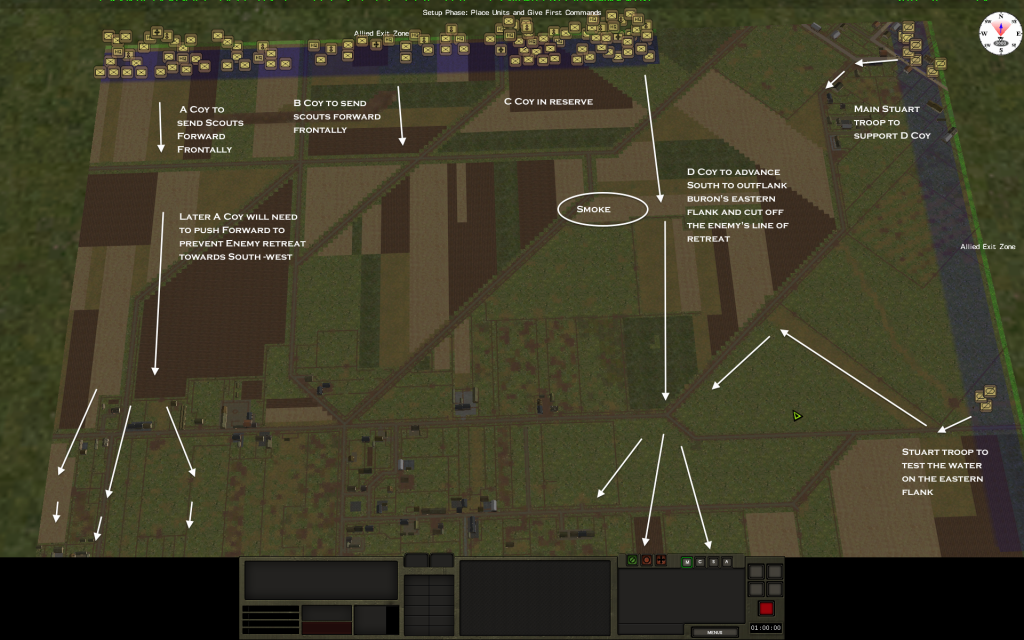
The Glens have been tasked with clearing what are believed to be elements 716ID from Buron and consolidating. Division tells us that an unknown force of enemy armour is moving north from Caen and maybe heading our way. Accordingly we need to clear Buron quickly and without significant loss. Division tells us we need to prevent the garrison from escaping to the south / south-west.
There is a lot of open ground in front of Buron so the main thrust will be from D Coy taking advantage of the approaches through the orchards on the eastern side of Buron, with the initial advance covered by a short stonk of smoke. We don't have much smoke so its effectiveness may be limited but it is the best we can do. D Coy will supported by 27 Cdn Arm Brigade's Recce Squadron.
Once D Coy has moved into the eastern part of Buron and is pushing south to cut off any escape, and hopefully engaging the garrison from that flank, A Coy will set off to hit the western flank and ultimately prevent any escape to the south west.
B and C Coy will be available to support from the front but naturally we don't want to engage the whole battalion if we can avoid that.
-
my beautiful flanking move, sacrificed on the alter called simplicity....

-
I will need some assistance on this because I am a mac user and PzC are windows based. Is there someone who can deal with the PzC element for the Allied HQ?
-
Hmm, I am surmising that the axis won't advance this turn, but will counter-attack our advance next turn, so I will use our artillery.
Please add:
Nova Scotias mortars, fire mission on E9
12 Cdn Fld Rgt, fire mission on I11
-
Presumably I can still direct fire from E7 and F8?- if so all units with mps in those hexes to direct fire into E9.
-
A Coy, SDGH, cmbt form, D6 to C7 to C9
B, C & D Coys, SDGH, cmbt form, E5 to D6 to C7
AT & Mortars, SDGH, (T), E5 to D6 to C7 deploy (if poss)
A Sqdn (inc Fireflies), 27 Cdn Arm Bde, cmbt form, F6 to E5 to D6 to C7 (remain in D6 if stacking issue in C7)
19 Cdn Fld Coy (engineers), cmbt form, F4 to E5 to D6
B Sqdn (inc Ff), 27 Cdn Arm Bde, cmbt form, F6 to E7
C Sqdn (inc Ff), 27 Arm Bde, cmbt form, F6 to F8
A Coy, Nova Scotias, cmbt form, G5 to F6 to E7
B-D Coys, Nova Scotias, cmbt form, G5 to F6
AT & Mortars, Nova Scotias, (T) G5 to F6, mortars only deploy
A Coy, KOSB, cmbt form, H4 to H6 to G7 to F8
B-D Coys, KOSB, cmbt form, H4 to H6 to G7
AT & Mortars, KOSB, (T), H4 to H6 to G7 deploy
Recce trp, RUR, cmbt form, H6 to H8
A & B Coys, RUR, cmbt form, I3 to H4 to H6 and, if recce trp RUR does not 'bump' enemy forces in H8, to H8
AT, RUR (T) I3 to H4 to H6 and, if recce trp RUR does not 'bump' enemy forces in H8, to H8 and deploy
C Coy, RUR, cmbt form, I3 to I5
D Coy, RUR, cmbt form, I3 to H4 to H6
Mortars, RUR, (T), I3 to H4 to H6 deploy

CMPzC Normandy '44 Caen Operation - Allied HQ
in Combat Mission Battle for Normandy
Posted
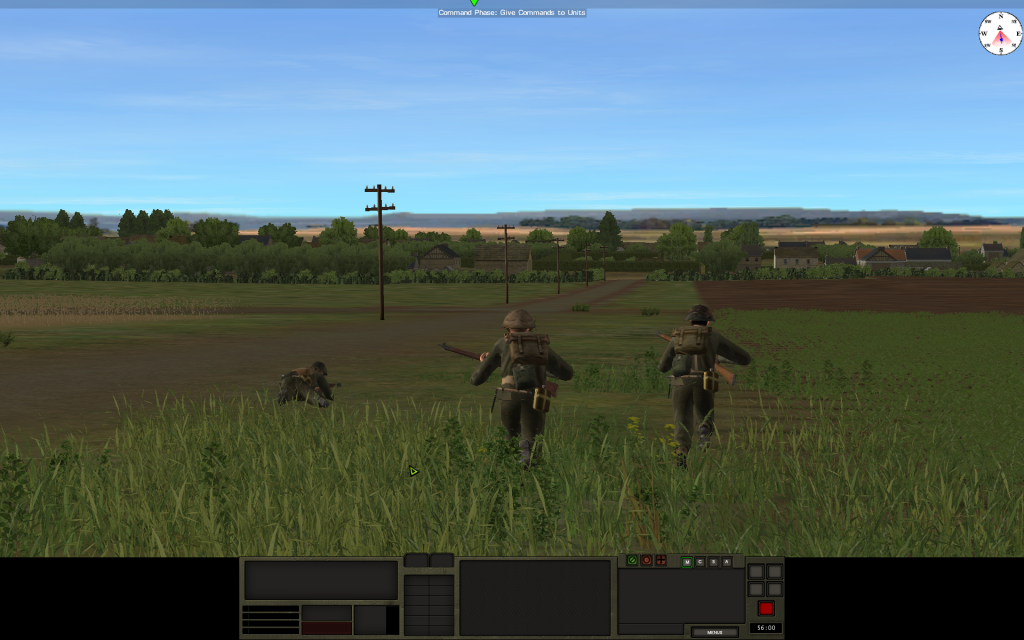
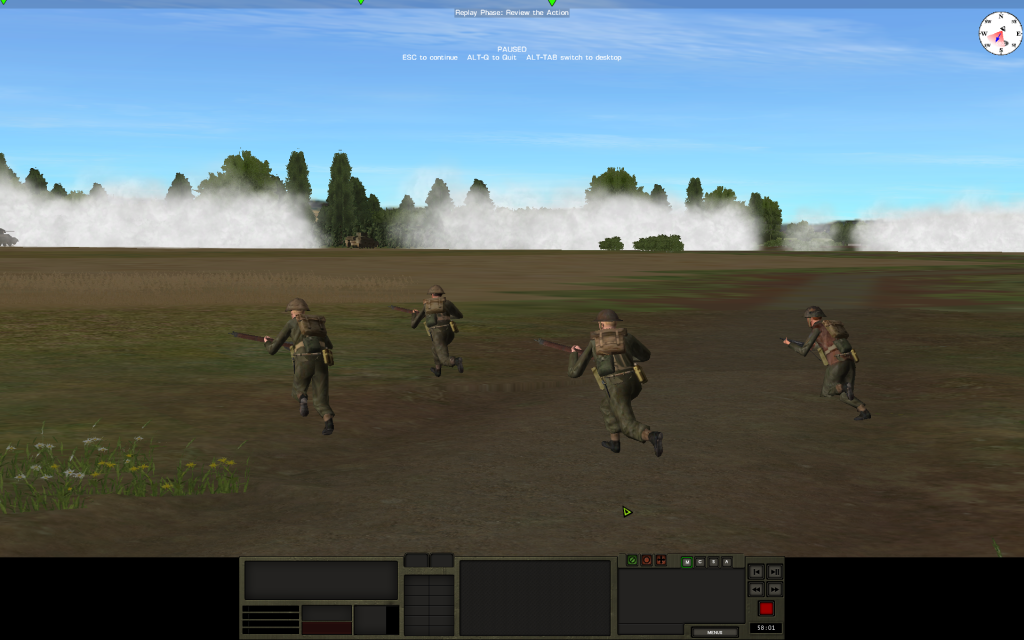
Turn 4 completed:
And there he is - a real life German scurrying out from cover in the centre of Buron and spotted by B Coy scouts. He is heading west. Has he seen the entire battalion of the Glens advancing and decided that discretion is the better part of valour? Is he looking for an Ecuadorian embassy?