

A Canadian Cat
-
Posts
16,500 -
Joined
-
Last visited
-
Days Won
55
Posts posted by A Canadian Cat
-
-
This Loyd carrier was scared into backing up away from another squad. They backed up into a hail of grenades.

Video available here: http://youtu.be/lVSW7lA5UuM
-
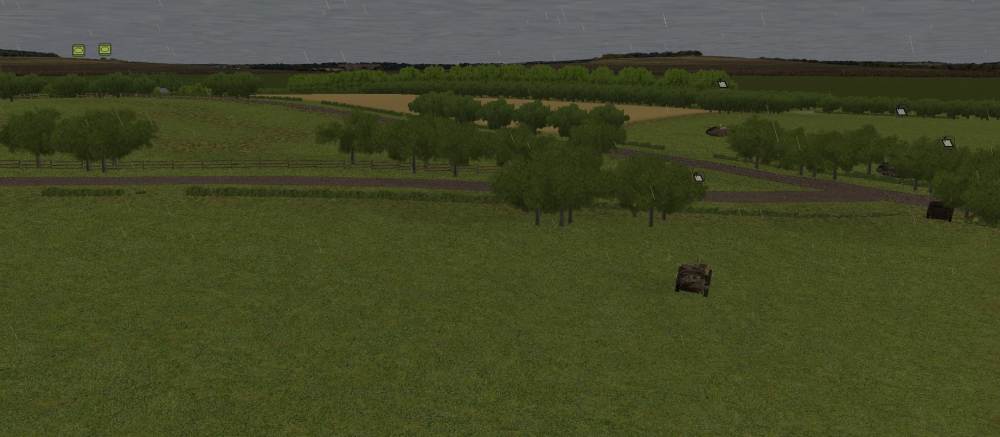
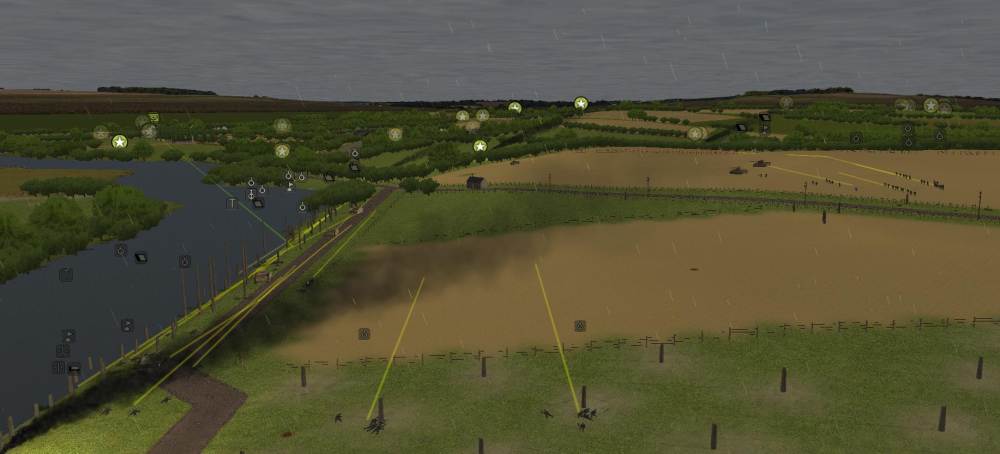
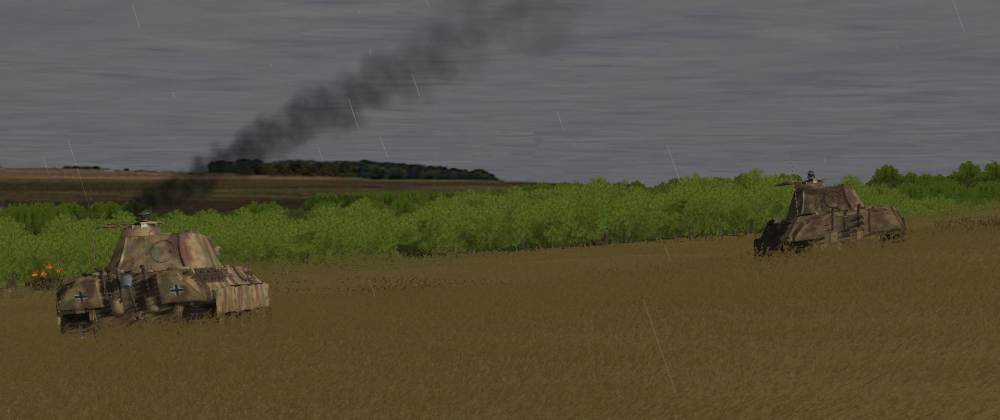
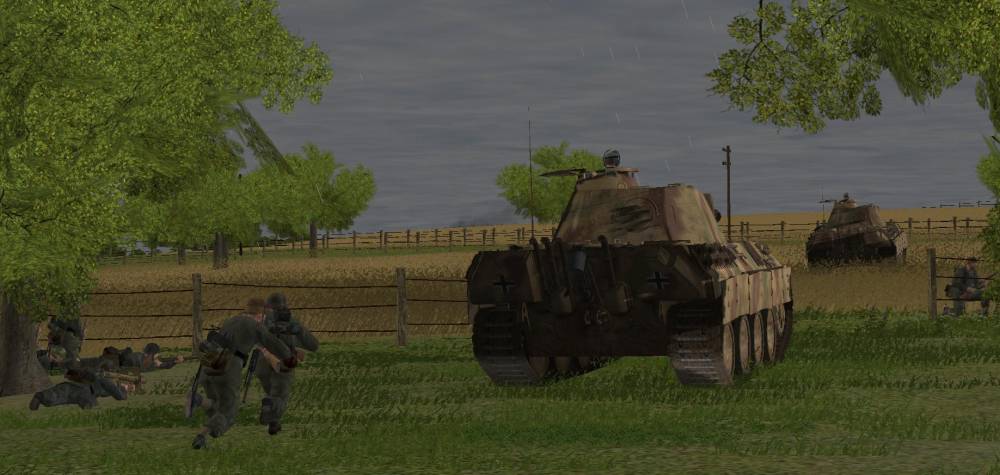
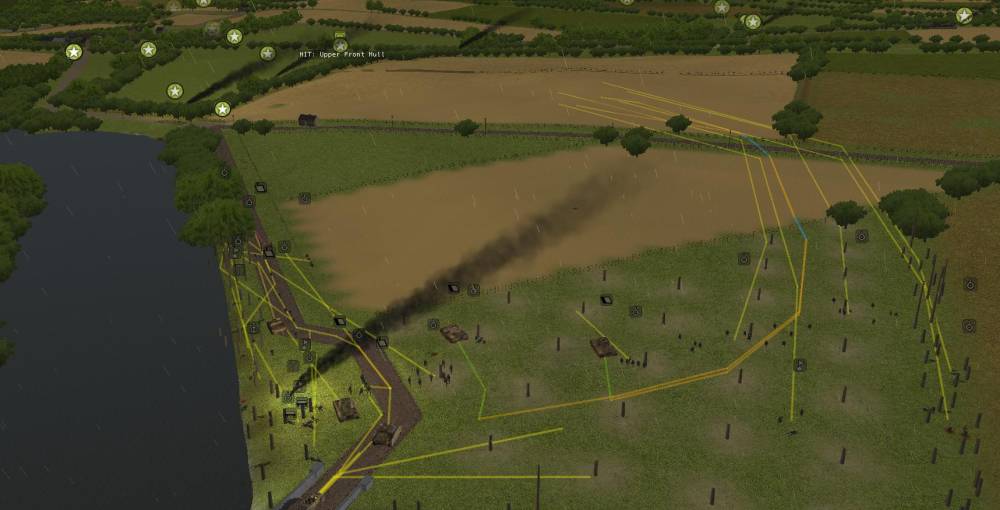
First things first – time to hunt and eliminate those scouts. I have split off an assault team who will hunt along the tree line. At the same time a Stug will move up in case there is more trouble than my infantry can handle.

Three more Stugs need to get into position.
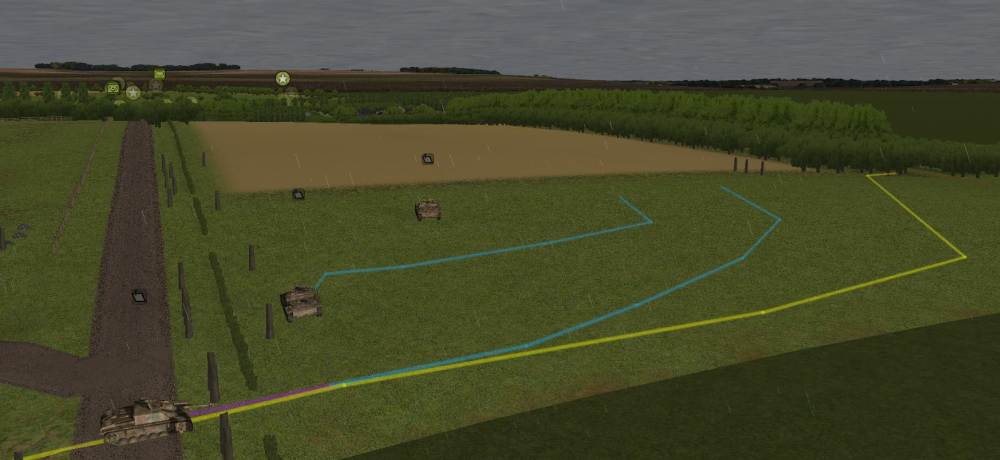
One of 5 Company’s mortar teams has been dispatched to a location that has eyes on a Churchill tank. With some luck they too will be able to spot the enemy and send some HE his way.
-
More quiet on all fronts. The only excitement is I continue to run into scouts. And I continue to dispatch them most of the time. Here the Panther shell missed but the nearby infantry took care of the job.
The platoon of infantry catch up to the Panthers in the field. I am not sure what to do with here since the Churchill tank they were flanking has withdrawn. But going further to the right will leave them exposed to the Achilles on the ridge near the town.
3 Battery moves into position to pounce on the Churchill tanks.
The previously unidentified contact my men were shooting at is spotted (and then lost in the woods again later). It is another scout team.
-
Four Stugs from 3 Battery now have orders that will position themselves to pounce on the Churchill tanks they have been hunting.
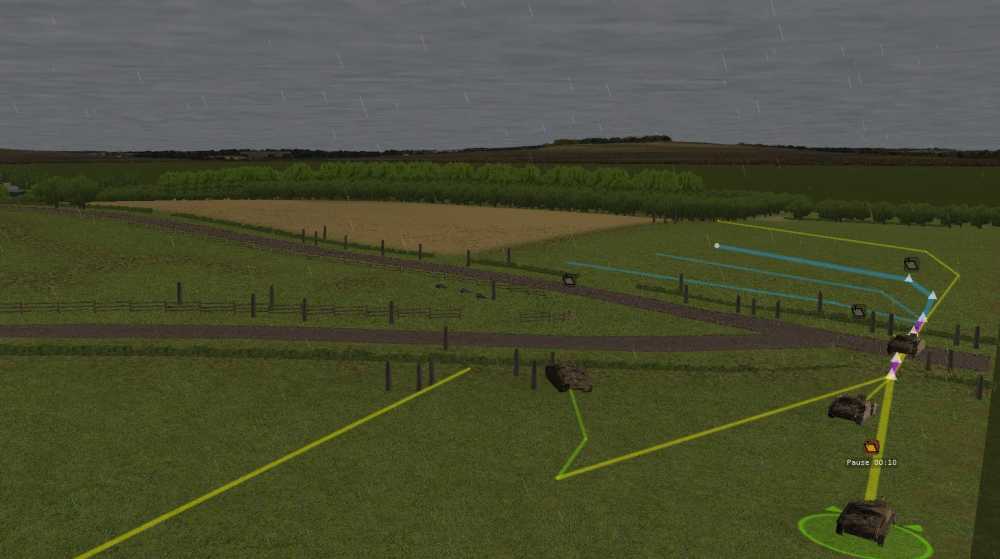
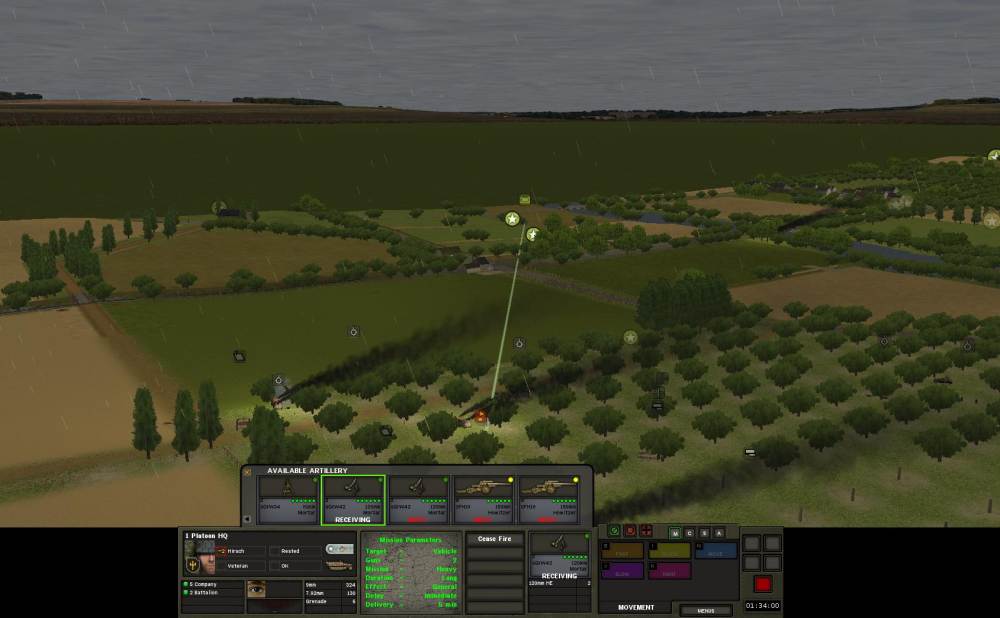
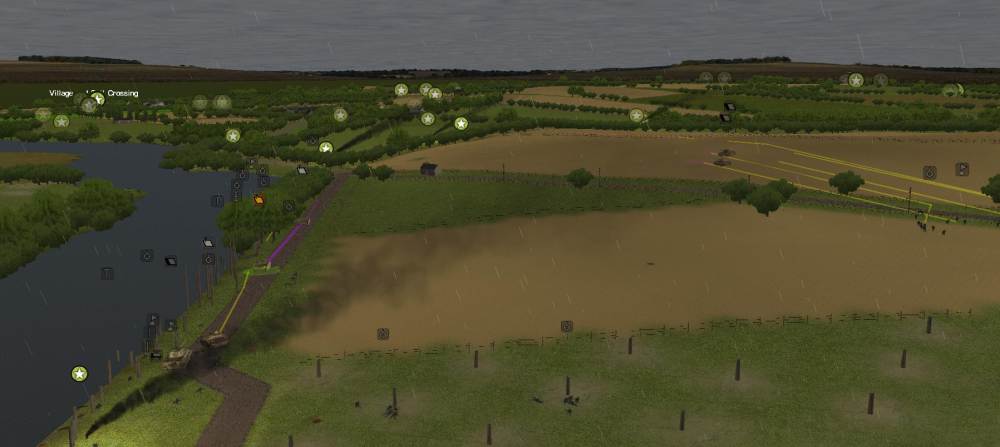
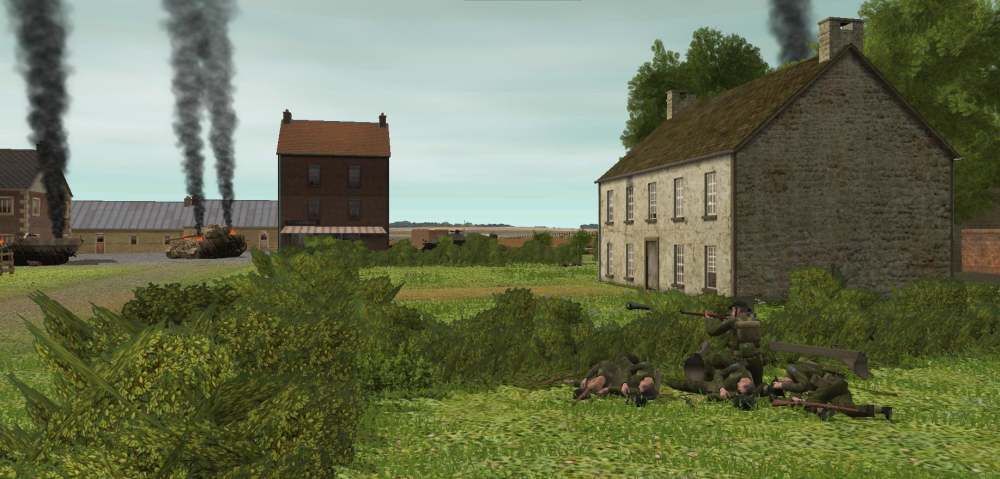
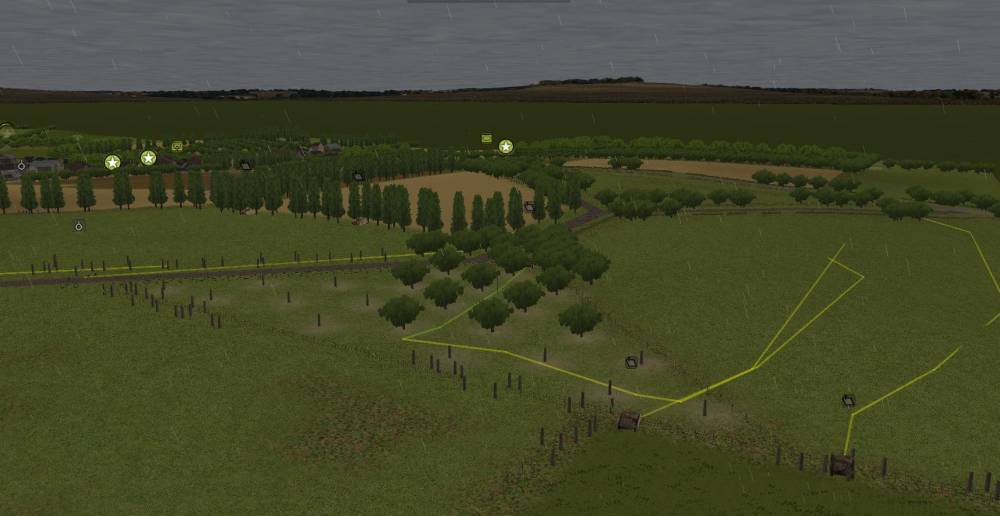
Osterhaus sets up two artillery strikes on the town. The first strike (on the left) closest to the woods will arrive in approximately eight minutes. The second (on the right) is delayed for four more minutes and will start in 12 minutes. The plan goes like this: Once the first barrage is coming to an end, 1 Company and its Stugs and Panthers will break the cover of the woods and hop tree line to treeline towards the town. Hopefully the barrage will have cleared out some of the opposition. My hope is that as the attack proceeds more forces will move into the town and be right under the second barrage. I already know there are Achilles under the second barrage’s target area.
1 and 2 Company are both adjusting their positions and the Stugs and Panthers have path ways through the forest.

At the bridge head 3 Company and supporting elements move in their two pronged approach. Sadly the Churchill they were trying to flank was spooked and withdrew. On the other hand that means the left hand prong can make progress along the river.
I mentioned earlier that 1 Platoon HQ from 5 Company has called a 120mm mortar strike on one of the spotted Churchill tanks that have been harassing them.
-
This is another fairly quiet turn. The lead Stug from 1 Battery spots some scouts in a field up ahead and opens up.

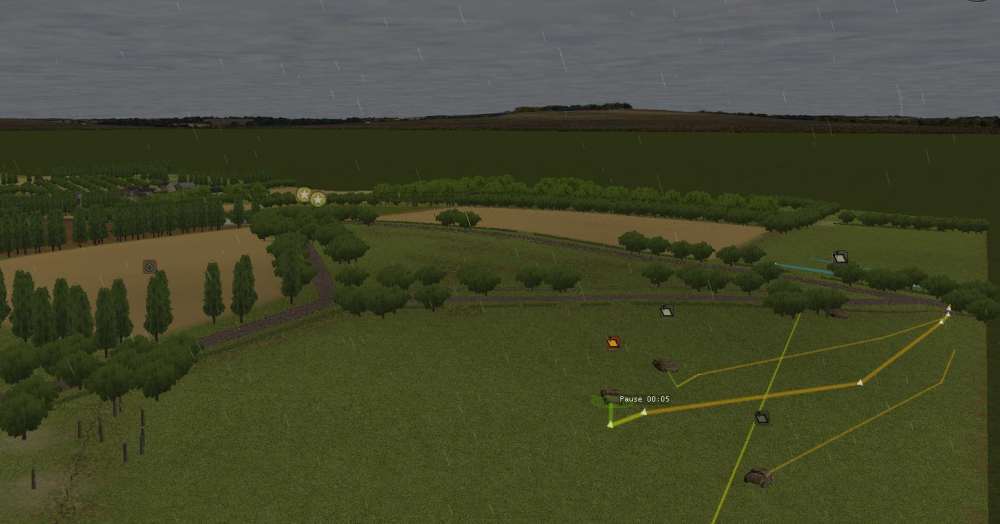
Osterhaus and the FO team are crawling the final few meters into position just over the crest of the hill.
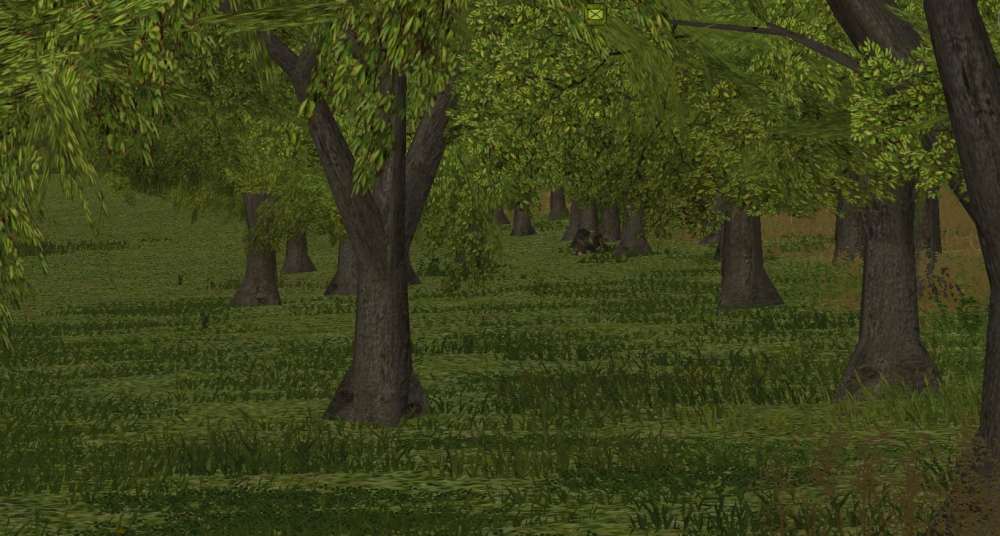
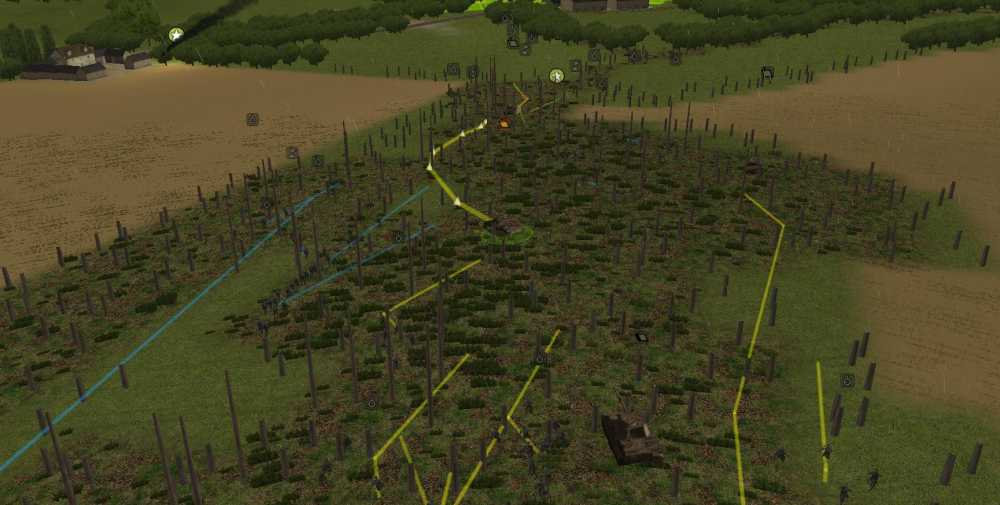
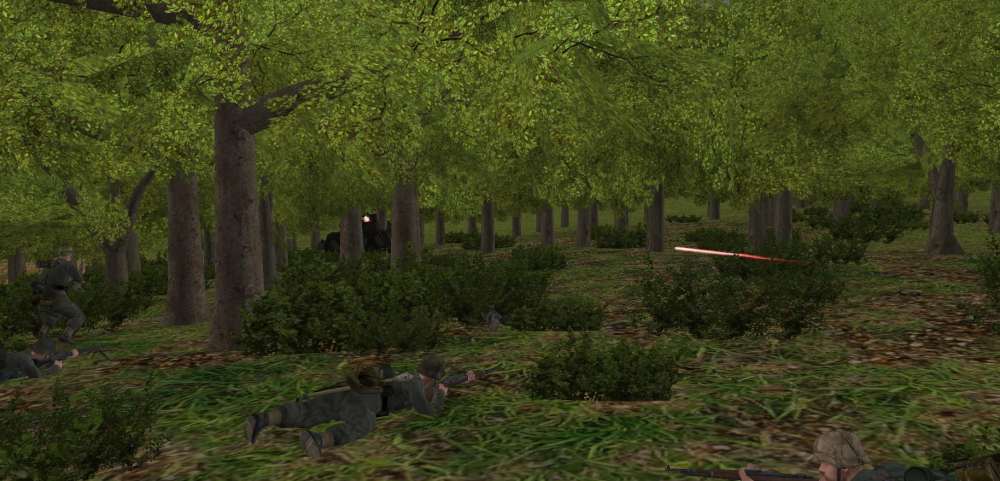
In the woods the lead elements of 1 Company spots something and start shooting. I never see anything but a contact icon but they clearly have a target to shoot at.
Elements of 3 Battery move forward attempting to flank those Churchill tanks.
-
The bridge head elements continue to advance on two prongs. I am still hoping to flank the spotted Churchill tank.
The other attempt to flank Churchill tanks is proceeding as well.
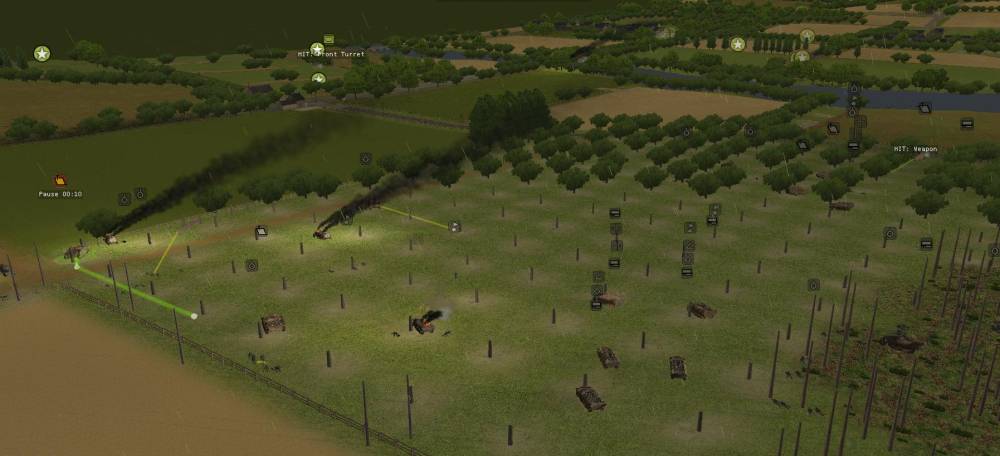
In the woods 1 and 2 Company move forward slightly and their AFV support are beginning to advance. Only a couple of the AFVs assigned to assault the town are in position. One forward Stug is given orders to move up and hunt for that Armoured Car.
-
Overall a pretty quiet turn, as I predict the next few turns will be. Dungeon Tiger is playing a wait for me to come to him game. And he is correct that is just what I have to do. He is sitting on two of the three objectives. But I will attack when I am ready. Experience in this game shows that those Churchill tanks are nothing to mess with so my attack on the down will proceed after I shell it with 150mm, setting all that up will take some time. Also, 2 Battery took such a beating earlier they are not yet in position with 1 and 2 Companies in the woods. The infantry need armor support before they move out of the woods. So in sort there will be some quiet turns over the next while.
In the meantime 3 Company continues to expand its bridgehead in two prongs.
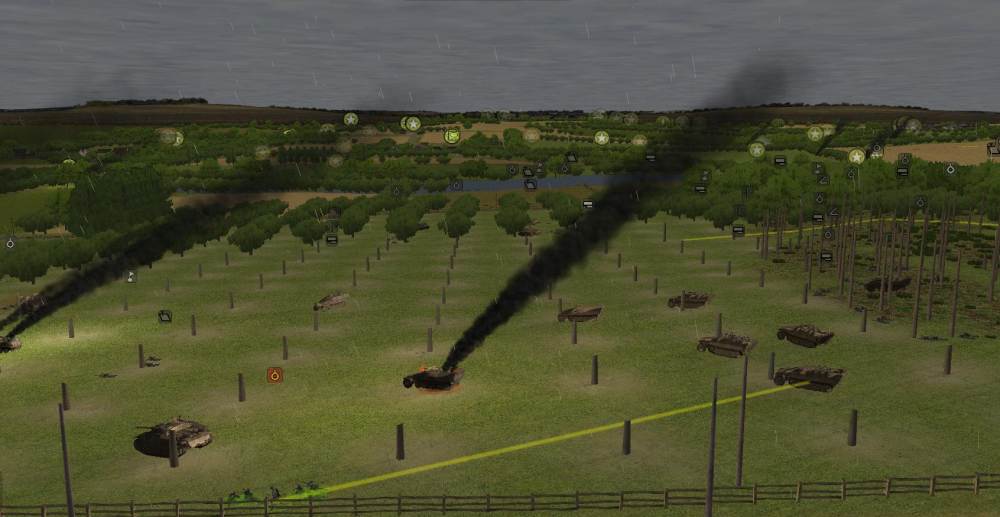
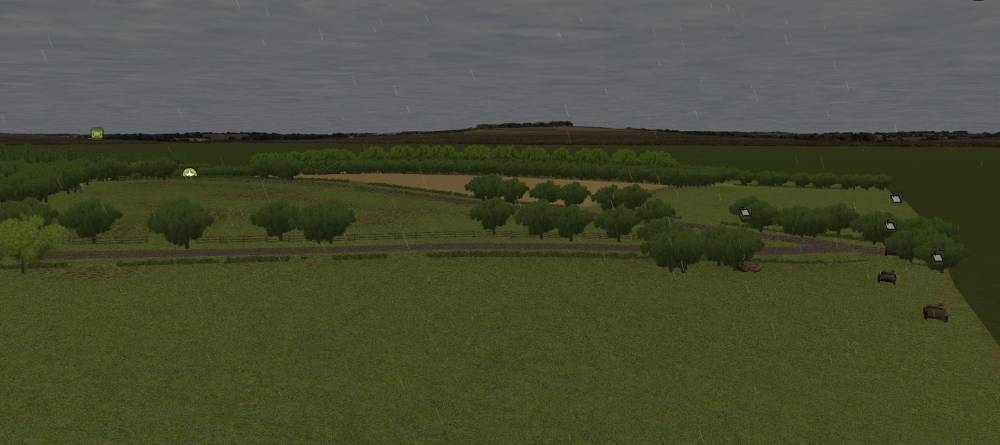
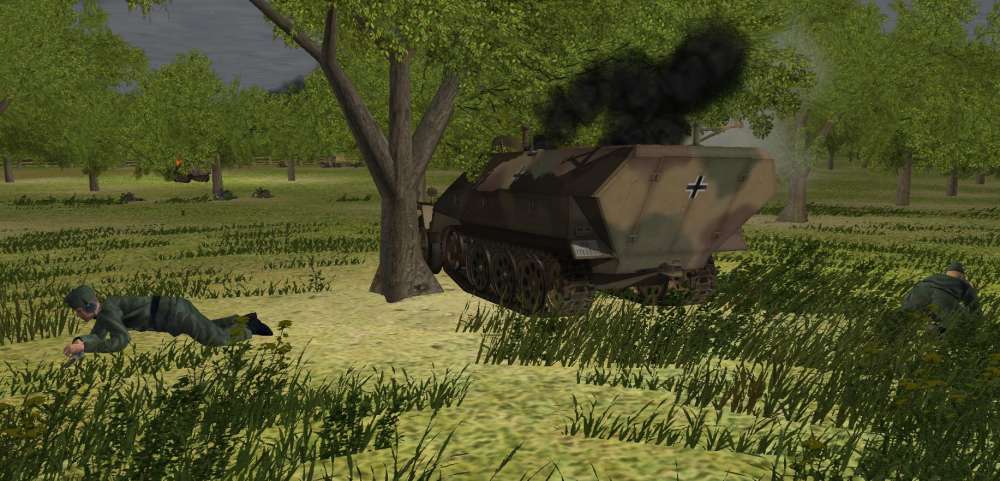
In the Orchard 5 Company and its supporting elements are also biding their time but everyone is giving the burning AFVs a wide birth. The 75mm half-track offered some drama this turn – cooking off.
Clearly the enemy is wondering how close my men are to the town in the woods because they are probing with armoured cars now. There is an exchange of fire and the armoured car backed off.
Osterhaus and his FO team have arrived in the secure area behind 3 Battery’s lines.
-
Excellent AAR guys. Lots of fun to read.
For the most interesting part was how you responded to your set backs. When things did not go your way you managed to regroup and find a different way forward. Nicely done.
-
It truly does. With around 50 HE rounds the thing is a killer. Of course it's also fragile and has to be babied.
And if one does go up you do *not* want anyone to be hear by. For that matter if one is burning stay away. The cooking off explosions can be just as big.
From the new game:
From CM 1x:
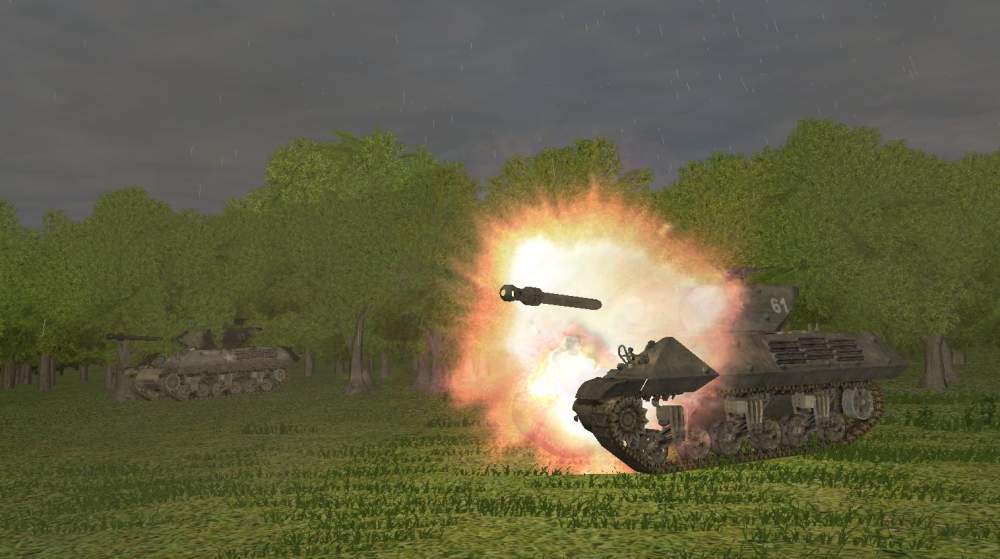
My personal favorite allied AFV is the 105 Sherman. It can deal every bit as devastating a blow as the Priest and does not require babying. Just as dangerous if they are burning though. And no available in Sicily. :-(
-
Another great phenomenon to watch is when you order an AT team to FAST MOVE from a building (from which they can never fire) to another location, and the zook/shrek/faust man stops (purely on his own/AI initiative), aims at the tank and kills it before continuing (FAST!) to his destination. Because ATR's can't fire from inside buildings I have started using this technique as a deliberate tactic... and it seems to work.
After you first mentioned that I have tried it several times and it is a thing of beauty to watch. Thanks. Of course my guys seem to miss more often than they hit but watching them do it is really awesome.
-
Thanks Zane. I can't imagine how buildings could cause that problem. It looks normal on my end.
I am running with Tank's new buildings and can see the objective highlighting fine too.
Awesome work BTW. I like the look of the stone work the new buildings look just super. Thank you.
-
I wanted to come back to this once I had gotten further into the scenario. I suspect Erwin's experience is similar to mine. After moving an entire PzGr battalion (tracked) plus a few other vehicles (StuG's, Marders, Tigers etc) I did not have a single vehicle bog or even threaten to bog. I am not sure if the issue with a ford tends to be the terrain at entry and exit or conditions set in the data parameters of a scenario, but in this particular case bogging did not appear to be a problem.
Interesting information. You are probably on to something regarding the terrain conditions on entry and exit. Mud is the worst for bogging.
-
<snip>
Question: If you enter such and such date and time for a scenario, does the game engine fart out the historical moon phase? I know you can over-ride the weather and make it any date with rain or shine...
Yes, it does. Very cool feature.
-
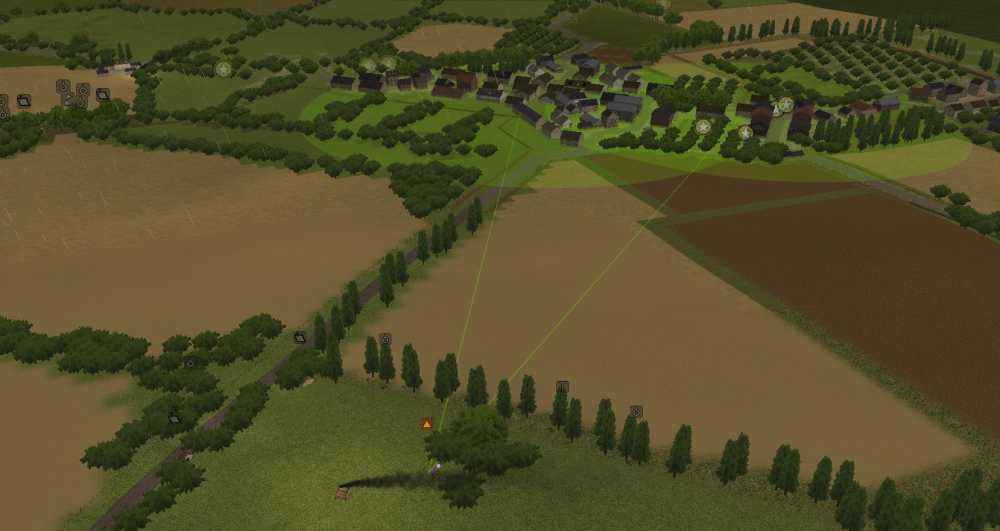
In the woods near the town 1 Company and 2 Company move up. Their supporting vehicles are still catching up and the artillery strike on the town has not been called yet.
3 Battery continue their flanking manoeuvre despite their latest loss.
The bridge assault team's two pronged manoeuvre continues. Near the top of the picture you can see the enemy tank they are trying to distract on the left and flank on the right.
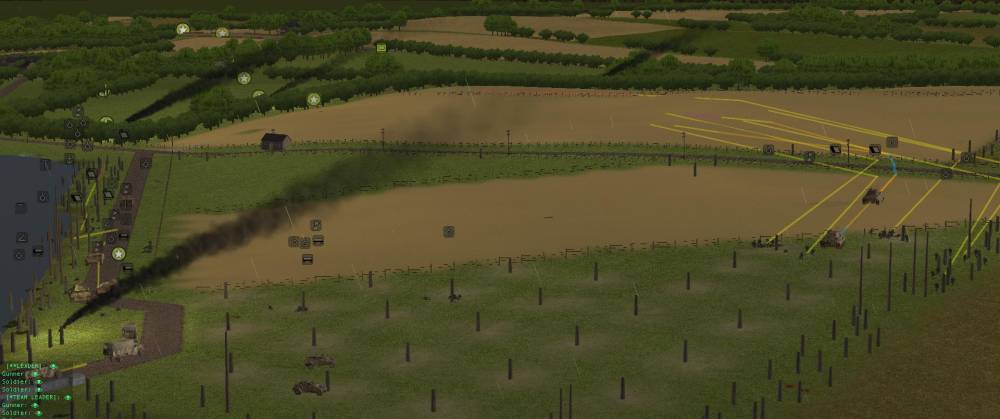
Also, not pictured, 1 Platoon's HQ from 5 Company has called in a 120mm mortar strike on the group of Churchill and Stuart tanks have been harassing them.
-
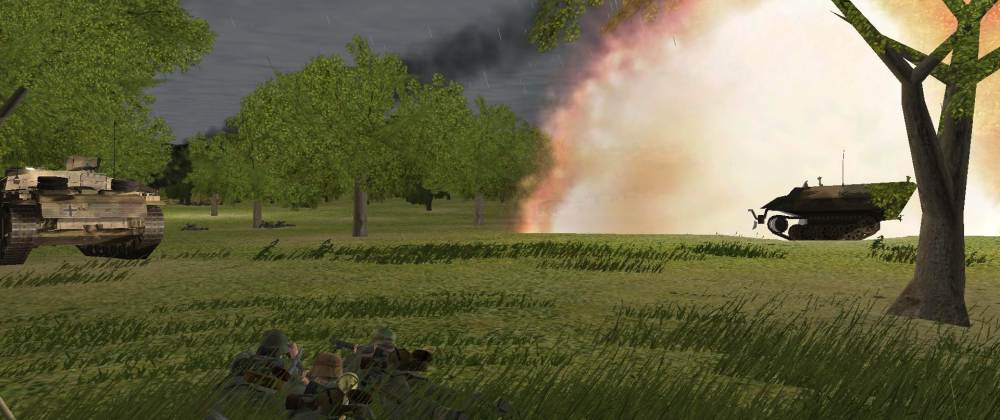
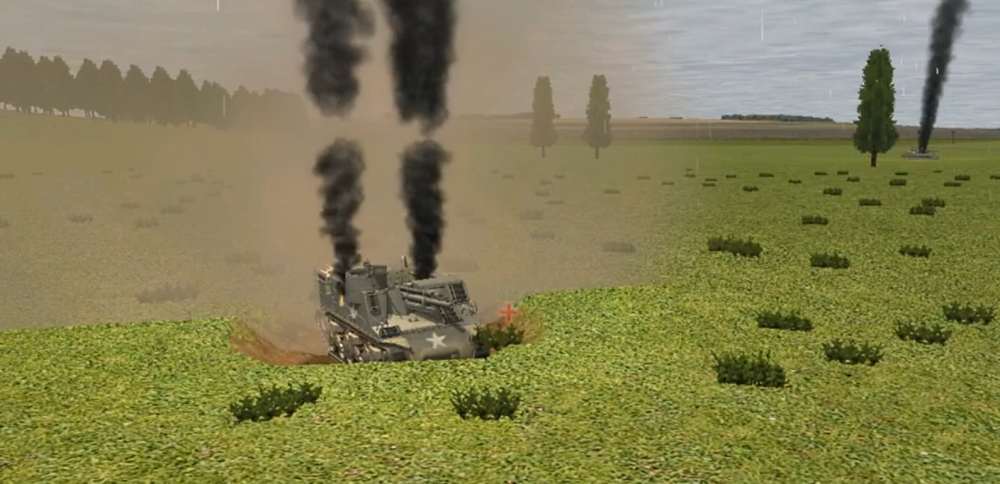
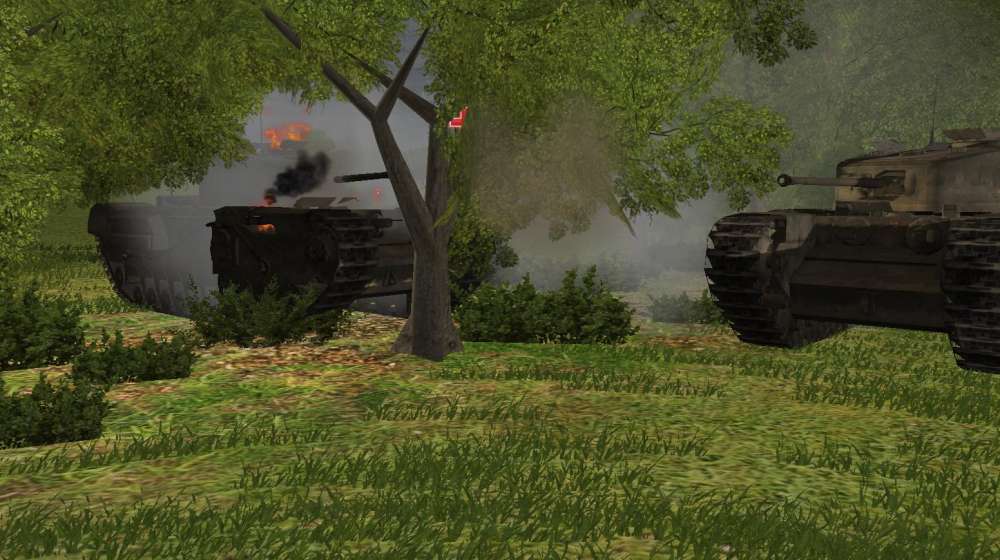
Unbelievable! This Stug put a hole in an Achilles and before they could reload to finish the job this happened.
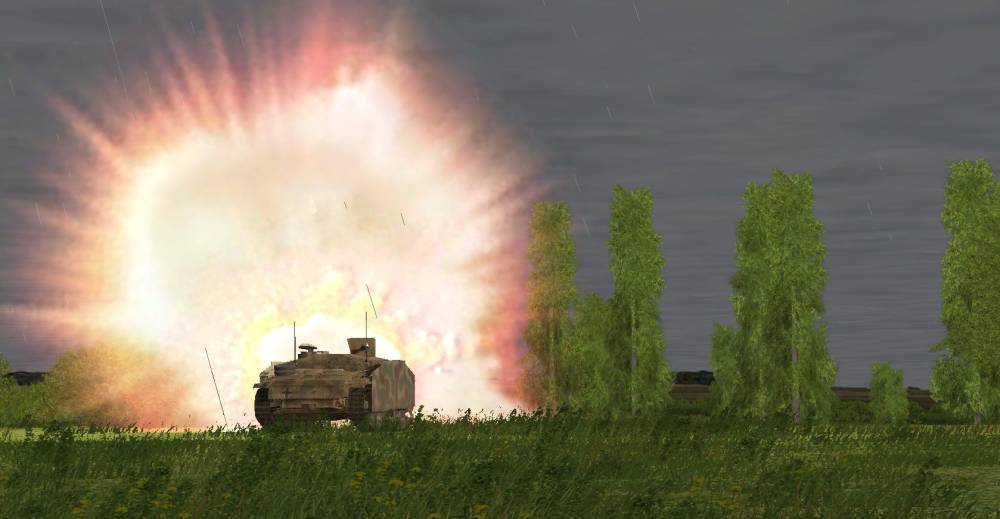
That was one hard boiled egg. Needless to say the Stug brewed up and all the crew were lost.
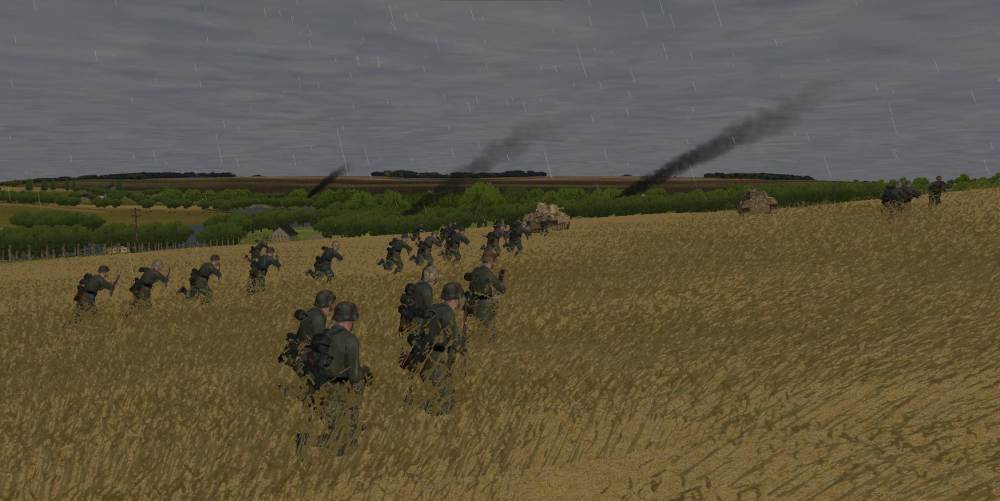
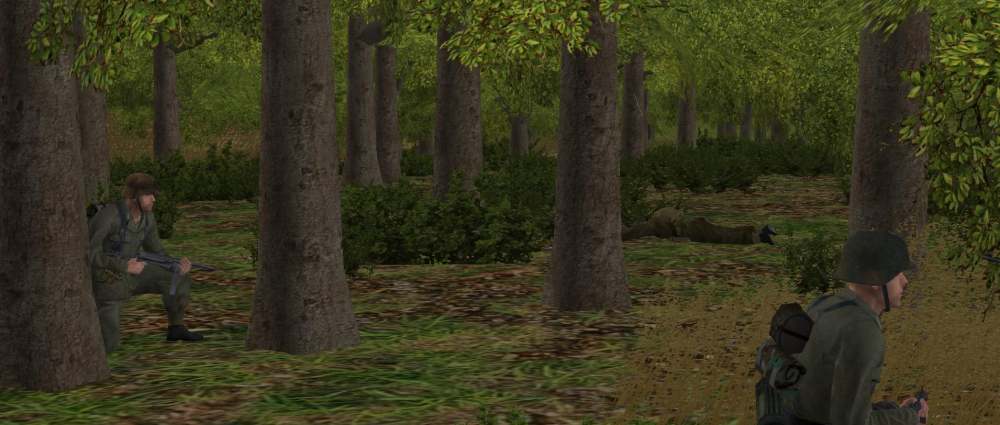
In the woods 1 Company's lead platoon runs into a Scout team. After a brief fire fight and one casualty they are dispatched. He must have been wondering what my guys were up to.
Over with 5 Company a Churchill rattled this crew so much they bailed and ran off.
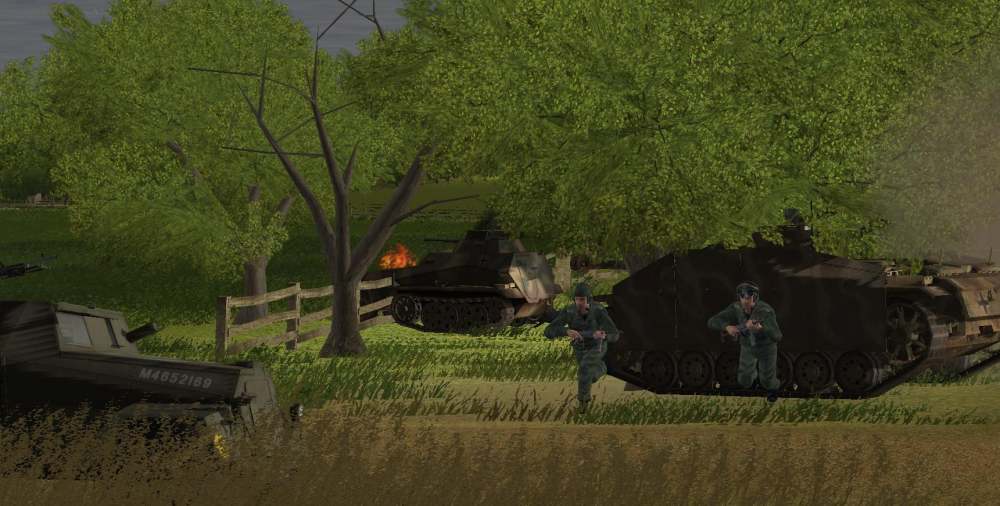
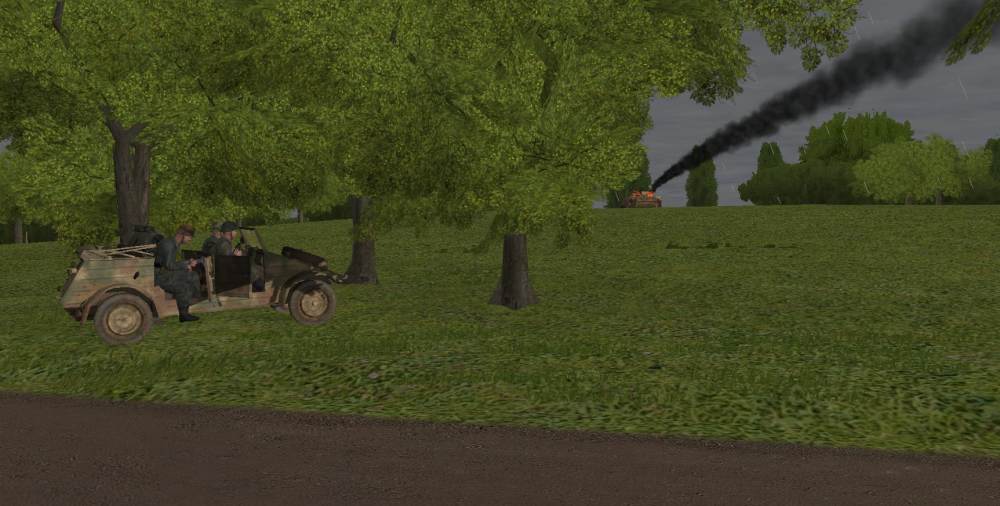
And the Stu42 on the right side of the Orchard could not with draw fast enough and is hit again.
Mean while the bridge head assault team is full of optimism and heading off looking for a fight. I hope I can lead them to some victories instead of more defeats.
-
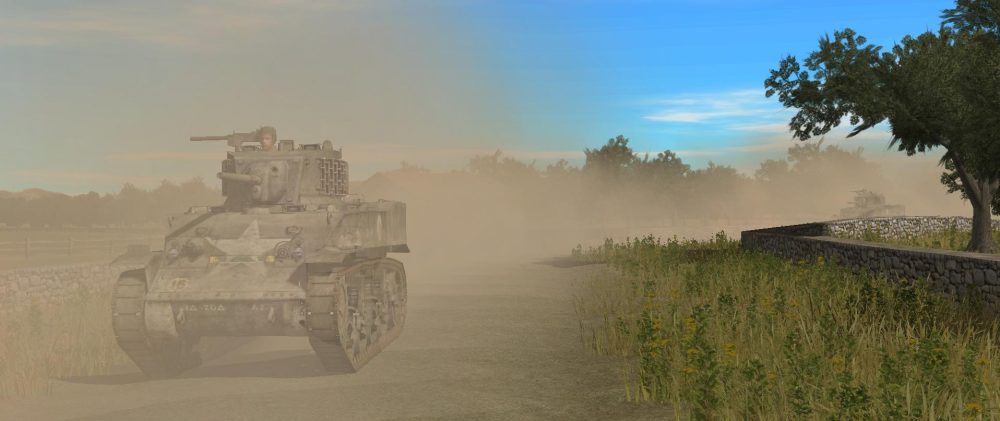
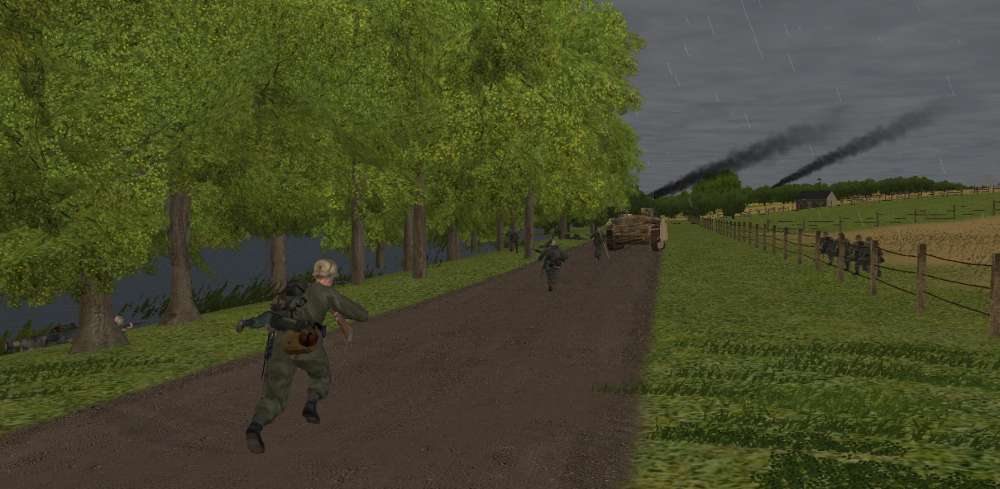
NO! This is proof why you need to be careful with how you set your waypoints or even better, set more than just one waypoint halfway across the map. Instead of what I expected, my men running safely on the other side of the bocage out of the sight of Penry's forces my men dash out in the wide open. Miraculously they clear the first field just fine and as the turn ends are halfway across the second field with no shots fired on them. Perhaps the Americans are just too shocked to react.
Oh man those moments can be painful. I hope the American are too shocked and you get away with it.
My SOP for bocage or other impassible obstacles is to place a way point right at the opening I wish them to use, on my side, and then another close by on the other side of the opening. Then continue as usual.
-
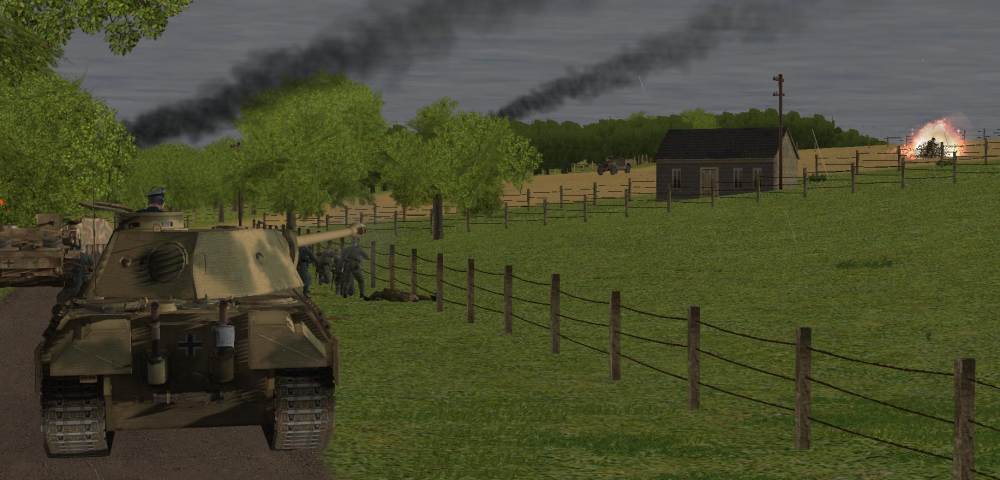
This is more from the new Sticking it out. The fight is in the town now and a nasty close quarters battle: AT gun vs tank. Check out Tanks a lot's new building mod. Awesome work.
-
<snip>
My mortar strike I had called in on the American forward observer was still 4 minutes out when I discovered that one of my 81mm mortar units had direct line of sight on the FO's position. Losing his FO should set Echo back a bit, at least I hope so. Especially if he has some artillery that is dependent on a forward observer to be called in.
I figure I have one turn to take out the FO team before I'll need to order my mortar team to vacate their position and move somewhere else. As soon as Echo figures out where those mortars are coming from I'm sure he'll reposition a Sherman to deal with my men.
Direct fire from 81mm mortars - nice. He may not see where those shells are coming from. At 500m away if they have any concealment they may well stay hidden. I often come under mortar fire and never know where the origin is.
-
Adding that "Sicily" flavour asks for new weathering approaches,...best of all: still learning, still improving, ...man, have to love modding (PC world) and scale models (RL) at the same time,...hehe...
Thanks for your awesome work. The Blitz is having a bi weekly competition for screen shots. My latest entry makes good use of you Stuart mod:
http://www.theblitz.org/message_boards/showthread.php?tid=62903&pid=367898#pid367898
I tried something similar with a vanilla German armoured car but it just did not have the same effect.
-
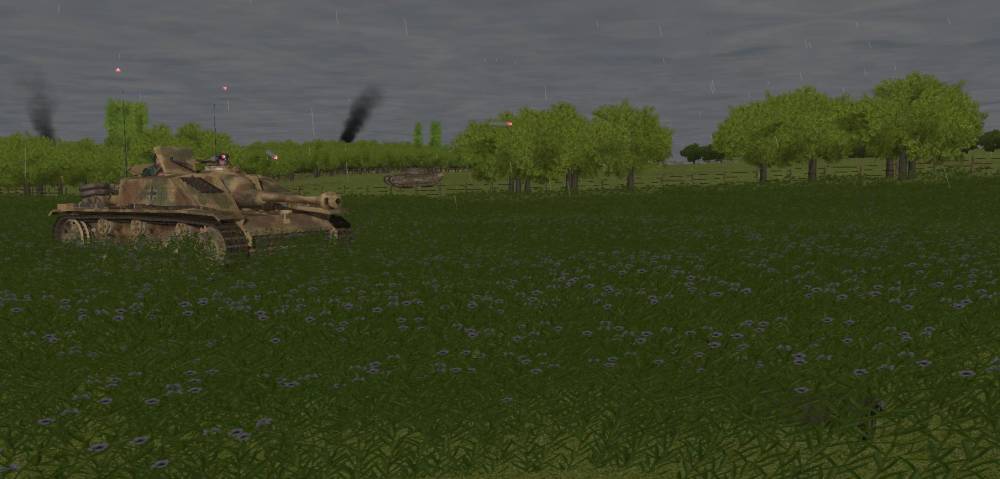
3 Battery continues to work towards flanking those newly found Churchill tanks.
The advance from the bridge head proceeds in two prongs. One along the river and one a bit wider on the right. I want to see if I can fix his forces with the river side assault and then flank and destroy them on the right.
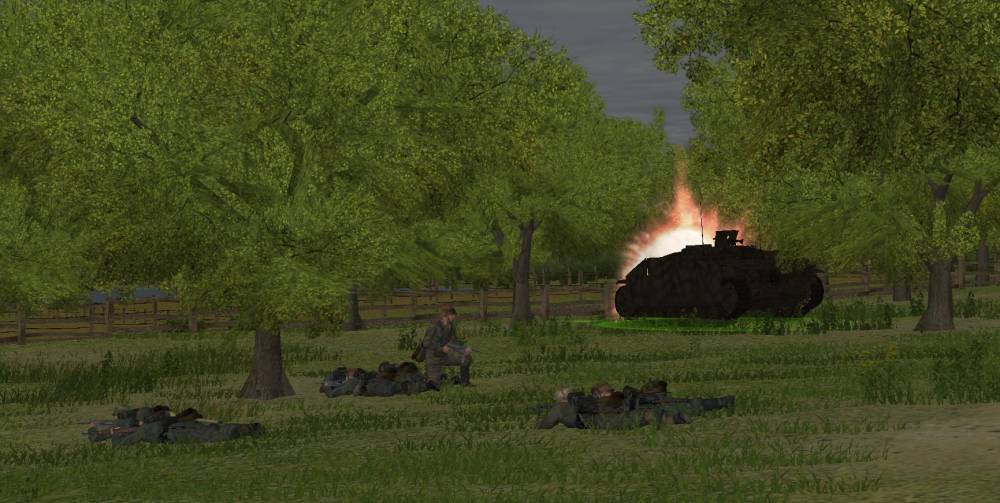
Time to back off further into the Orchard to keep 5 Company and its supporting vehicles intact.
-
Finally that uber Churchill is gone to. The Panther's long 75 succeeds where the Stug's shorter gun failed. Yes that other Churchill is KO'ed too. I am not really sure when that happened.
-
Not much is happening at the bridge head. The infantry and their supporting Stugs lead the way to expand the bridge head towards the rail crossing.
Over near the orchard one of the Stugs of 1 Battery exchanges fire with a Churchill tank. They fire almost simultaneously and both connect. Neither is destroyed but I know how this mach-up ends. Not well for me.
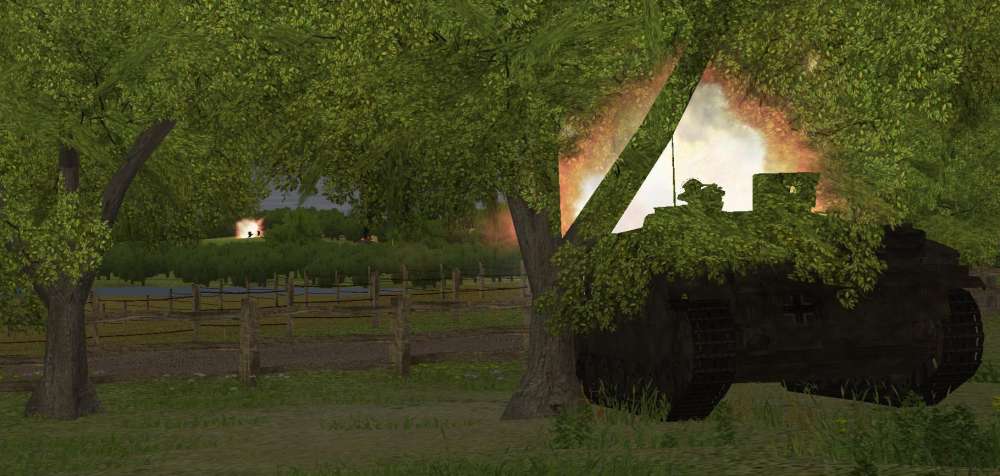
Also this turn a 75mm Half track gets nailed. 5 Company is going to have to do a better job of finding cover in the orchard.
Over on the right flank one of the Stugs is assaulted by a British crew member using nothing but his sten gun. You can see the ricochets flying. If you look closely in the bottom right corner you can see the crewman.
Another of 3 Battery is hit by an Achilles but shrugs it off. The return fire is a nice looking hit. Hopefully after surviving the hammer hit the Stug can crack the egg – and this buddy near by too. That would be nice.
-
What happened to your plan for the PzIV to catch the Stuart when it went after your men on the road?
-
Question - Is it the ford itself or the terrain that is used for the entry/exit that causes the bogging? I didn't off hand count the number of vehicles, but Pandur starts you out with a sizable force. Off the top of my head there must be over 50 vehicles as of 30 minutes in all of which have to make the crossing. I had nothing even hint at bogging. <snip>
I have had both happen - in the ford and at the edges. In Huzar I lost a sizable chunk of my flanking force to a ford (5 vehicles mix of tanks and HTs) one on entry tile one one exit tile and others in the middle. In a QB a while back I lost a tank in the middle of the ford.
New file at the Repository: USA helmets "Big Red One" (2012-10-20)
in CM Fortress Italy Maps and Mods
Posted
May we trouble you for some screen shots? Also how easy would it be to not have the medical helmet and does the Lt helmet land on the Platoon Lt?