

Erik Springelkamp
-
Posts
961 -
Joined
-
Last visited
Posts posted by Erik Springelkamp
-
-
I overloaded your mods into CMETO, so the buildings are probably from that mod.
Maybe they picture Southern Belgium and the Ardennes, that might explain the shabby look of it.
But I viewed an Italian scenario in this combined mod, and it went from rather colourfull in the standard CMAK to a very finely executed but more generally green impression. Especially the wheatfields were much browner.
I guess for the Ardennes this is OK.
Furthermore this is a question of personal taste, and I don't want you to stop modding, because the work is very good (and I have seen very colourfull work from you in the past).
-
Well, I fought this scenario again, this time with the New Zealanders against the AI, buying the OOB for the AI, but lengthened it to 50 turns.
I only managed a minor victory in turn 49, but the AI wasted it's AT-guns and mortars in the backyard, and they never fired a shot. Why would it do such a stupid thing?
The StuGIII was beaten by the three Shermans together at long range, at the price of one Sherman.
Still, the threat of the AT-guns kept me holding my tanks back until my heavy weapons had walked for over half of the scenario time - should have bought a carrier there(?), so I probably would have won easier forgetting about the armour at all. (although the StuGIII would have caused trouble, but with a company of extra soldiers??)
Well, that's the scissor, paper, stone dilemma when buying your own troops I guess.
-
Seems I offered my opponent a too hard task to perform. There are no good overwatch positions from the start-area, so the heavy weapons have to walk forward first.
After the scouting infantery.
And then they have to hope that they are not spotted on the move and be bombed in their deployment place by the German mortars that are lurking somewhere. Like I was able to do as German just when the NZ-ers started launching their attack.
My opponent is getting frustrated. Does anybody have a suggestion for a scenario where an inexperienced attacker has a decent chance against a little bit less inexperienced defender?
A small to medium one?
-
The map is tiny compared to the original

It's 800 meter from the allied setup to the Villa, but I think indeed 30+ turns was too tight.
(Although yesterday's game was over in 12 turns, for lack of attackers)
-
So the drill is would be: loose a Sherman to spot the gun - or use a lighter tank for this purpose, destroy it with artillery (onboard or offboard), untill the guns are done with, then advance with the remaining armour as support for your infantery?
Is 30 turns too tight for this scenario to work this out? What would be a better length?
-
I downloaded the mod and watched some scenario's in it.
It is technically a fine and beautifull mod, but the landscape is a bit monochromous and kind of depressing (even the buildings are ill maintained).
If for instance the grain was a bit more yellow, the whole thing would lighten up a bit. Or the dirt roads from yellow sand. Or a flower here or there.
I don't know where you envision this, but probably France when it is summer, and my image of France is that there is more brightness in the landscape.
Still a very fine mod, but just my personal emotional impression.
-
This last battle was with a map that was a cut from the beautifull KingFish Tuscany Villas map, because we wanted to get a feeling of the forces and terrain before investing in this very large scenario.
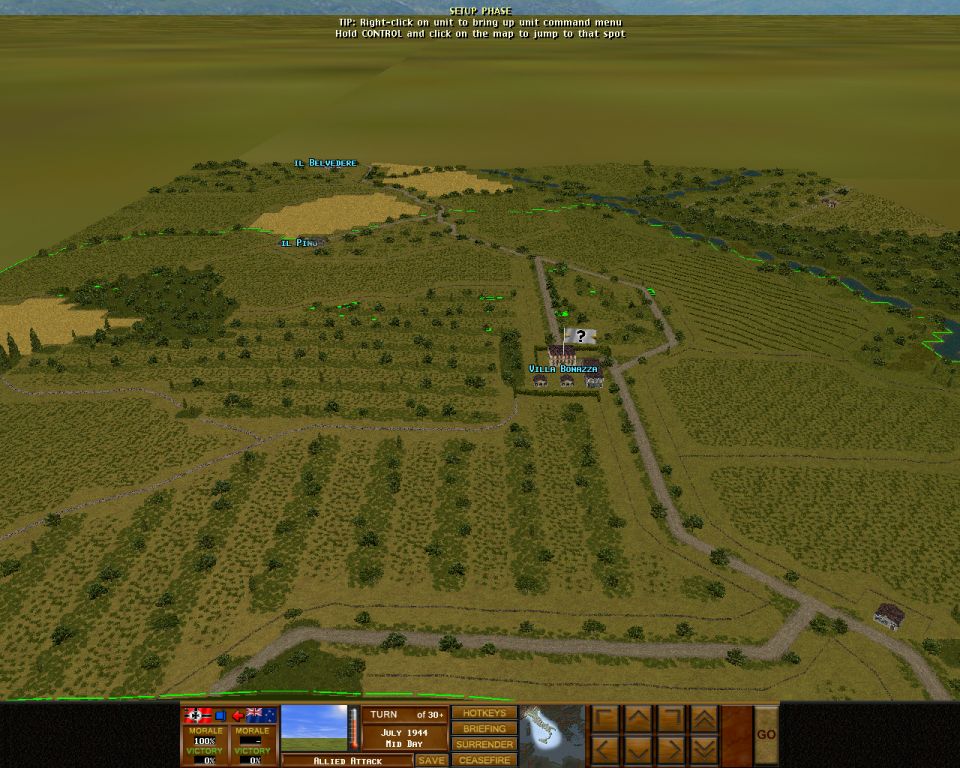
It was between two humans, 800 pts, I choose only regular available stuf (a regular infantry company with 2 HMG's, 3 onboard 81mm mortars, 1 StuGIII, 2 75mm PaK, 4 trenches, a panzershreck and a LMG as listening post).
I hope that is not an unreal force, but something to be expected there and then.
My opponent could buy from the New Zealand Infantry pool and had to attack the villa.
I just wonder how you can bring in Shermans into this scenario. What support weapon would you use to deal with the entrenched guns?
-
I have played a couple of quick battles (1942 Russia, 1944 Italy) as German Infantry defender, where I buy a few 75mm PaK in a trench.
They are commonly available (even -5% rarity in 1944 Italy) but incredibly powerfull.
Just yesterday I played a game against New Zealand Infantry with Shermans, and the if the Shermans show themselves they are dead.
Yet, in a trench, the guns are really hard to beat. Mortars have a hard time to kill them.
How would a New Zealand (or other western Ally) handle a defence with a few of those entrenched guns in order to use their tanks? How did they do it historically?
-
Recently a quick battle map turned out to be interesting, and I was trying to turn it into a scenario (mainly to try things out). Is this possible?
I found out that I can reuse the map in a new Quick Battle by saving the game in a turn, and that I can even import the units left over from the previous QB when I choose a savegame from the final turn with the results, but I didn't find a way to use the map in a new scenarion.
By the way the above mechanism enables one to do exercises (regarding LOS etc.) during a PBEM QB on the real map by saving and creating a new QB in hotseat setting. I guess this is not regarded as fair play.
-
My grandfather, in occupied Netherlands, was excited when he heard the Germans had attacked Russia.Originally posted by JasonC:The instant Germany decide to attack Russia, Germany *was* in mortal danger.
"Now they will lose" he told his family.
Fortunatly he was right.
-
They will be accessable by http of course
-
If you send me an email I will send you an Ftp account where you can publish them.
-
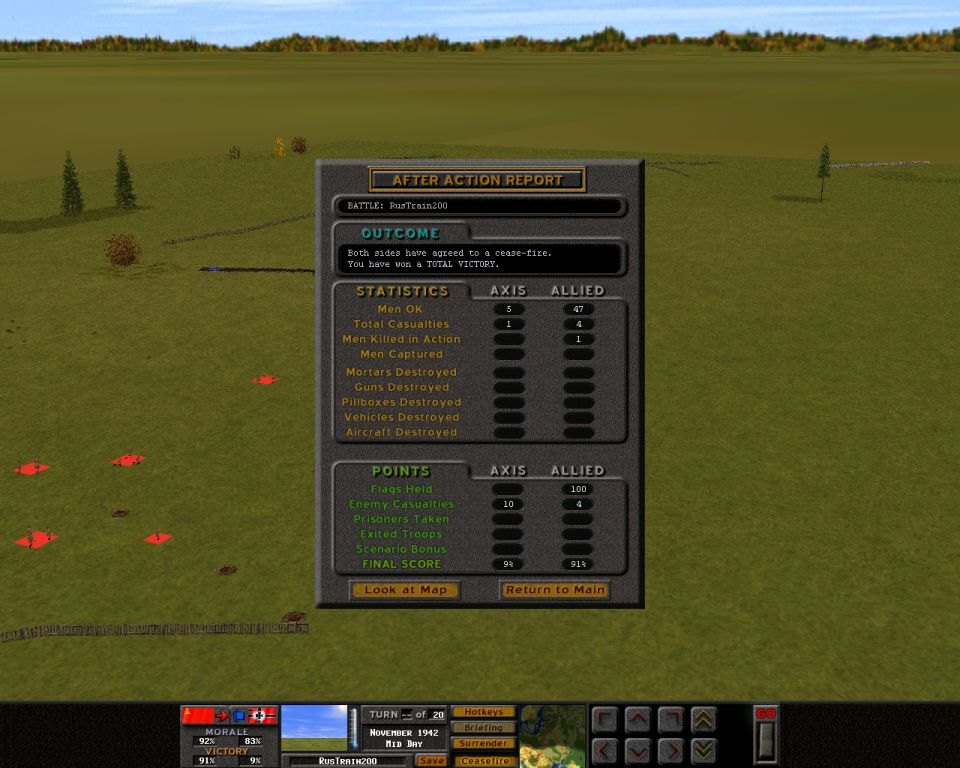
Today I found the time to retry 110 again.
This was the 4th time and finally I succeeded, but I don't know what exactly I did differently than the 2nd and 3rd try.
I think it was a bit of luck to get an ID earlier than before: I got it with the first squad reaching the wooden fence. From then on it was advancing under effective overwatch that was successfull.
I did not use area-fire, but I did put covered arcs over the trench.
-
First time in 110 I approached in a straight line, curious how a 'box' in open ground would behave.
They were routed as soon as they had crossed the road.
Second time I started on the right, crossing the road safely, moving up the house safely and then taking on a box with the front on the wooden fence.
When I moved the backward squads forward beyond the wooden fence to releave the pressure on the point guys it was all over: one by one they were panicking, and starting to run around like headless chickens, even towards the enemey lines.
They ended up scattered in different houses, even the one far on the left. The damage was done while all were initially just pinned, in command. But maybe the distance between them was a little bit too small, so the enemy was getting 'two for the price of one'.
This evening I will exeriment a bit more with larger distances between the squads (maybe I should install a gridded grass mod, because it is much work to measure distances) and covered arcs for observers.
-
Hmm, I recently rediscovered this game and hooked a friend by ordering copies of CMBB and CMAK for him. Now my free days and evenings are filled with exchanging PBEM and reading this forum, and sleepless nights anxiously wondering whether the mortar bombs that are about to leave the tube will save the day.
-
I played 102 twice.
First time I spread out my 3 tanks as wide as possible, and the left one spotted the StuG from its starting position and killed it in two shots. So the rest was mopping up.
The second time I placed the three closer and to the right, but after advancing a bit the spotting by the infantery became confused by the enemy infantery, and one tank was surprised by the StuG. The other two made the racing rush, one of them was killed on the way, but the last one killed the StuG in the flank just like Jason's picture, all for a minor victory.
I now gave 110 two tries, but got so badly shot up (everybody routed) that I surrendered both times. This one will be hard. Even lying low at a distance the squads are quickly routed one by one by the HMG that is still just a sound.
-
And at sea Michiel Adriaenszoon de Ruijter successfully fought the combined French and Brittish fleets.
He established the tactics of large scale fighting in line that would dominate the sea-battles untill well after Napoleon.
-
When we come down to 'decent' I would like to add Maurits of Oranje-Nassau and his brother Willem Frederik, for their 'scientific' operations and the first steps towards the introduction of fire-based linear infantry tactics, resulting in the establishment of a stable new republic in Europe.
-
If there are forward flanks, you would typically go for the flanks first before advancing through the center I guess, when advancing over a broad front.
-
This is a great idea.
[ November 23, 2005, 09:22 AM: Message edited by: Erik Springelkamp ]
-
Maybe the best commanders are not famous, because they didn't wage war.
-
The decision Ghengis Kahn made well was uniting the tribes and conquering the world.
He pushed his troops to take Peking, which was tactically not very well executed, but strategically he got the result. On the whole he was the perfect strategist, not the ideal battle commander.
Julius Caesar was a pretty good commander and a good strategist.
-
Recently I saw the quote on Hannibal, maybe even on this forum, that he knew how to win a battle but not how profit from the result.
Cannae is still a enigma to me. The fact that the Carthagian center could hold out long enough for the flank and rear attack to succeed, while their light infantery faced heavy Romans whose doctrine was to break through the center.
-
Where I had some problems with moving in squares or columns, is when the forward squad gets pinned, and I want the backward to advance. Do I join the forward squad then they are stacked and vulnerable, but when I wait for the front guys to get moving again I slow down. And the cover patches are not everywhere enough in numbers to pass them sidewards.
But the principle of box movement: does the back guy take over point? How do I keep the box formation?
And a slight problem was the opening defence artillery routed a platoon of regulars/greens in turn 1.
On the other hand the conscripts took the left flag all by themselves, using move to contacts and small human waves, but breaking 2 of the 3 platoons in the process.

New ETO Terrain mod
in Combat Mission: Afrika Korps
Posted
Vossie,
Compare standard CMAK:
With the combination CMETO with your mod:
Then there is just a bit more colour differentiation in the standard, although your trees and brush is apparently superior.
That's why I suggest adding a highlight here or there (maybe in the roads or so), and the general impression from a distance might become 'fresher'. The details are already superior.