

Clavicula_Nox
-
Posts
764 -
Joined
-
Last visited
Posts posted by Clavicula_Nox
-
-
It's just fine, to me.
-
A good number of them were Grenadiers, Cavalry, or Mountain, only some of the W-SS divisional formations were actually armored/armored panzergrenadiers/motorized panzergrenadiers.
Examples off the top of my head:
6th (Mountain)
7th(Mountain)
8th(Cavalry)
13th(Mountain)
14th
15th
19th
20th
21st (mountain)
22nd(Cavalry
23rd(Mountain)
etc.
-
Thank you very much for this. I saw your pre-release thread and jumped on the download as soon as it became available.
-
I'm currently working on a campaign using a mix of quick battle maps and some of my creation; I've never done a full campaign, so it's been a learning process.
-
Is there a guide or anything which explains what the some of the different options in the OOB menu of the scenario editor do for each TO&E? I've included an example of what I'm talking about circled in green:
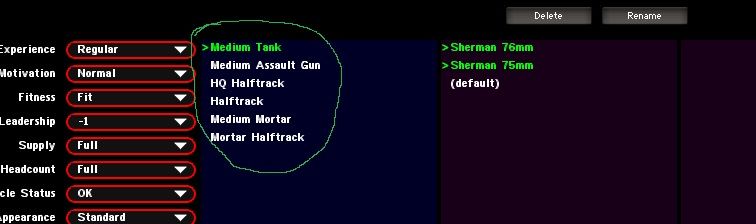
I understand the the second column generally changes the makeup of the standard combat units, in this case, are the subordinate units equipped with 76mm or 75mm Shermans. However, I have seen some options in infantry units that give no hint as to what they actually do, such as "Standard" and "Default".
*edit*
OH geeze. 10 seconds after I post this, I figured it out. Nevermind.
-
Okay, like I said, it's really not a big deal.
Is there a way to select which division is placed in the scenario editor? If I just set to Holland, Sept. 44 and place an Airborne battalion, it's M42 uniforms with 82nd insignia. *edit* nevermind, i see it.
-
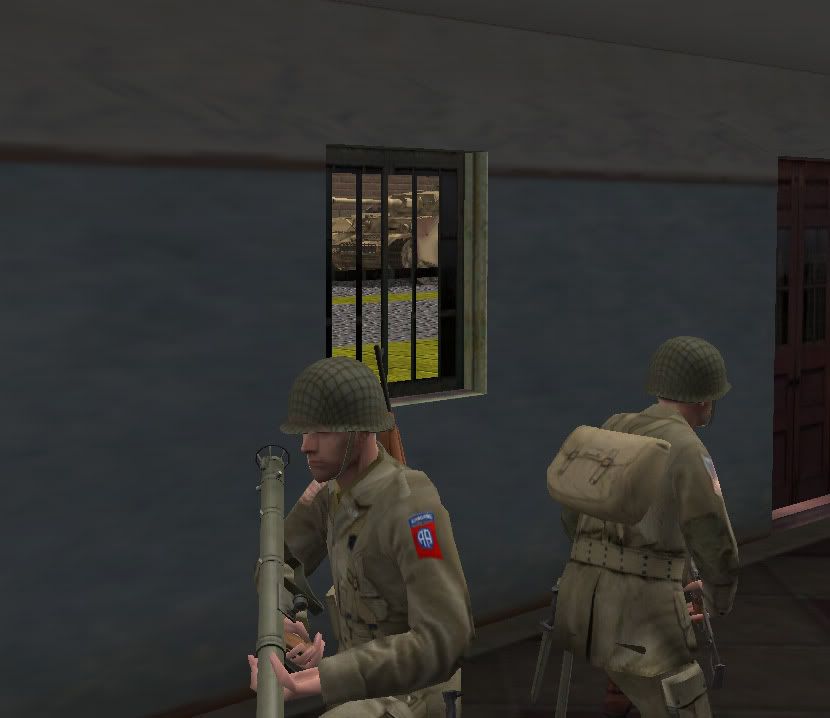
It's not a big deal, but Market Garden era US Airborne are wearing M42 uniforms instead of M43s.
-
-
From a PBEM game:
-
They are considered to be "Missing" which, I do believe counts as a casualty.
-
I'm pretty simple:
Ranger Battalion TO&E
-
I am writing a campaign following the battles of the 2nd Ranger Battalion.
-
Panzergrenadier (haven't checked Grenadiers yet) Medium Mortar Ammo Bearers have no mortar rounds, so on-map Mortar Teams have 28 rounds of HE.
-
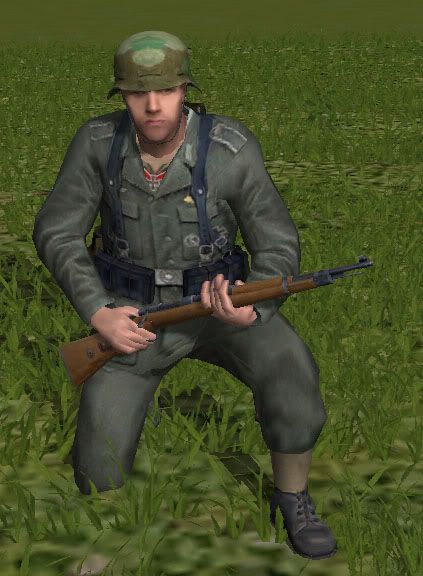
A project I am working on to add to the variety of German uniforms.
This guy is a recipient of the Knight's Cross, Close Combat Clasp in Gold, Infantry Assault Badge, and both grades of the Iron Cross (EK2 not finishd yet):
-
I'm interested. German or US; makes no difference to me. I can normally spit out at least 1, but most likely more, turns per day. I am located on the US East Coast.
-
The Provisional Ranger Force was attached to 29th ID.
-
No insignia should be on the helmet, either, and US flag on the right shoulder with 82nd on the left.
-
C Company, 1/508 PIR. Although be aware that the campaign is historically plausible but not historically accurate.
SPOILERS (that you may wish to read, Clavicula_Nox)
In other words, be aware that knowing what actually happened to C/1/508 PIR will not help you at all in the campaign.
 I did pick C/1/508 PIR for a reason, which we can discuss later, or if you don't mind a substantial amount of the campaign being spoiled.
END SPOILERS
Oh, no problem, I was just hoping you were writing for the 82nd and not the 101st, that's all.

-
Which Division/Regiment will it be so we have an idea of what we're in for? I'm definitely interested
-
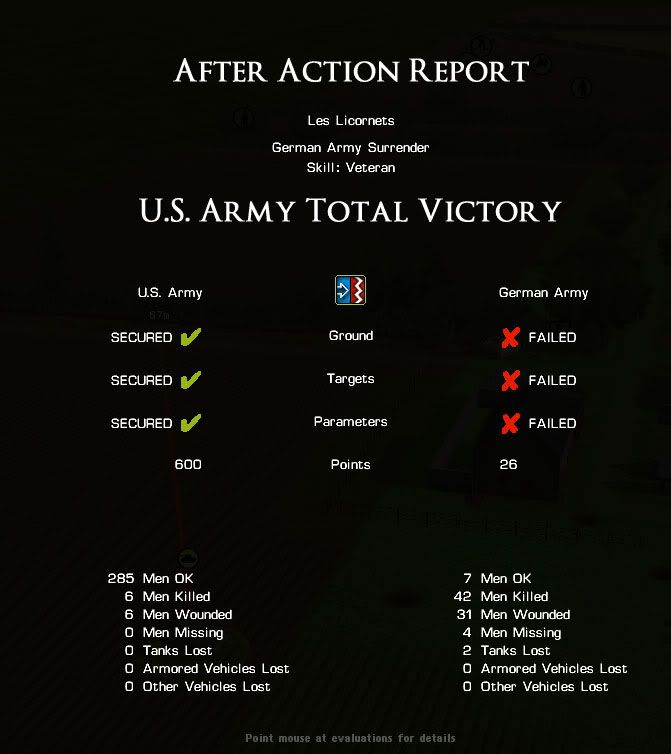
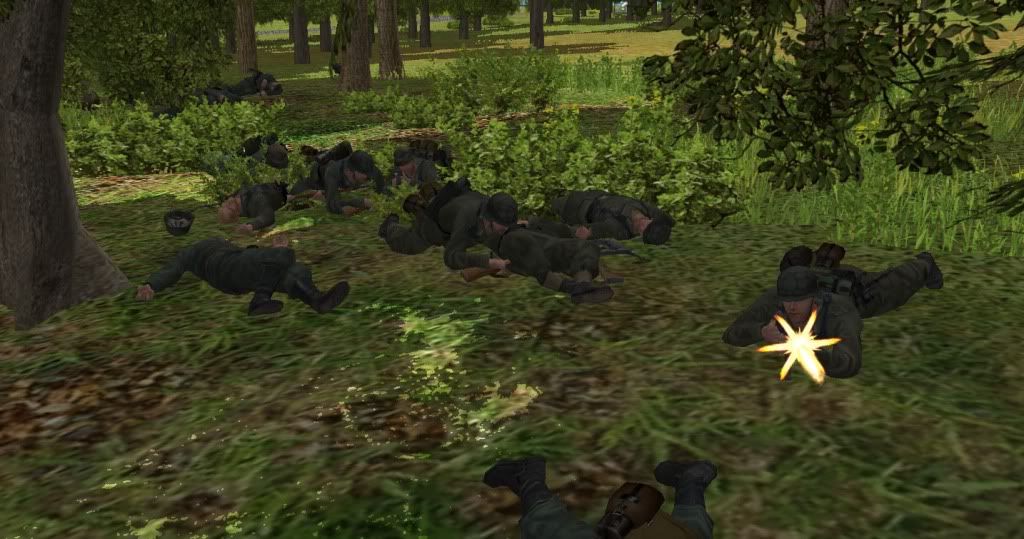
Yeah, it does seem odd. I made a test mission where I placed a line of buildings between 3 and 6th level and placed 2 Grenadier companies within them in a completely random pattern. I then placed a company of M10s + dismounted HQ elements (= 12 M10s) within 10-20m of the buildings and the Axis were massacred. I am currently uploading the video to Youtube and will post when it is finished, but here is the AAR screen:
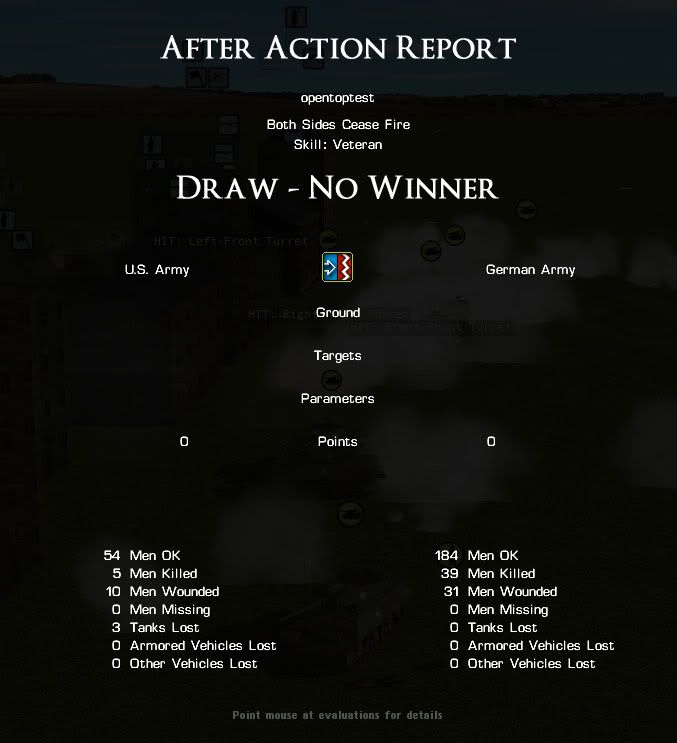
Here it is:
-
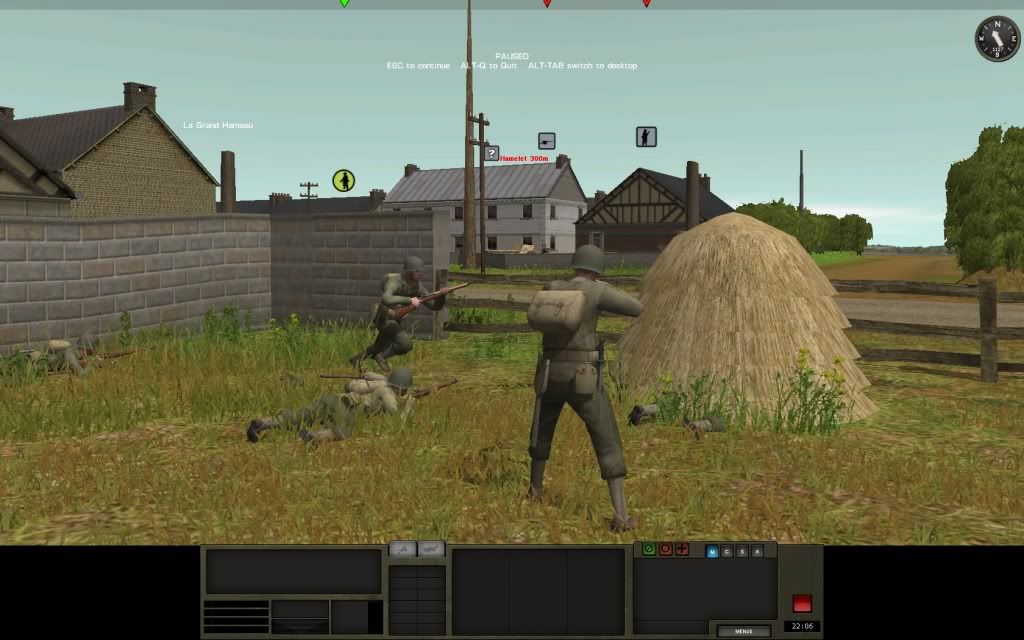
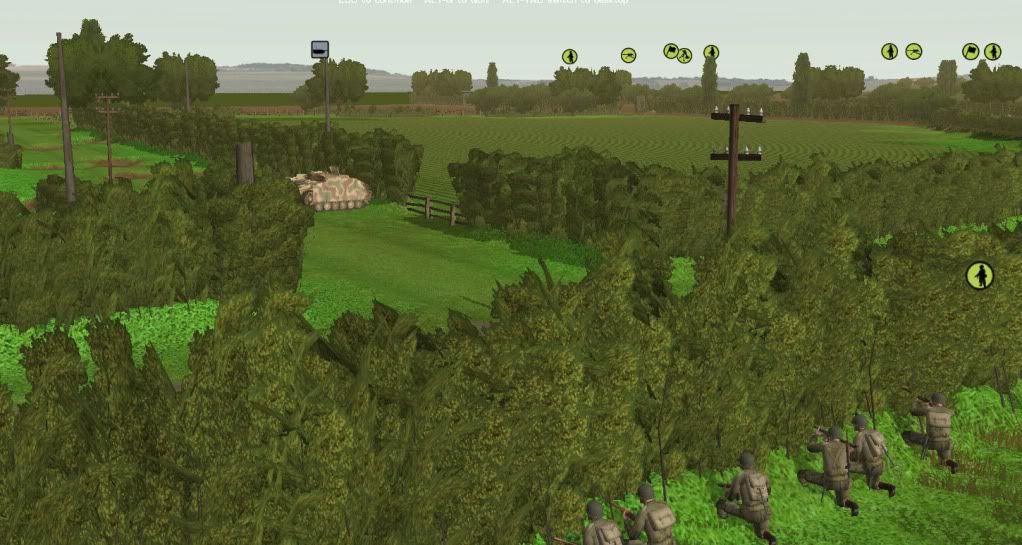
Again, that's one of the best results I've seen playing les Licornets. It can be pretty brutal if you don't do it right. I can tell from the screenshot you posted which AI plan you got. The other would have been tougher on your left flank move . It's VERY satisfying pulling that flanking move off and getting a bazooka team on the StuG's flank. I've had some great fights on that map. And the other screenshot comes from the Grand Hameau mission (#3).
Yes, I got very lucky in that mission with some well-aimed preparatory bombardments. I dropped around 30 105mm rounds, all in the first few minutes, which all landed on the center StuG's position, killed/wounded several infantry and damaged the StuG's tracks. I was able to maneuver Dog company into an advantageous firing position from which they were able to suppress a fighting line on the "left" flank which allowed me to bring up the Shermans for the kill.
Most of my time was spent on the center and right with Easy and they suffered the brunt of the casualties (I believe Dog lost 1 or 2 soldiers; the rest were Easy and a Tank Commander). There were several times when I was able to quickly react to spotting rounds and avoid disaster which would have resulted in platoons being wiped out. The biggest holdup in the entire scenario was the Pak 40 which changed the entire center of gravity and became the focus for all of my movements and significantly damaged one of my Shermans (weapon controls were knocked out; crew member lightly wounded). I had 2 Easy platoons in the center which were able to grind a battle line into dust with Sherman support while the 3rd platoon stayed on the right to direct 81mm mortars on the Pak 40 (which kept it suppressed, but did little else). Eventually, my center platoons were able to gain a flanking position and eliminate the Pak, the ammo team, and the teams centered around it.
The side shot on the StuG was great. I give the crew an A for effort, however, as it took my Tube Guy 2 side shots and 2 rear shots and help from a second Tube Guy to take it out. They also were able to spot the 2nd StuG and, due to the range, I had them wave off while I brought a pair of Shermans directly against the hedgerow. From that position, they were able to put a couple of shots into the second StuG and destroy it.
After the heavy weapons were taken out, it was a pretty simple matter of fire and maneuver. Infantry would pin the few remaining infantry teams while the Shermans would swoop in from behind and finish them off.
-
-
First screenshot is from one of the earlier missions with 2/8, but I can't remember which:
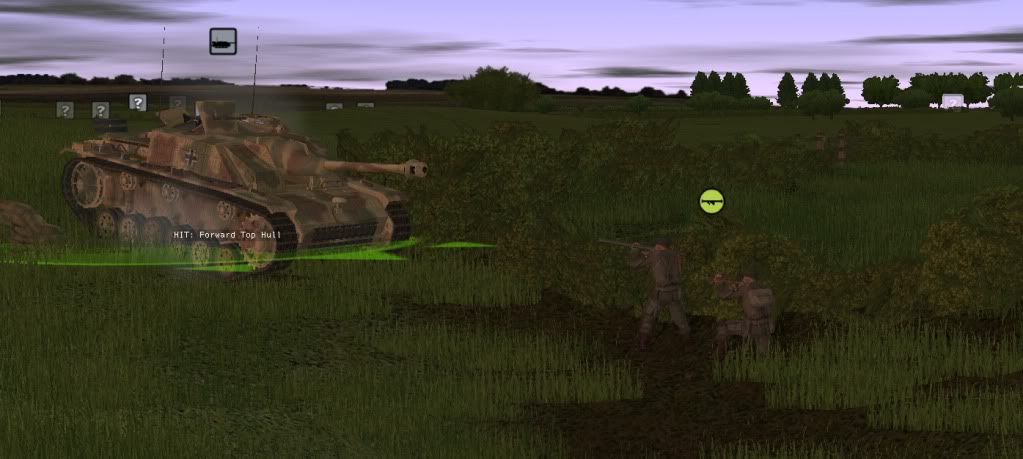
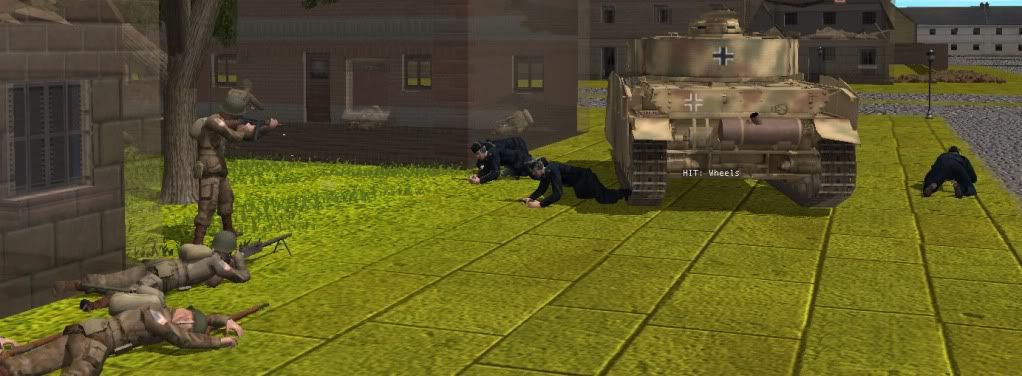
Side shot on a StuG III in Les Licornet:
Of my casualties, I would say just 50% were leaders, 2 platoon leaders, 1 platoon XO (leaving the platoon to be led by a Staff Sergeant), 1 Tank Commander, and 2 squad leaders.
-
I love this campaign, PaperTiger. I am currently on the mission following Turnbull's and, I must say, that as a paratrooper, I am very appreciative of the care and design you have given to these scenarios. I have read about Turnbull's action in LTG Gavin's memoir On to Berlin! and smiled as soon as I saw the scenario title.
I echo Chainsaw's request for the missions to be uploaded as single scenarios.

 I did pick C/1/508 PIR for a reason, which we can discuss later, or if you don't mind a substantial amount of the campaign being spoiled.
Is CM dying?
in Combat Mission Battle for Normandy
Posted
I'm the exact opposite, I loved CM: Afghanistan despite having very low expectations for it. Maybe I just had an easy time empathizing with my pixeltruppen who were sitting on a frozen mountain without enough ammunition and just waiting for the muj to show their faces. My only regret is that I did not back up my installation file or buy a hardcopy and lost the game in a harddrive crash.