

A Canadian Cat
-
Posts
16,490 -
Joined
-
Last visited
-
Days Won
55
Posts posted by A Canadian Cat
-
-
3 Battery has not cleared the area of enemy tanks and is back on the move – looking for more.
-
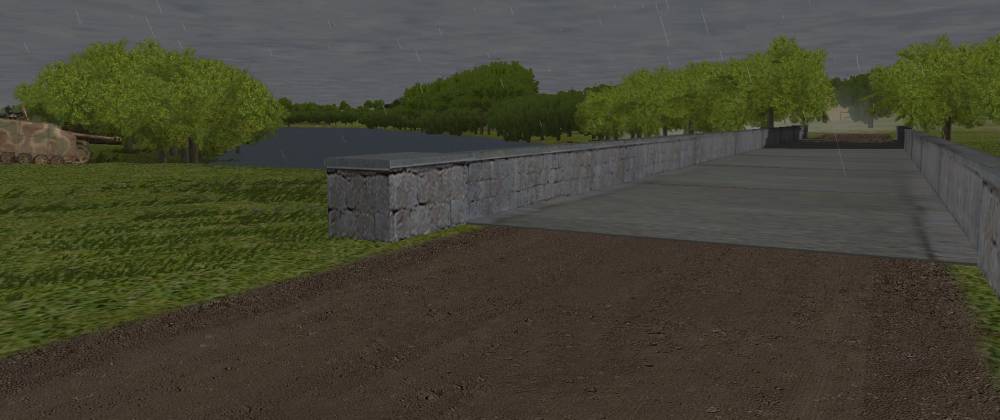
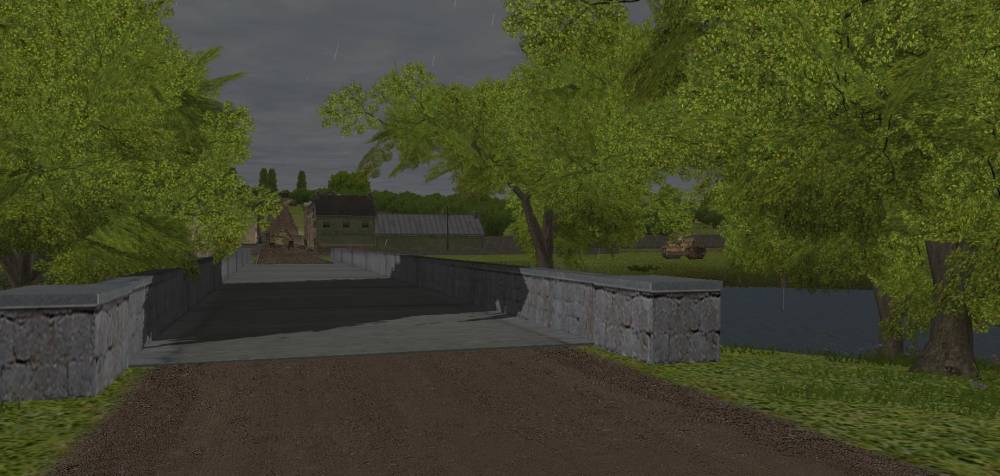
It is go time for crossing the bridge.
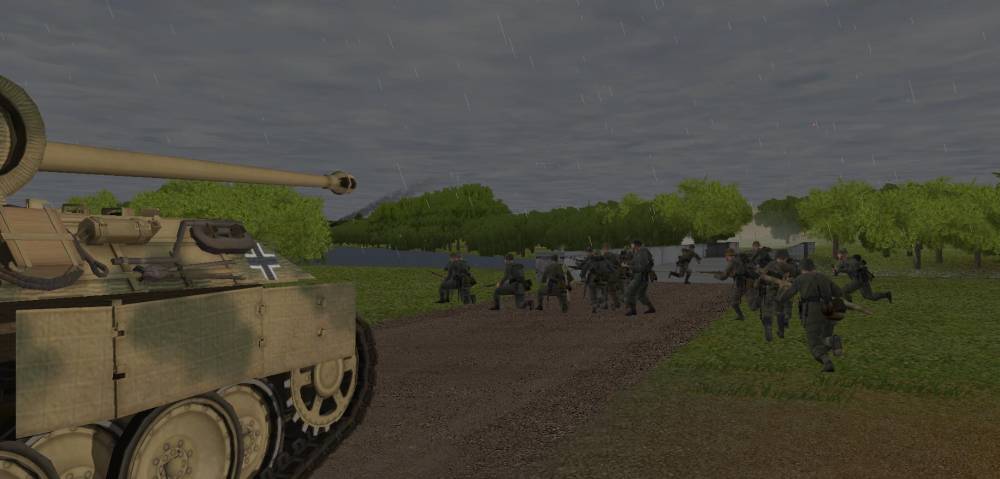
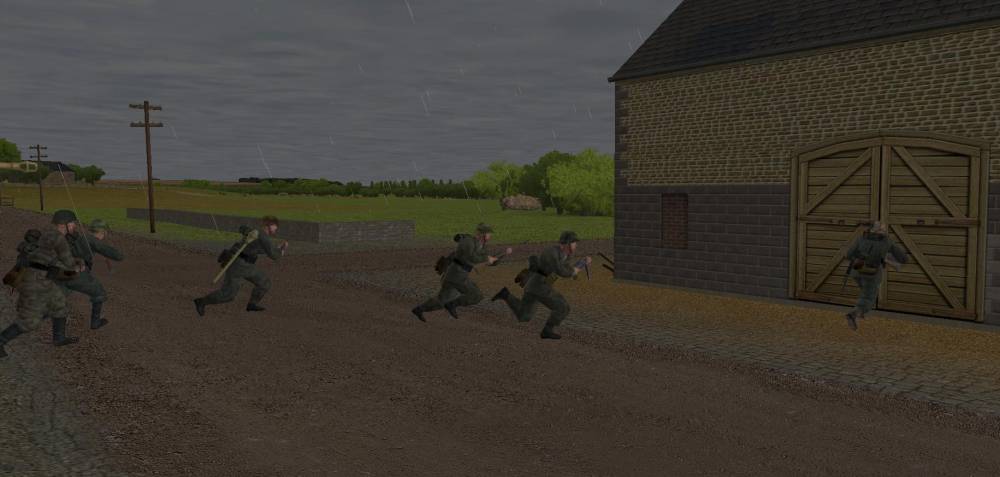
Well that was easy. Overwhelming force does work. I had a platoon of infantry and three Panthers lead the rush across the bridge. All they met was on Staghound. I talked with Stephen (aka Dungeon Tiger) over coffee and his Staghound never even saw any of my units crossing the bridge. Everyone crossed safely and began to fan out to create a bridge head in the orchard and trees along the bank.
The last 20mm recon half track gets destroyed this turn.
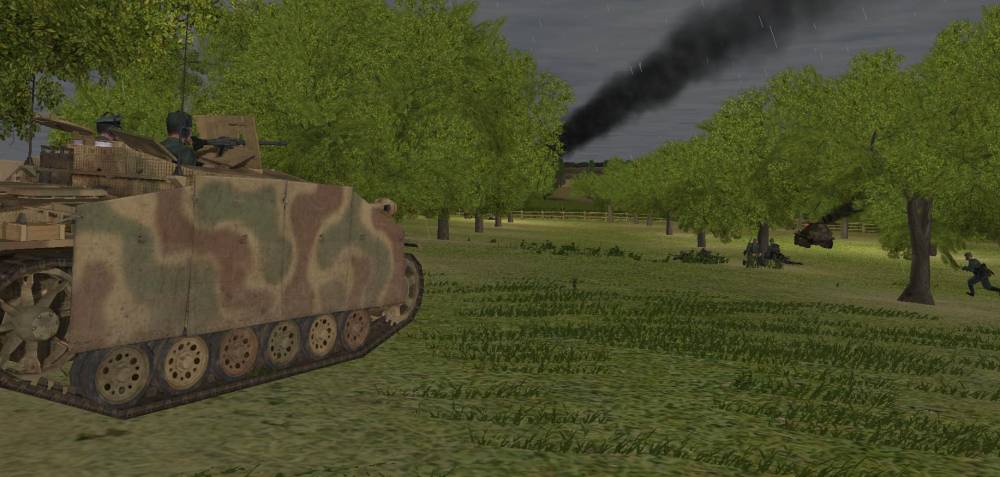
The Stuart tanks across the tracks from 5 Company continue to be lucky. Being well placed in the trees helps to create luck. This is the tank that destroyed my last 20mm recon half track moments before.
2 Battery looses another Stug – this time to the soft ground. Here is the Stug that bogged last turn. Rats.
-
Just to mention Ian I'm close to completing a 2k x 3k CMFI map. How many points do you reckon you can squeeze onto that ?

Excellent! It seems that FI is more efficient with graphics resource use so I bet we can go even bigger. We would have to experiment but I would start by trying 30 000 and see how that goes.
-
These are from the same battle - the new Sticking it out. However this is a different PIAT team from the one a few posts above.
Firing through the door
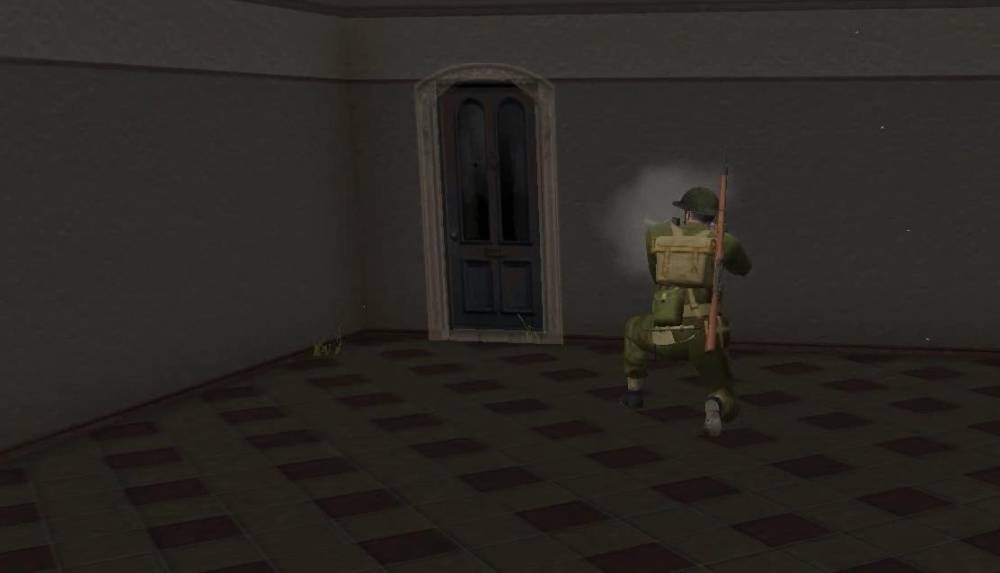
Hitting their first half track
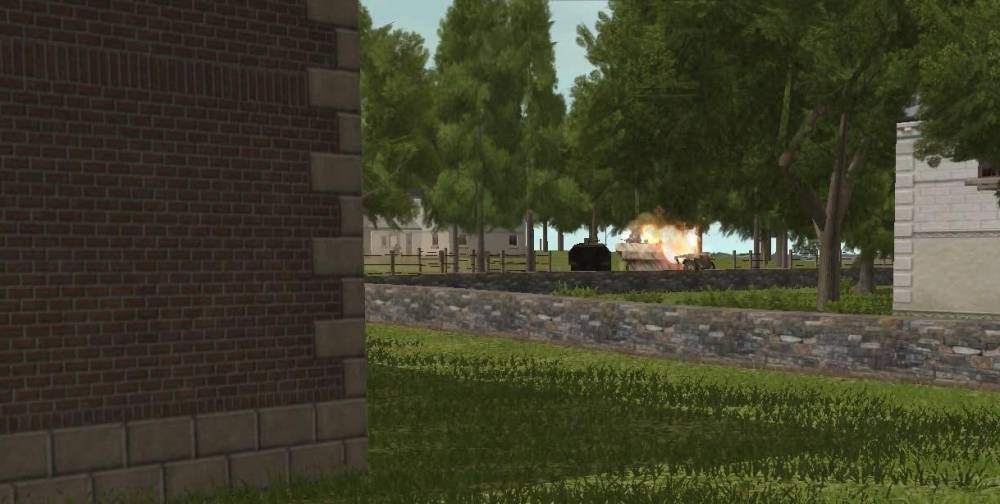
They fired three times and got two hits - here is video
-
At the rate that Churchill was going, it'd soon have rated its own movie.
"Its appetite is voracious. It slaughters its enemies without hesitation or pity. It is implacable. Unstoppable. Unkillable. It is the Fuhrer himself's worst nightmare. It is (dun dun dun!!!!) Die Uber Churchill!"
Thanks, made me laugh.
I updated the video and added the last few hits that finally ended the uber Churchill. New video here:
-
Oh yes, well figured out, thanks. Choosing the 12000 points was days of fun ( to a micromanager like me ). It already seems too little

Good. Any feedback on the instruction document?
-
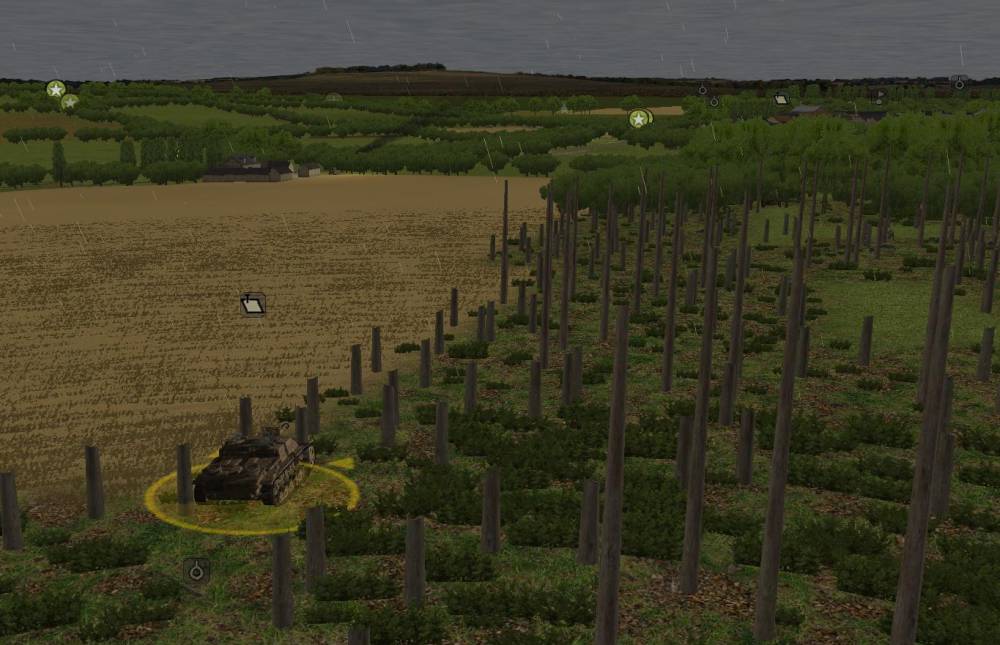
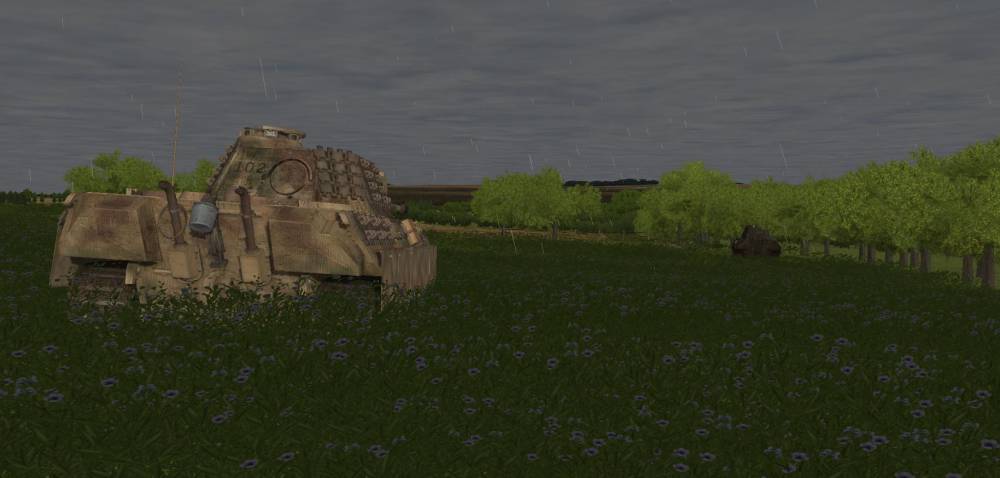
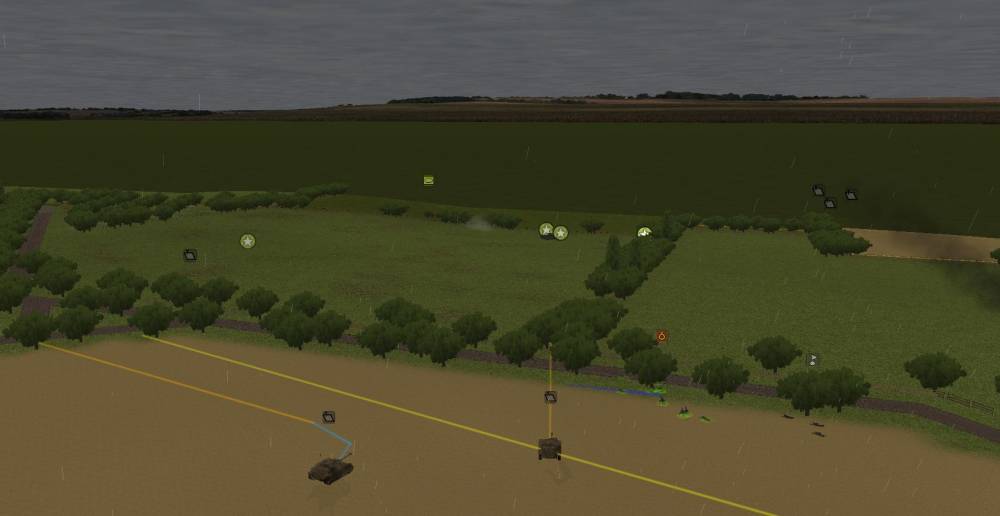
So far only a few sightings of enemy vehicles have livened things up. A very bolshie Staghound ( I think ) whaled on a Panther which couldn't see him. A few Axis rounds have been fired at scouting Allied vehicles, all missed

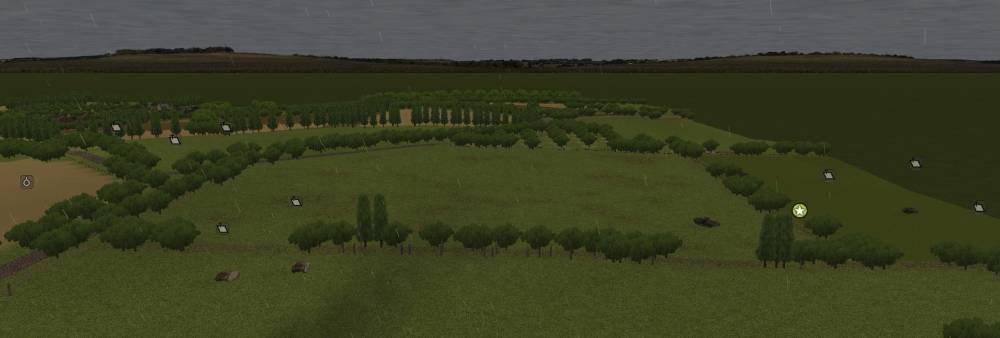
One of the things I like about large battles is that moving to contact involves actually moving a non trivial distance and you have choice in where you move.
Sorry to have hijacked your thread, was mainly to add thanks for the map ( and concept, loving large battles )No worries, did you make use of the setup instructions I wrote?
-
3 Battery's new job, along with their supporting element from 2 Company, is to move forward in the direction the Churchill tanks came from in order to verify that the enemy is gone from the area and to allow the FO. I want the FO to move to the high ground so he can direct artillery barrages against the town before 1 Company assaults. My original thought was to position AT guns on the ridge overlooking the town under cover of smoke. Since smoke is pretty much useless I think I am going to have to come up with a different plan for my AT guns.
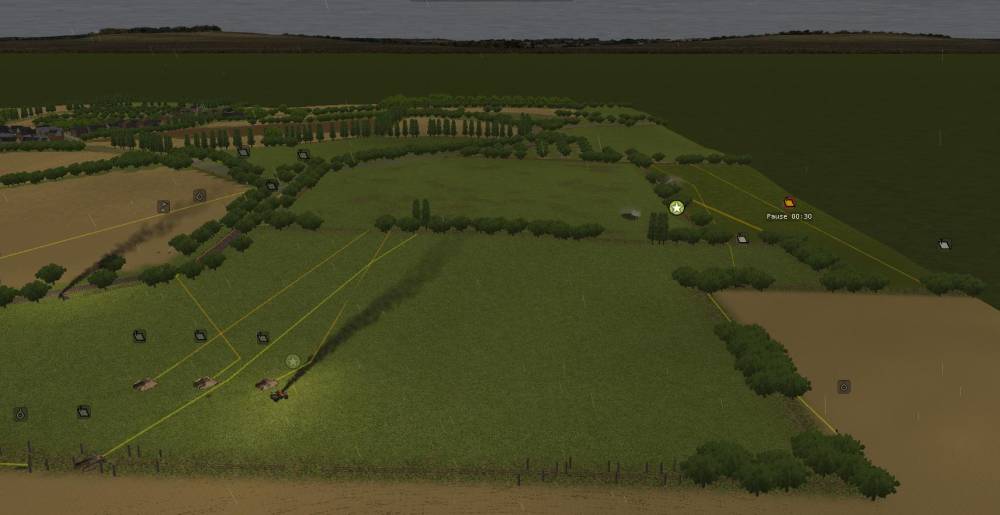
1 Company and most of 2 Company along with support from 2 Battery and a Panther move into their town assault jump off positions. One Stug moving through the forest is bogged and then immobilized in the woods. This weather is starting to cause problems.
With no smoke to speak of this bridge assaulting could be interesting. To compensate I order the Stugs to fire HE into the woods on the opposite side of the bridge. The assaulting force is lead by one platoon of infantry and three Panthers. The rest of 3 Company and the Stugs will follow once I see what they are up against.
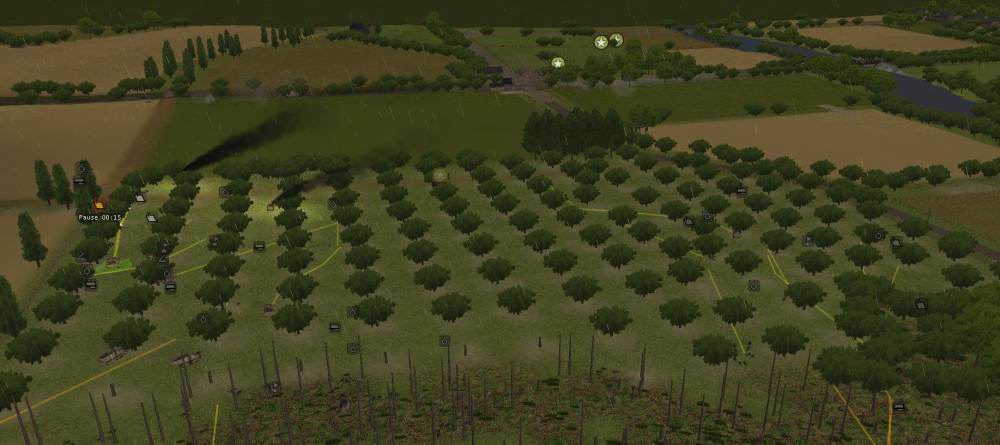
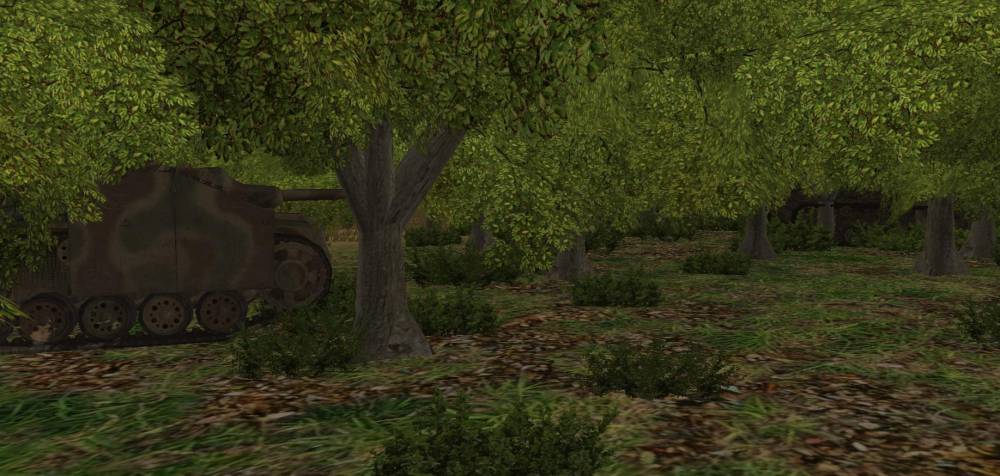
5 Company moves further into the Orchard. They are almost at its farther edge. Once there they will setup a defensive perimeter and wait for a while.
-
The Panthers on 1 Company's flank continue to back up into a better position to protect against the Churchills that are near by.
-
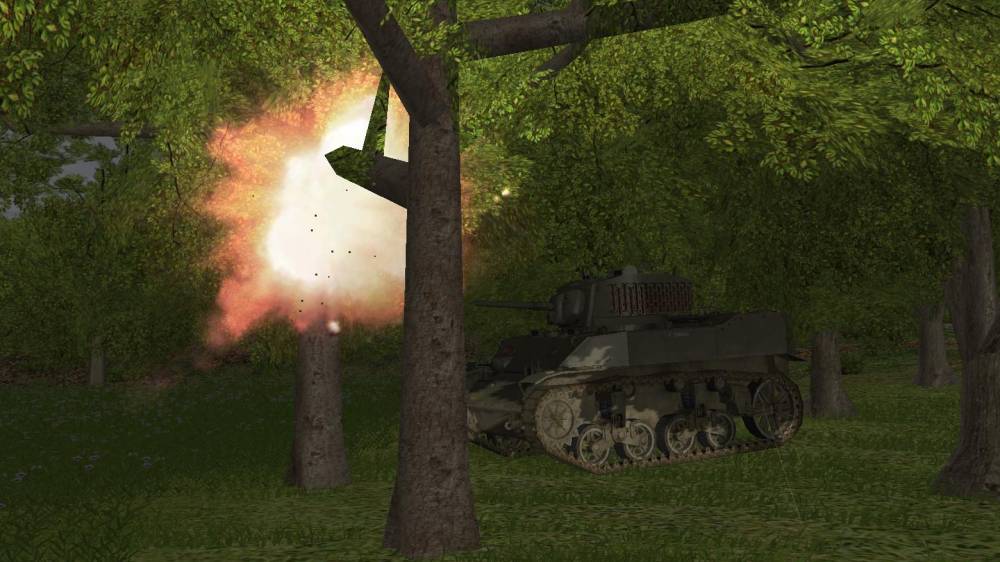
This turn finally brings a victory over some Churchill tanks. 3 Battery destroys two of them to complete the destruction of the troop of Churchills they were facing. The super Churchill that survived 18 hits last turn only lasts a few more. The crew bail out at the beginning of the turn and the tank takes a few more hits before being destroyed. The other remaining Churchill is dispatched quickly after only two or three hits.
The centre formation of Stugs keeping up their rate of fire on the super Churchill.
The last Churchill standing in 3 Battery's field of view is taken out.

This turn is a major relief to me. 3 Battery did loose the main gun on two Stugs but at least the put down some enemy tanks. It is unclear what enemy units might be in the vicinity but 3 Battery will be charged with finding out and making a safe location for the FO to come to call some fire down on the town.
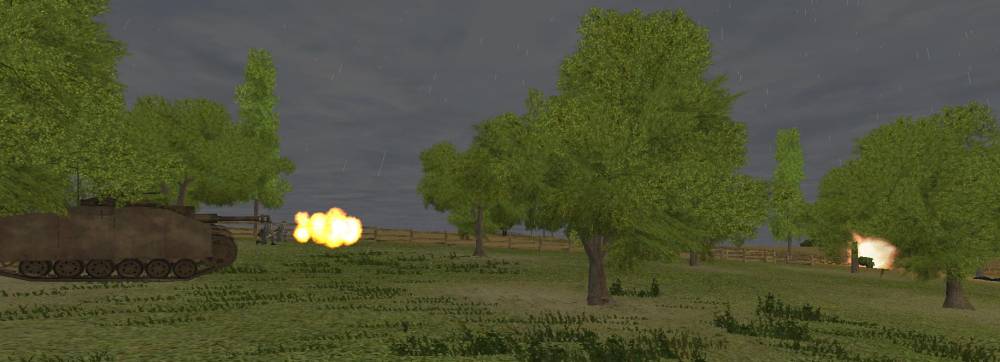
At the village with the road bridge crossing my forces lay down smoke and are ready to pounce.
There is a problem: the smoke screen is just being blown away. Fighting in bad weather has its challenges. By the end of the turn there is almost no protection from the smoke screen and yet the smoke stretches across the other end of the bridge.
5 Company continues to move forward in the orchard. They have not secured the location where their scout half tracks were destroyed earlier.
-
The best way to handle this, I think, is to get the Marder into a position on the far left, almost as if it's assaulting the road junction from that side. Most of BigDork's men will head straight for the VL (that's where the mortar team who got hit with the grenade were going). From the left I can potentially pick off one flank from relative safety, and threaten any movement against the hill, which is what I think he's planning on doing next. <snip>
Sounds like a good plan. Is getting the Marder to the hill with 1 Platoon an option? It is hard to tell if there is a safe place it could travel from just screen shots. Something to consider anyway.
-
Very cool guys. Those changes would generate a totally different battle. Who starts closest to the hill top monastery? A plan is already forming in my head:)
-
Map is very good, thank you.
Inspired by Ian and Dungeontiger's example, Undercovergeek and I have started a 12000 pointer on it ( although we turned it 90 degrees and ucg added some stuff - hope you don't mind ).
That is totally cool! Are you guys going to do a write up? Not that you have to, just curious if you are. What did you add to the map?
-
With all the action going on the map seems quite small now but great to see it being used.
Good, good. We really like your map. And I do not feel like it is small at all. There is plenty of room to maneuver. I am very pleased to have a map this big without it would would not have been much more difficult to mount such a huge battle.
-
Ian,
Good call on using the StuGs for smoke. It might not be as all-encompassing as what the mortars would provide, but even a little bit of smoke will be better than none. You don't want to rush the bridge with no cover at all.
My only worry is the wind - it is a nastly day and the smoke from the mortars dissipated as it formed. As Stephen said to me when I was complaining about it over coffee this morning "you picked the weather", so, I have no right to complain.
Your screenshots are excellent. They help us stay right in the action. Thanks.Thank you.
Your only real option on the Churchills would seem to be lots of side hits. They are pretty tough.Amazingly tough. I am going to have to treat them like I would Panthers.
-
Just move the screenies you've taken into a new subfolder called "Turns 1-x"...
If I break a 1000 I'll do that. Actually come to think of it I might do that sooner than 1000.
-
I DEMAND 20,000 screenshots for a 20,000 point game!
Well I *am* at 170 screen shots already. I am so glad I used 001 as my first number. But my screen shot directory will become a organizational night mare if I hit 1000 screen shots.
-
I have a pretty mediocre machine but I upgraded my video card to a Radeon HD 6770 with 1Gb memory recently. Makes playing the game much nicer. My machine really will not support a faster card.
-
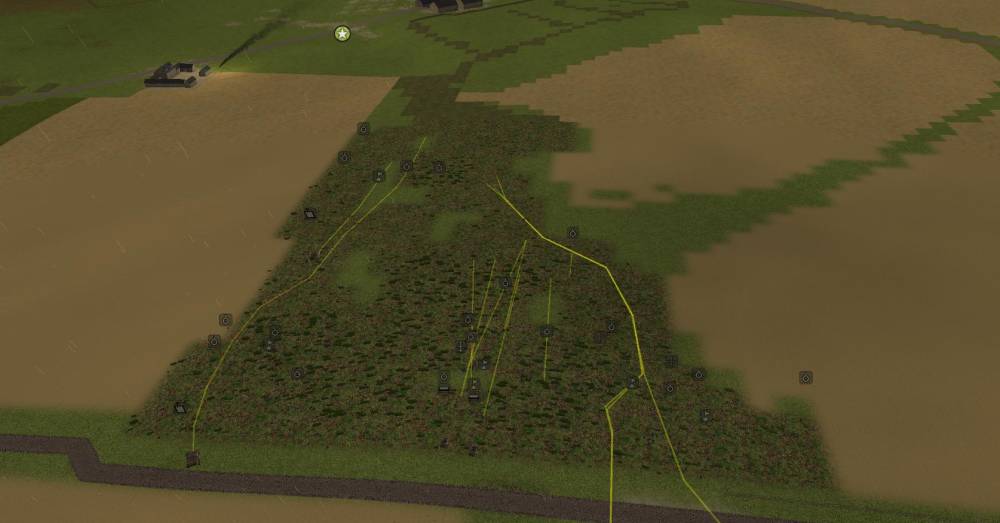
5 Company continue to clear the Orchard. The plan is for them to hold their position for now. At some point they will press for the rail crossing but for now they will serve as flanking protection to the rest of the force. The Recon Half Track that has been firing on that Stuart will change places with a Stug hopefully the Stug will get a bit more traction against the Stuart.
The platoon from 2 Company and the Panther on guard duty have moved off to rejoin the group making their way towards the town.
-
Clearly the right thing to do is hit them from the side because hitting them from the front is just not working. The good news is 3 Platoon is setup to do just that...
I need to keep the pressure on those Churchills so they do not swing around. So moving up on the left side too.
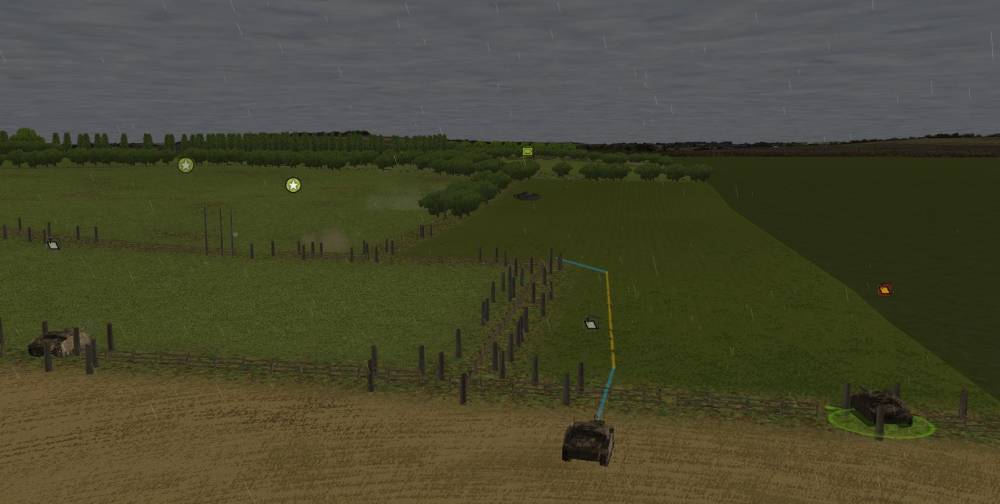
Here is a view of my approach to the town. As you can see they can make it all the way to the buildings with cover. Those movement lines are for the armour support – which is a little behind.
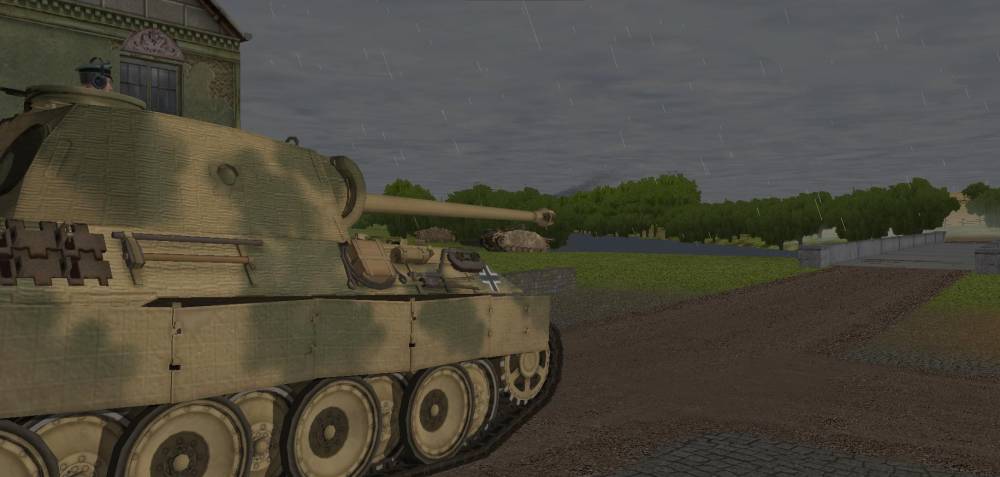
Over on my left where the super Churchill did so well against me I am having the Panther's reposition to face the Churchills. I know the front armour of the Panther can handle the Churchill's 75mm guns and all I really need is to prevent those Churchills from interfering with my assault on the town.
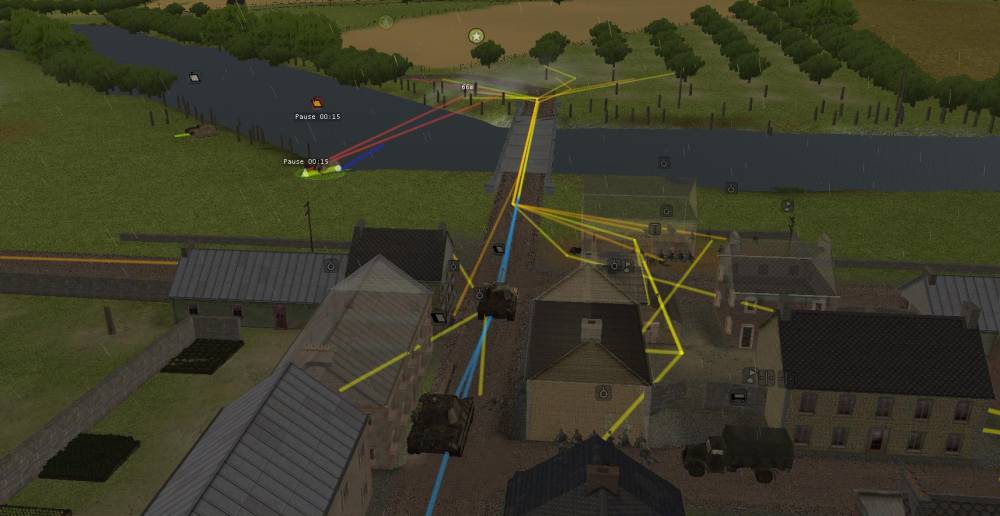
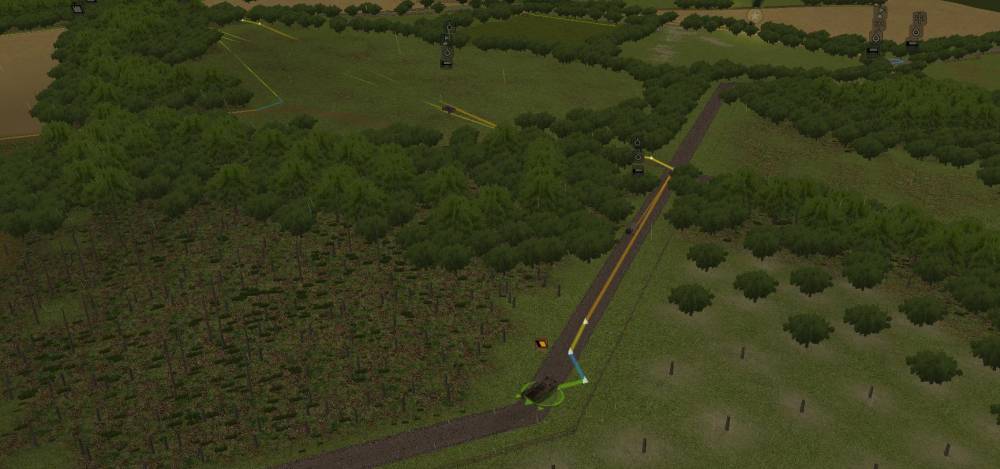
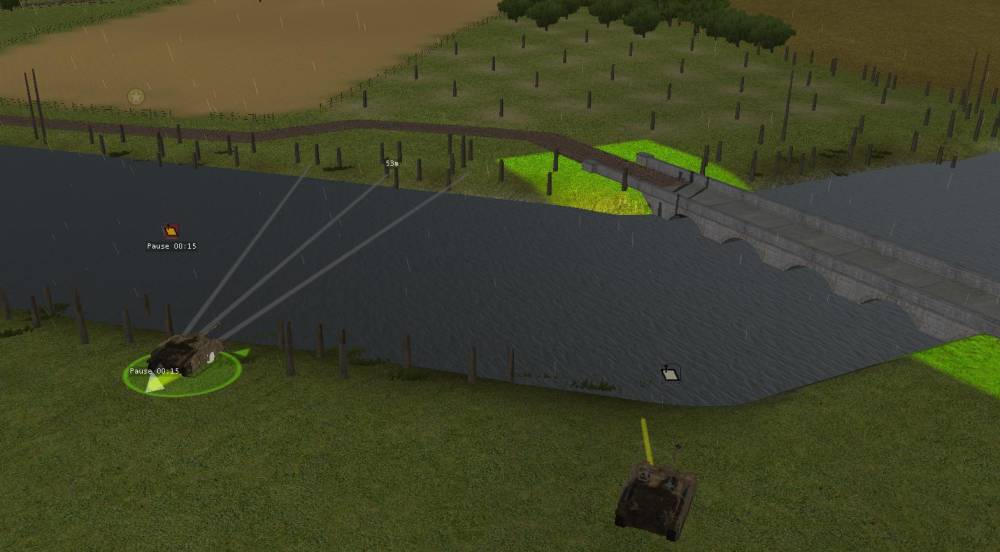
The plan to take the bridge had been decided: Forget the mortar smoke I'll get Stugs to do it. These two Stugs have multiple smoke targeting points across the river. The wind will push the smoke across the opposite end of the bridge. After the smoke starts the Panthers and the infantry that are ready to go will storm across the bridge. Once across the AFVs can face the Staghound and there will be precious little its 40mm gun will be able to do. That is the plan anyway.
-
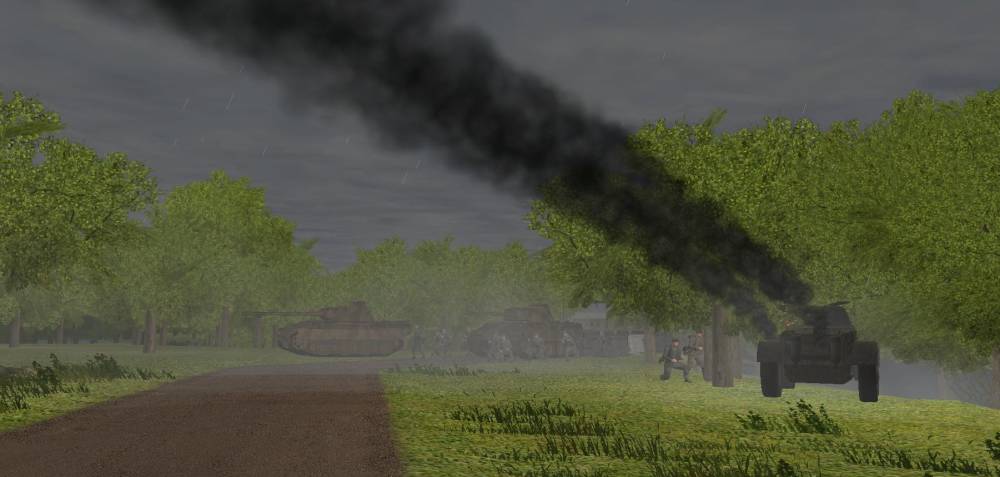
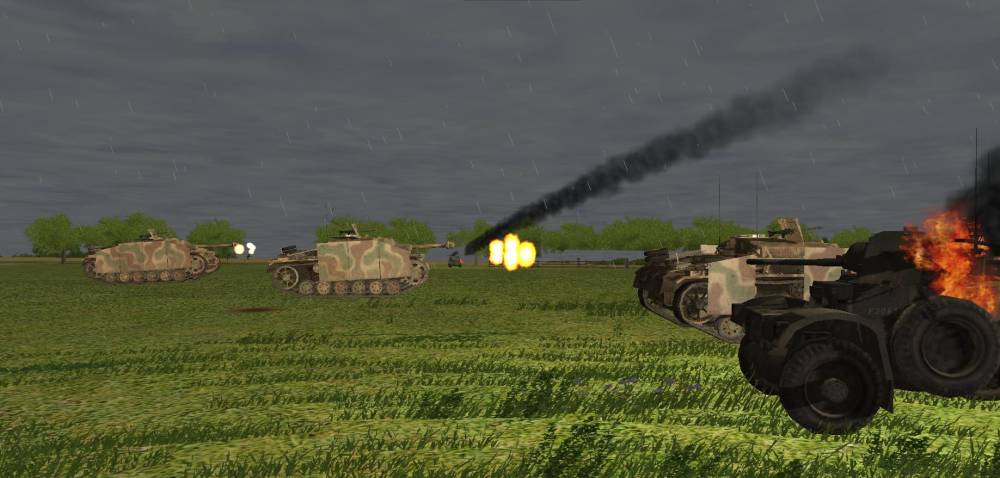
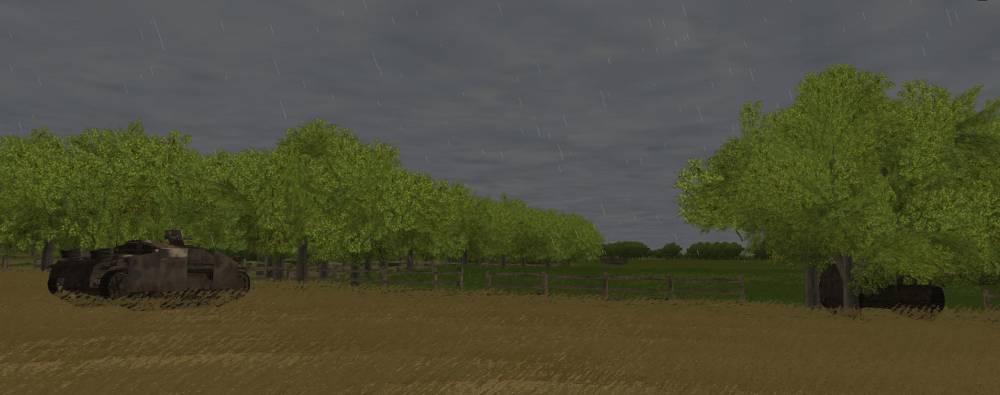
Here is the first two of many Stugs about 2min behind them.
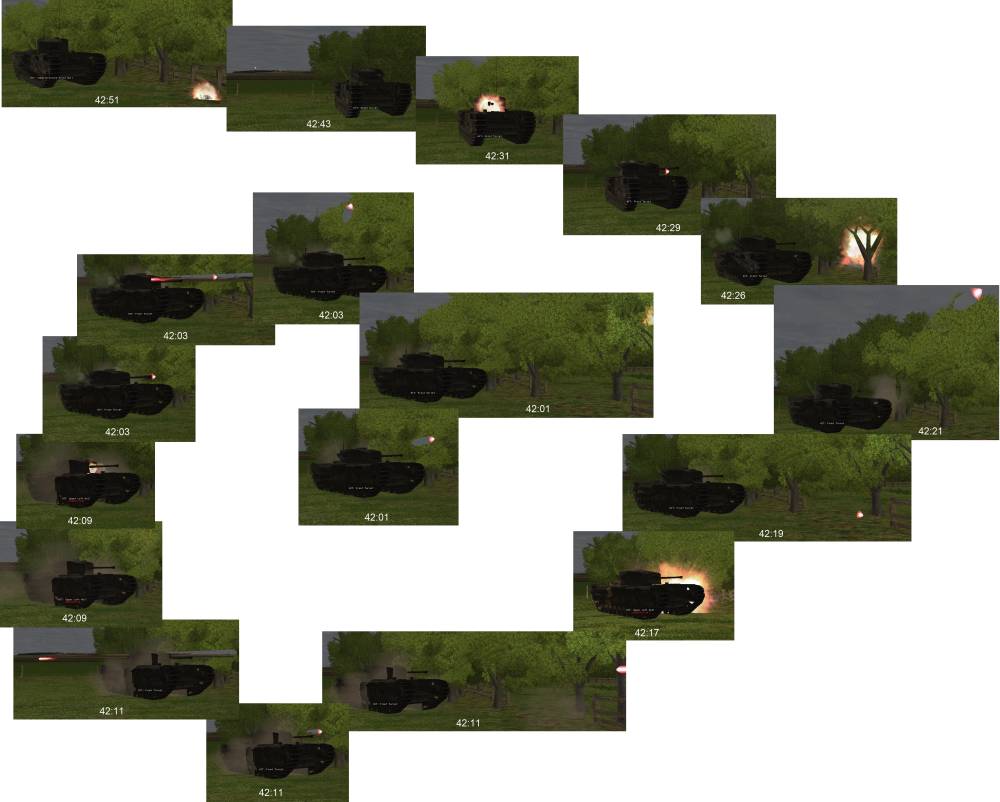
Meanwhile on my right flank 3 Battery is still doing well against the Churchills. But “well” is a relative term. Unlike earlier when a single Churchill KO'ed six Stugs this time the Stugs have KO'ed a Churchill but there are still two of them alive and well and two Stugs have lost their main guns. On top of that the battery put 18 rounds on target against one Churchill even scoring two penetrating hits and the damn thing is still running. This is not good.
This hit took out the Stug's gun.
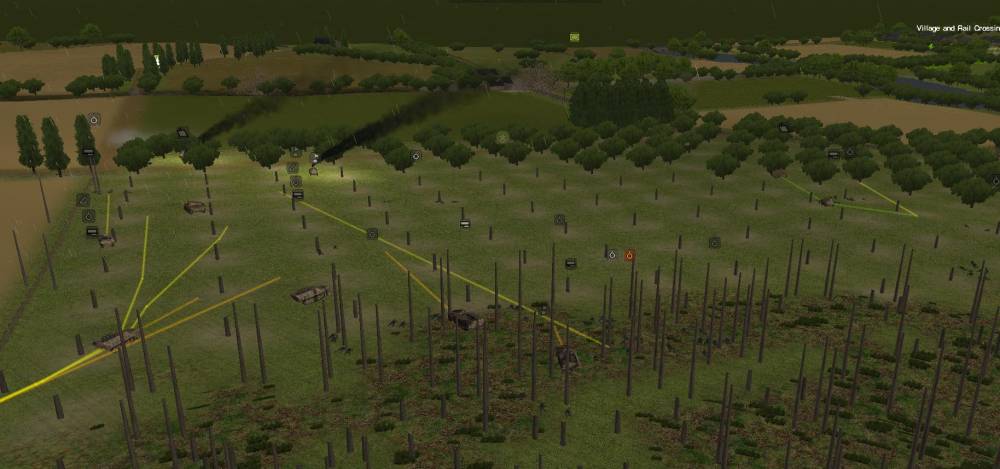
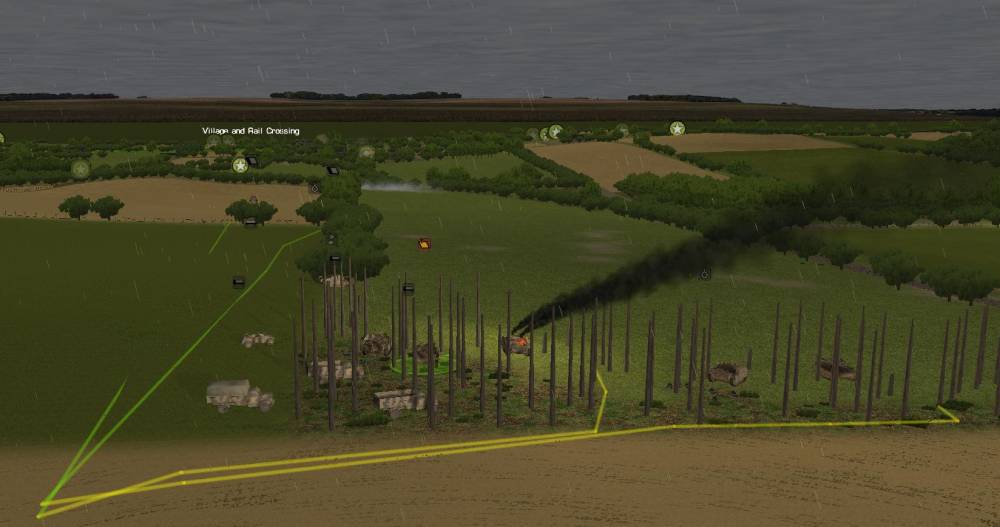
Here is the view from the right where three Stugs are approaching the side of the Churchills.
Towards the end of the turn the field looks like below. The two stugs on the left have no working main gun and the Churchill in the centre with the hit text showing is the one that was hit 18 times this turn.
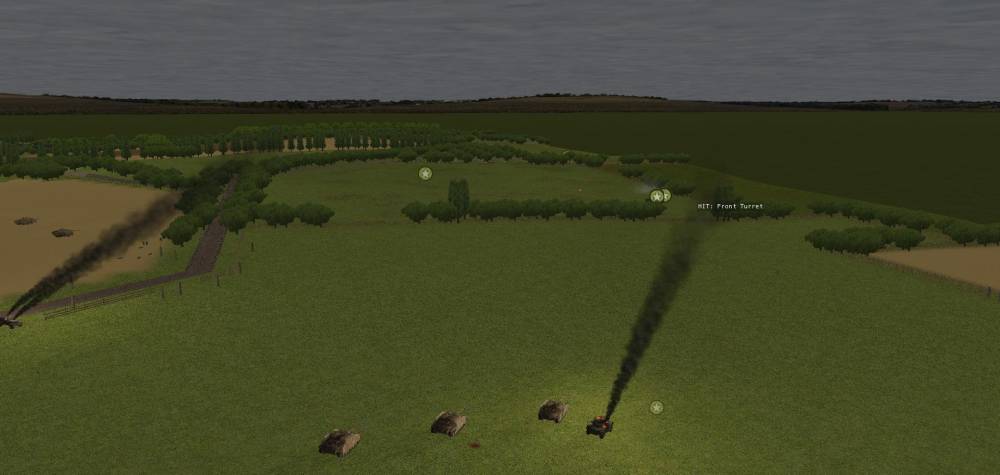
Here is what 18 hits looks like. Early in the turn the Churchill did manage to hit two Stugs and fire some MG rounds at some of my infantry.
Here is the video version:
The problem is that if every Churchill takes six to eight Stugs to kill I am pretty sure I will run out of Stugs before my opponent runs out of Churchills. He could easily have 18 to 24 Churchill tanks.
-
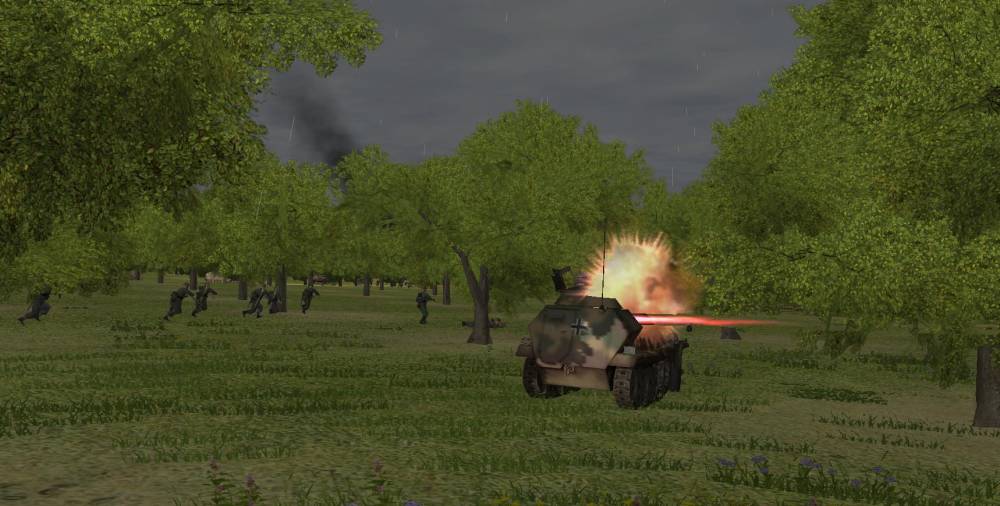
5 Company's recon half track tries to nail that Stuart again. Again to no effect. I'll have to get one of the Stugs to take the half track's place next turn.
One of the Stugs with 5 Company does manage to destroy another armoured car.
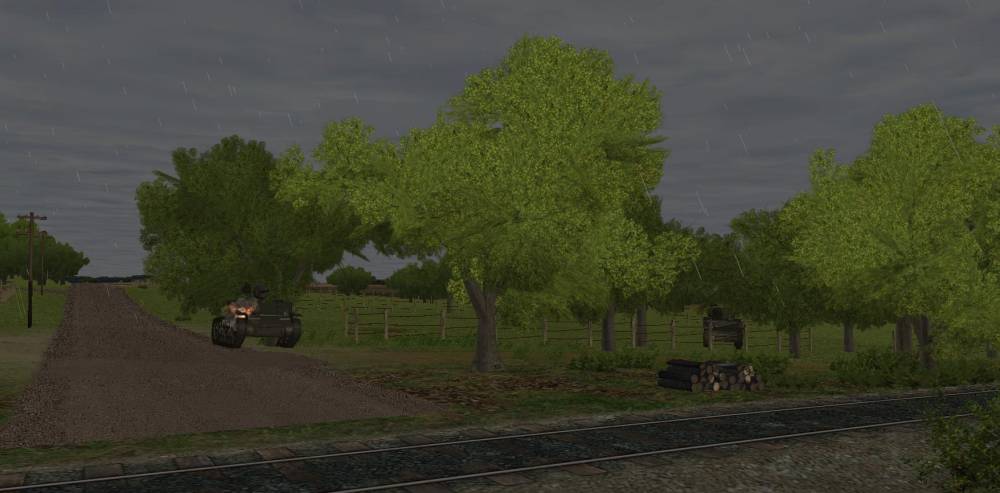
The AFVs supporting 3 Company approach the bridge. The smoke shells from the 81mm mortar team land way off the mark. Instead of landing in front of where the Staghound is hiding so the wind can blow the smoke across the opposite side of the bridge the rounds land in the field 50m away. I have to come up with a different plan now. I do not want to just rush the bridge because that Staghound can easily immobilize any of my AFVs and certainly it would not be healthy for the infantry either.
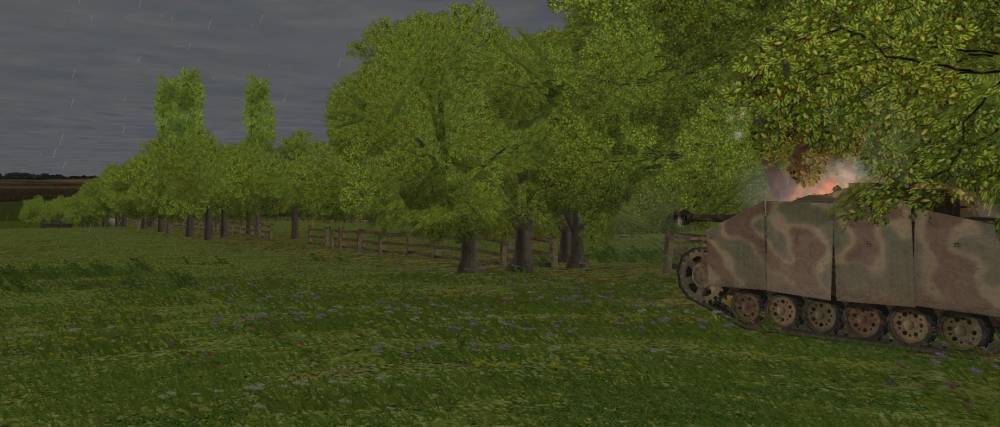
The lead elements of 3 Company approach the barn just on my side of the bridge. The will likely act as a fire base for the rest of their platoon to leap frog across the bridge next turn or the turn after depending on what I decide to do about smoke.
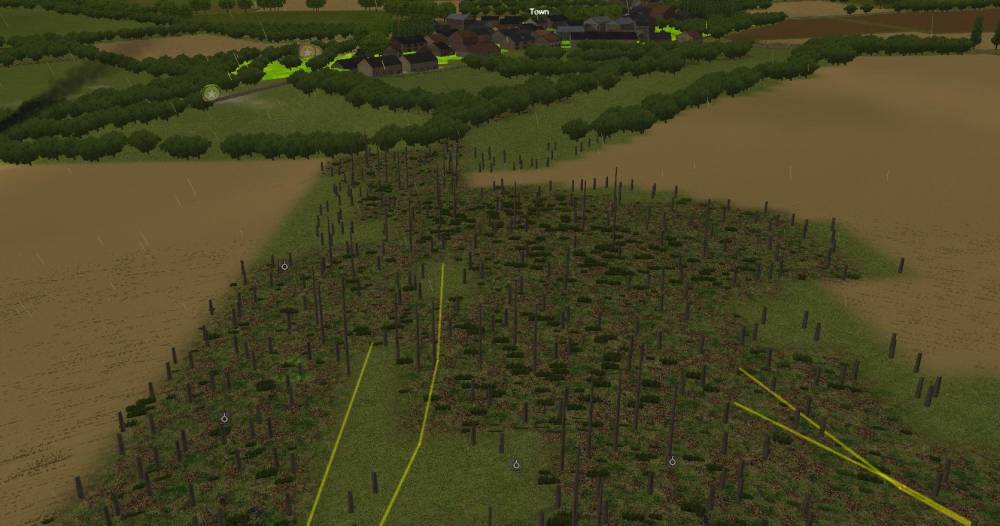
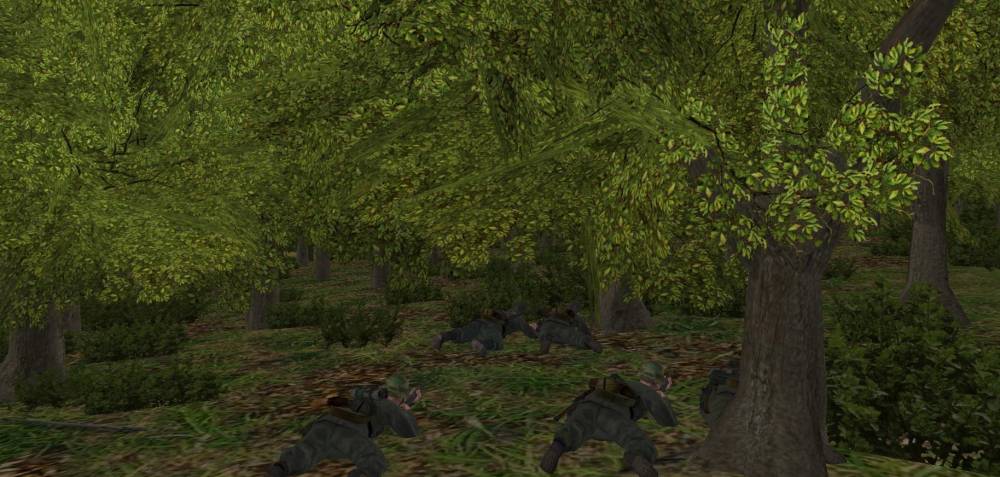
Dungeon Tiger keeps telling me I will never take the town from him. I do not think he understands what a German Infantry company can do fighting in an urban setting. Nore do I think he sees how well covered my approach to the town is. 1 Company will be able to transition from woods to buildings with very little exposure. Here are the lead elements waiting in the woods for their armoured support to catch up.
-
I've found hidden guys will generally open fire of their own accord once enemies enter an adjacent square; sometimes even 2 squares away. I've also been gratified to see computer side troops with no orders, Slow crawl to the next square to get out of heavy fire or regain LOS
I have yet to see that. What happens to me is, my guys who are hiding just die as they are shot at close range. Mind you I stopped doing this about the third time it happened so perhaps it works 25% of the time?
-
That bridge rush might be very exciting. We are standing by.
Thanks, I am in the middle of watching the latest turn now and the smoke has totally missed the mark so I have some deciding to do on how to cross that bridge.


Axis Side - 20 000 point Quick Battle DAR
in Combat Mission Battle for Normandy
Posted
5 Company is now setting up a defense of the orchard.
The second wave set to cross the bridge. This includes an additional platoon of infantry and the Stugs.
3 Battery moving forward to take the ground the Churchill formerly covered.
Getting into position in the woods near the town.